


We may earn a commission when you buy through links on this page, at no extra cost to you. Learn more.
To learn how to make wine bottle lights, clean an empty bottle, feed a short LED fairy-light strand through its neck or a carefully prepared side opening, and arrange the lights so the glass glows evenly. The simplest version needs no drilling: use battery-powered lights and keep the battery pack outside the bottle. A drilled version hides more of the wire, but glasswork requires a suitable bottle, the right tools, and protective equipment.
A lighted wine bottle can preserve a favorite label, mark a celebration, or turn a glass container into a small accent for a shelf or table. Start with the no-drill approach unless you can confirm that the bottle is suitable for drilling; either method can produce a pleasing glow.
Choose a Bottle That Suits the Display
The best starting point is an empty bottle with an intact body, a stable base, and no cracks or chips. A standard wine bottle holds 750 milliliters, giving a short fairy-light strand room to spread while leaving enough weight at the base to keep the decoration upright.

Think about the glass color before choosing the lights. Clear glass shows individual bulbs and wire most clearly, while green, amber, and blue glass tint the glow. A broad-bodied bottle gives the lights more space to spread; a tall, narrow bottle creates a more vertical column. Check the shoulders, neck, and base, and reject any bottle with a chipped heel, hairline crack, or uneven bottom. Set it on a flat counter first and make sure it does not rock.
Decide whether the label is part of the design. A special-occasion label can provide a focal point, while removing it creates a cleaner look. For a second project using the saved cork, see how to make a cork board from wine corks. For more background on wine styles and bottle labels, browse the site’s Wine Q&A.
Gather the Right Lights and Basic Supplies
Choose a short LED fairy-light strand made for decorative use; battery-powered lights are the easiest option for a first project because they can enter through the bottle neck. LEDs are generally a better fit than older incandescent mini-lights for a small enclosed display, but follow the light maker’s instructions and do not pack bulbs tightly against paper, ribbon, or other decorations.
For a no-drill design, gather one clean, dry bottle, one battery-powered LED strand, a soft cloth, and a long, blunt tool such as a wooden skewer. Keep the battery pack outside the bottle so the switch is reachable and batteries can be replaced. A drilled design calls for a variable-speed drill, a glass-rated diamond bit or hole saw, a padded support, painter’s tape, water for the cutting area, eye protection, work gloves, a respirator, a suitable grommet, and a way to smooth the glass edge.
| Project choice | New openings | Published light example | Why choose it |
|---|---|---|---|
| No-drill, battery-powered | 0 | One short LED fairy-light strand | Simple setup and accessible battery pack |
| Drilled, plug-in strand | 1 side opening | 20 mini lights in one tutorial | Less visible wire at the neck |
| Compact drilled display | 1 side opening | 25 bulbs or fewer in one DIY guide | Helps avoid an overcrowded bottle |
The figures are examples, not universal limits. B+C lists a 20-light mini strand, while DIYGarden recommends 25 bulbs or fewer for its bottle-lamp method. The right strand depends on the bottle’s volume, bulb size, heat, and the manufacturer’s instructions; a smaller strand that sits loosely inside is easier to arrange than a crowded bundle.
Tip: Test the entire light strand before putting it into the bottle. Confirm that every bulb works, the switch is reachable, and the cord can sit behind the bottle without pulling it off balance.
Make a No-Drill Bottle Light
The no-drill method is the most approachable way to make a decorative bottle light. It avoids glass cutting and works well with battery-powered fairy lights that can pass through the bottle’s existing neck.
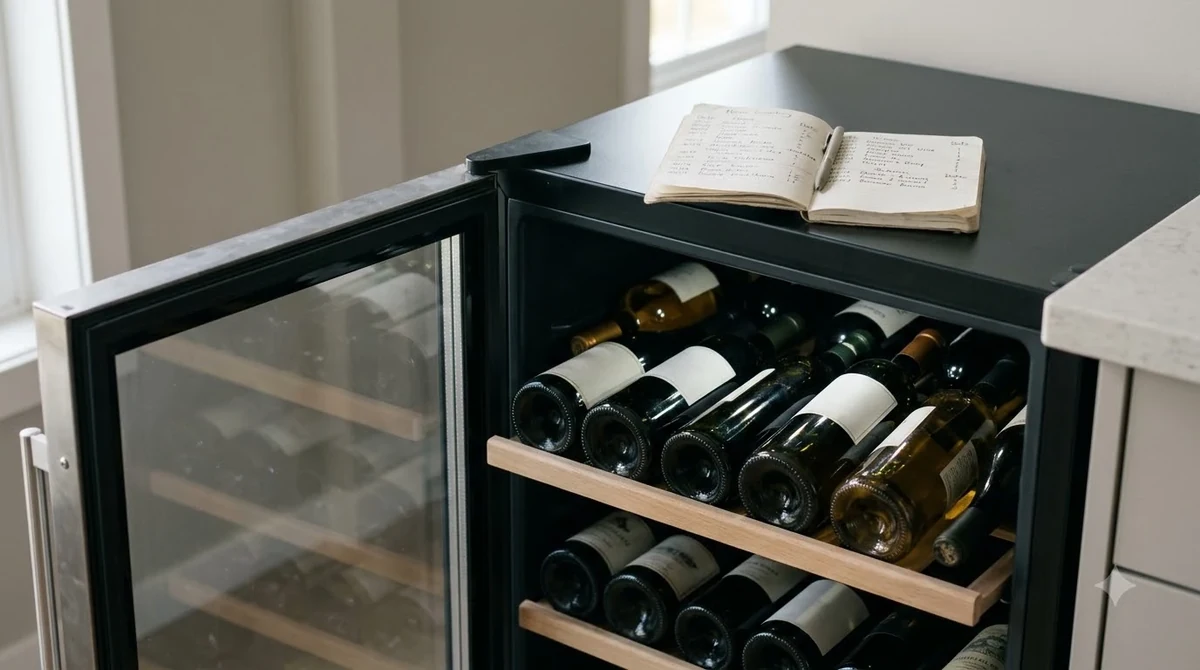
Empty and rinse the bottle with warm water, then let it drain and dry fully. If you want to remove a paper label, DIYGarden recommends soaking it in warm, soapy water for 10 to 15 minutes before lifting the softened paper; remove adhesive residue, rinse the glass, and dry it again. Leaving a memorable label in place is also a good design choice.
Switch on the light strand and check it from end to end, then turn it off before loading. Lower the first bulb through the neck and let each loop settle rather than pushing a tight wad of wire through the opening. If the lights catch at the shoulder, withdraw a little and try a looser curve. A wooden skewer or blunt plastic tool can guide a loop toward the bottle’s side without scraping the glass. Continue until the strand sits inside and the battery case remains outside.
Arrange bulbs around the lower body first, then guide a few toward the shoulders if the shape allows. Aim for an even distribution instead of a dense knot at the bottom. Turn the lights on briefly to inspect the front and sides, then switch them off before adjusting. If the strand is too large to pass through the neck, do not pull, cut, or force it; choose a finer strand, another bottle, or a product designed for bottle lighting.
Drill a Side Opening Only When the Bottle Is Suitable
A side opening lets a light cord enter near the base, leaving the neck clear and giving the finished bottle a cleaner outline. This method is more demanding than the no-drill version and is not appropriate for every bottle: Lowe’s advises against drilling tempered glass because it can shatter, and recommends professional help when the glass type is uncertain.
Confirm the Glass Type and Prepare the Bottle
Do not assume every empty wine bottle is safe to drill. Check with the bottle maker or a qualified glass professional. If you cannot confirm that the bottle is suitable, stop and use the no-drill method instead; do not try to find out by starting a hole. A bottle with a crack, chip, or other visible flaw should not be used for this step. Wear safety glasses, work gloves, and a respirator, and use a padded cradle or secure jig that prevents rolling without squeezing the glass. Mark a point toward the rear or side near the lower body, away from a seam or damaged area. DIYGarden cautions against drilling near bottle seams, while painter’s tape can help keep the bit on its mark.
Drill Slowly With the Correct Equipment
Use only a variable-speed drill bit or diamond hole saw specifically rated for glass. Lowe’s general glass-drilling instructions describe starting with a 1/8-inch or 5/32-inch pilot bit, then moving to a larger glass bit; they also emphasize low speed, light pressure, water at the cutting spot, and support beneath the glass. Follow the bit maker’s directions for the curved bottle surface rather than forcing a flat-glass method onto a bottle. Keep the drill and its electrical connections dry; water belongs only at the cutting area, not around the motor, battery, cord connection, or outlet.
Let the bit work slowly and pause as directed to keep the cutting area wet and cool. Do not push harder when progress slows or twist the bottle against the bit. Once the opening is complete, stop the tool before handling the bottle. Carefully rinse away fragments, smooth the edge with a diamond file or suitable silicon-carbide abrasive, and wipe away remaining dust with a damp cloth while wearing gloves. Allow the glass to dry completely.
Protect the Opening Before Inserting Lights
Fit a properly sized grommet so the cord does not rest against a sharp glass edge, then inspect the hole from both sides. If the edge remains chipped or uneven, do not thread the wire through it; have the opening finished professionally or use another bottle. A grommet does not replace smoothing the glass. For a visual reference, read Lowe’s instructions for drilling a hole in glass, which explain the importance of suitable glass, bits, support, and a slow, lubricated cut.
Arrange the Strand and Finish the Bottle
Once the bottle is clean and dry, the lights are ready to be positioned. Whether the strand enters through the neck or a side opening, switch it off before arranging it and unplug any plug-in strand from the outlet. Work patiently so the wire does not snag or press against a sharp edge.
For a side-entry design, feed the strand through the grommet in small sections and leave enough cord outside to connect it without tension. Distribute the bulbs through the body, using a long, blunt plastic tool to lift a section toward the shoulder if needed. Avoid sharp metal tools that could scratch the glass, nick insulation, or damage a bulb. If a section will not move easily, pull it back and change its angle instead of forcing it.
Spread the bulbs around the inside wall, leaving visible gaps between groups. Rotate the bottle as you work and check the view from the front, back, and sides. Once the strand looks balanced, set the bottle down and confirm the wire does not pull against the grommet or make the bottle lean. A short ribbon, narrow band of twine, or small tag can complement the label, but keep paper, fabric, dried foliage, and other decorations away from bulbs and power packs.
Before display, turn the lights on briefly. Look for flickering, damaged insulation, a warm battery case, or pinched wire; switch the set off if you notice damage or unusual heat. Do not glue the strand permanently into the bottle, because removable lights are easier to inspect, replace, and clean. For another bottle-light approach using a towel cradle and mini lights, see the B+C lighted wine bottle tutorial, adapting its steps only when they match your bottle and tool instructions.
Display and Maintain the Finished Light
Place the bottle on a level, dry surface where it cannot be knocked over. A side table, bookshelf, mantel, or countertop can work if the bottle is away from the edge and the cord does not cross a walkway. Put a protective coaster or tray underneath if the surface is delicate, and position the battery pack or plug where it will not be crushed behind furniture.
Choose a light color to suit the glass. Warm white gives green and amber bottles a soft glow, while cool white can make clear or blue glass appear brighter. Colored LEDs create a more playful effect, but several colors can compete with a label that already has strong graphics. For a group of bottles, use a consistent light color and vary the glass shapes or heights.
Use the light set only in the environment specified by its maker. An indoor strand should stay indoors, even on a covered porch, because damp air and condensation can reach wiring or the battery case. Do not immerse the bottle, spray it while lights are installed, or leave it where water can collect around the cord. Switch lights off when leaving the room or going to bed, and do not leave a homemade light unattended for long periods.
For routine care, turn the lights off, disconnect the power source, and remove the strand before cleaning the bottle. Wipe the glass with a soft cloth and let it dry before replacing the lights. Check the cord, plug, battery case, and grommet periodically; if the wire becomes brittle, frayed, pinched, or discolored, retire the strand. A finished bottle can make an attractive table accent for a dinner, anniversary, or holiday, but keep it where guests will not need to move it to make space.
Frequently Asked Questions
One tutorial uses a 20-light mini strand, while another recommends 25 bulbs or fewer for its bottle-lamp method. The answers below cover measurements and design choices that can vary by bottle and light set.
What size hole should I drill for the light cord?
Published craft examples differ: B+C lists a 5/8-inch diamond tile bit, while DIYGarden describes a 1/2-inch diamond hole saw with a 1/2-inch grommet. Those are examples rather than a universal measurement. Size the opening to the specific cord and grommet, and follow the glass-bit maker’s instructions.
Do I need a drill press to make a bottle light?
No, but B+C notes that a drill press can add stability and help keep the bit from drifting off-center. Its tutorial describes one person drilling while another sprays water at the cutting point. A stable, purpose-built support is more important than rushing the cut.
Can I leave the original wine label on the bottle?
Yes, provided the label is clean and dry and does not cover a damaged part of the glass. B+C notes that the lights can illuminate the label, depending on the bottle selected. Paper color, print coverage, and the shade of the glass affect how much of the design shows through.
Can I put more than one strand inside a bottle?
Some bottle-lamp instructions describe using a larger opening to pass more than one strand through. That does not mean every light set can be connected together: use only combinations permitted by the manufacturers, and do not crowd the bottle with extra bulbs. For a small 750-milliliter bottle, one short strand is usually easier to arrange and inspect.
Can I use a bottle with an unusual shape?
Yes, but consider the neck width, base stability, and narrowing shoulders before choosing the strand. DIYGarden suggests trying bottles with different colors, sizes, and shapes, so a square bottle or a wider decorative bottle can be a variation. Check that the lights enter without force and that the finished bottle stands securely.
A wine bottle light gives an empty bottle a second purpose, and the no-drill method can produce a polished result with very little equipment. Choose a short LED strand, keep the power source accessible, and leave glass drilling to bottles confirmed suitable for it.
More in Wine Basics
 Which Rose Is Best for Your Taste, Budget, and Food PairingsUpdated Nov 21, 2026
 Is Cheap Wine Bad? How to Find Bottles Worth DrinkingUpdated Nov 21, 2026
 What To Write On A Wine Gift Tag: Thoughtful Messages For Every OccasionUpdated Nov 21, 2026
 Which Wine Is Best For Weight Loss? Compare Lower-Calorie ChoicesUpdated Nov 21, 2026
 What Is The Best Wine For Mimosas? Choose Bubbly That Balances Orange JuiceUpdated Nov 20, 2026
 Which Prosecco Is Best for Your Taste and OccasionUpdated Nov 20, 2026