

We may earn a commission when you buy through links on this page, at no extra cost to you. Learn more.
The easiest way to learn how to make a cork board from wine corks is to arrange clean corks inside a sturdy picture frame, glue them to a solid backing, and fill the edges with trimmed pieces. A basic framed board needs saved corks, a frame, a backing panel, and a hot-glue gun. For the best result, test the full layout before gluing, keep the corks at a consistent height, and remove the glass so pushpins can reach the cork.
A wine cork board turns saved bottle closures into a useful place for notes, photographs, recipes, and reminders. The project can be as simple as filling a ready-made frame or as custom as building a wood surround for a particular wall. The main decisions are how much cork you have, whether to use whole corks or lengthwise halves, and how sturdy the finished board needs to be.
Choose a Frame, Backing, and Enough Corks
Start with a frame that has enough depth for the cork arrangement and a backing that can hold the adhesive and the weight of the corks. A ready-made picture frame or shadow box is easiest for a first project; for a larger board, use a rigid plywood or hardboard panel rather than thin paperboard.
Gather wine corks, a frame, a firm backing panel, a hot-glue gun and glue sticks, a cutting mat, a serrated knife or small saw for trimming, sandpaper, and hanging hardware if the frame does not already have it. A ruler, pencil, and protective gloves are useful too. Remove the glass and mat from a picture frame but keep its backing clips if they can secure the panel. J. Lohr’s wine cork bulletin-board instructions use a picture frame, hot glue, a cutting board, and a serrated blade; Gathered recommends a hardboard back and wood glue.
Count and sort the corks before choosing the frame size. Natural, agglomerated, and synthetic closures vary in length, diameter, firmness, and texture, so a pile that looks large may cover less area than expected. Set aside badly split or crumbling corks for small decorative accents rather than the main pinning area. The estimates below assume whole corks laid on their sides, each about 4 1/2 inches long by 7/8 inch wide, with roughly 10 to 20 percent extra for uneven fit and offcuts.
| Usable board area | Approximate cork count | Good starting use |
|---|---|---|
| 8 × 10 inches | 22–24 | Small desk or kitchen board |
| 11 × 14 inches | 43–47 | Entryway or home office |
| 16 × 20 inches | 89–96 | Shared family message board |
These are planning estimates, not fixed requirements. Measure your own corks and dry-fit them before choosing a frame; even a small difference in diameter changes how many rows fit. Lengthwise halves need a separate test layout.
Clean and Prepare the Corks Safely
Sort corks by condition and material, then remove loose dust before assembly. They do not need elaborate treatment, but dry, sound surfaces help the adhesive hold and keep the finished board from looking patchy.
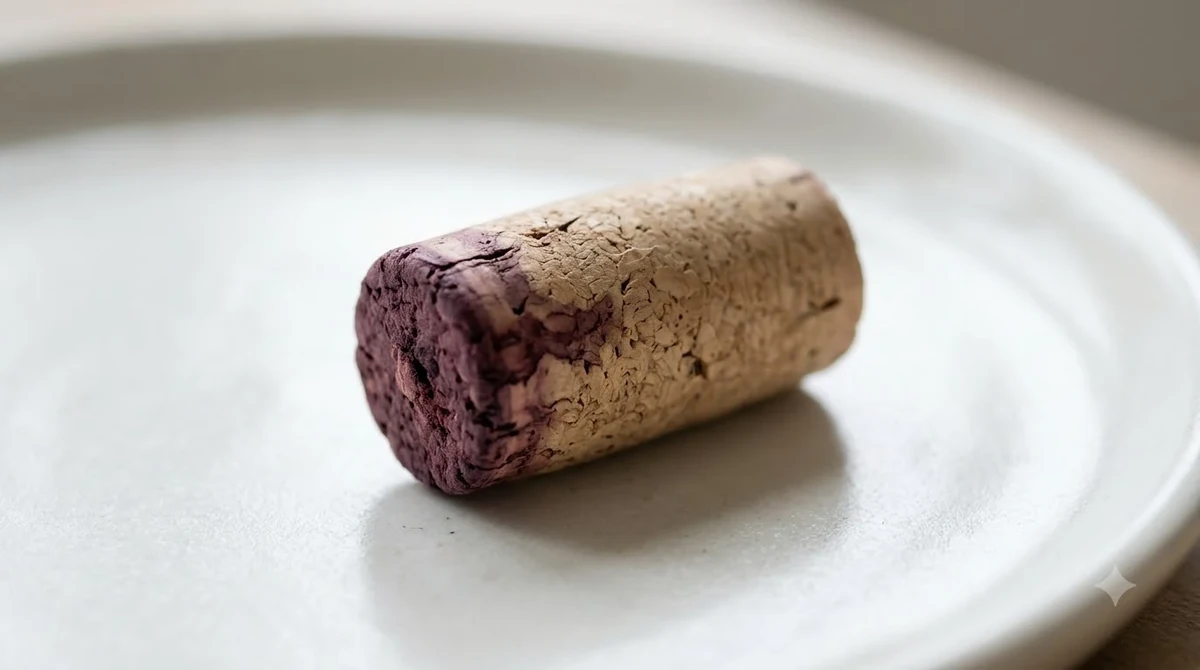
Separate natural cork from plastic or rubber-like synthetic closures. Natural cork is porous and irregular; synthetic pieces can be smoother and may respond differently to glue and pushpins. Test each type before mixing it into a board used often, and keep deeply split or crumbling corks out of the pinning area. Brush each cork with a dry cloth or soft brush. If one has sticky wine residue, wipe that spot with a barely damp cloth and let it dry completely before gluing. Do not soak corks or place damp pieces against wood, because trapped moisture can affect the adhesive and mark the backing. Skip any cork with visible mold or a persistent musty smell.
Choose whole corks, lengthwise halves, or crosswise slices. Whole corks create a rounded surface and need more frame depth; lengthwise halves sit flat against the backing and suit shallow frames. Thin crosswise rings are better for decoration than for pinning. Gathered recommends sanding cut faces for a smoother finish.
Cut on a stable board, never while holding a cork in your hand. Wear protective gloves, keep fingers clear of the blade, and make slow cuts with a serrated knife or suitable small saw. Gathered mentions a serrated knife or junior hacksaw, and BLACK+DECKER advises gloves when trimming. Sand rough faces and brush away dust. For a damaged bottle closure, see how to open a wine bottle with a broken cork.
Prepare the Frame and Backing Panel
Remove the glass and mat, then check that the frame and backing form a rigid, flat surface. The board should not flex noticeably when you press its center because corks and pushpins will put repeated pressure on it.
For a reused picture frame, remove decorative inserts so the cork surface can sit close to the front edge. Refit the backing temporarily and check whether the corks will sit flush or project too far. Replace thin cardboard or warped fiberboard with hardboard or plywood cut to the inside dimensions. Gathered suggests hardboard for a reused frame, while BLACK+DECKER’s framed project uses plywood with a wood-trim border.
Use lengthwise halves in a shallow frame and whole corks in a deeper shadow box. Check the depth at the shallowest point, including any retaining clips, and leave room for adhesive without forcing the panel out of place.
For a wood frame, square the corners and secure the backing before arranging corks. One BLACK+DECKER example uses 1-by-2-inch pine, two 11-inch pieces, two 14-inch pieces, and eight 3/4-inch screws. Adapt those dimensions to your board, sand the wood, and let any paint or stain dry before adding cork. Choose portrait or landscape orientation before fitting the pattern. A desk frame needs a stable stand; a wall-mounted board needs a hanger rated for its finished weight and attached to the frame or structural rails.
Arrange a Pattern Before You Glue
Lay out all the corks while the board is still dry, treating the arrangement as a fitting puzzle rather than gluing pieces down as you go. Consistent spacing, a clear direction, and balanced color help the board look intentional even when the corks carry different logos and stains.
Common layouts include horizontal rows, vertical rows, alternating directions, diagonal bands, and herringbone. A simple grid is easiest to plan because the corks line up in regular rows; alternating directions create more movement but take longer to fit. For a diagonal design, start away from the border and work outward, a method described in the Make: wine cork board project. That allows the central pattern to take shape before you solve the irregular spaces around the edges.
For a more even pinning surface, lay corks on their sides rather than standing them on end. BLACK+DECKER notes that corks vary in height, so an upright arrangement can create an uneven face; laying them sideways makes the surface more consistent. Compare diameters and group similar pieces together in each row. Move wider corks to rows with enough clearance rather than forcing them into narrow gaps.
Choose which end or side faces outward. Winery names and vintage marks can form a central band, or light and dark corks can alternate. Reserve short or damaged pieces for edge fillers rather than prominent spots. Photograph the finished dry layout or mark it on a paper template. Lift only a small section at a time for gluing, and check from a few feet away for wide gaps, uneven heights, or rows drifting out of line.
Glue the Corks and Fit the Edges
Attach the corks with an adhesive suited to the frame material, following its instructions for temperature, ventilation, and curing. Hot glue is convenient for a small framed board because it sets quickly; wood glue can also work on compatible cork and wood surfaces but usually needs more time in position.
For hot glue, work in a ventilated area on a protected, heat-safe surface. Apply a narrow bead to the flat or back side of one cork, press it into its planned position, and hold it steady until it grips. Avoid thick glue mounds: excess can squeeze out, create hard bumps, or stop neighboring corks from sitting close together. J. Lohr’s tutorial applies a line of hot glue to each cork’s back and removes stray strands after the pieces dry.
Start in the center and work toward the edges for a grid, or follow the dry-fit order for a diagonal pattern. Press firmly without crushing or shifting the cork; check the first rows with a ruler. With wood glue, apply a thin layer as directed and use even pressure only if the instructions call for it. Measure each border gap separately because cork sizes and frame corners vary. Mark and trim each filler on a stable cutting surface with gloves, then test-fit before gluing. Small gaps can look rustic, but broad channels may catch pushpins or leave the pattern unfinished.
Let the adhesive cure for the full period stated by its manufacturer. After hot glue cools, remove strands gently; small pliers can help with thick blobs. Reattach any loose cork and check that the outer row will not catch clothing or scrape the wall.
Finish, Hang, and Care for the Board
Inspect the surface for loose corks, rough cut edges, and glue spots before deciding whether to add a finish. A clear coat is optional: it can deepen the color and texture, but too much finish may make pushpins harder to insert.
If you want a sealed look, test a clear gloss or lacquer on a spare cork first. Make sure the product is suitable for the material, apply only a light coat, and follow the manufacturer’s ventilation and drying directions. The Make: project describes clear gloss as optional, while BLACK+DECKER suggests a light coat of lacquer to bring out the cork color. Leave the board unused until the finish has fully cured.
Tip: Before hanging the board, push a thumbtack into a spare cork or an inconspicuous corner. If the tack enters cleanly and stays upright, the cork depth is suitable; if it slips or hits the backing, use thicker corks or a deeper frame.
Choose a sawtooth hanger, D-rings, or another fixture based on the board’s finished weight and wall type. A large board may need two attachment points to prevent twisting. For a desk, confirm that the frame’s stand is stable; hang the board in a dry place away from persistent steam, direct heat, and strong sunlight. Use the surface for lightweight notes, snapshots, and reminders, inserting pushpins straight into the cork rather than levering them sideways. If a tack reaches the backing immediately, the cork layer is too shallow for regular pinning; choose a deeper frame or thicker corks. Dust with a soft brush or a vacuum’s brush attachment on low suction, and do not soak cork with cleaner. Reattach loose pieces after clearing old adhesive. For electric-opener questions, see how to remove cork from electric wine opener; the Wine Q&A section covers wine terminology and serving basics.
Frequently Asked Questions
These answers address a few material and placement questions that can come up after the basic board is assembled.
Can synthetic wine corks be used for a cork board?
Yes, but test them first because synthetic closures differ in firmness and surface texture. Some are made from foamed polymer and may not grip a pushpin like natural cork. A mixed board can work as a decorative display, but keep the pinning area consistent.
Should wine corks be boiled before making a board?
No boiling step is needed. Heat and water can change a cork’s moisture level or shape, and damp pieces should not be attached to a wood panel. A dry brush and a fully dried spot-cleaned surface are usually enough for sound corks.
Can a wine cork board be placed in a kitchen?
Yes, but choose a dry wall away from a stove, sink, or backsplash. Cork is porous, so repeated steam and airborne cooking grease can collect in its surface. A spot away from direct heat is a better choice than a location beside a kettle or oven.
Do wine corks need to be the same size?
No, although grouping similar lengths and diameters makes rows look neater. Sparkling-wine closures and specialty formats may be wider or differently shaped than standard still-wine corks. Keep unusually large or tapered pieces for a border or a separate decorative panel.
What pushpins work best on a homemade wine cork board?
Choose straight steel or brass thumbtacks with a point long enough to enter the cork without reaching the backing. Very short map pins can be difficult to grasp, while oversized upholstery tacks may split a narrow cork. Test a new pin style in a spare or hidden spot before filling the board.
A well-planned wine cork board is straightforward to build with a sturdy frame, a dry-fit pattern, and patient edge work. Start with a smaller panel if your cork collection is limited, and add the corks only after the backing and hanging hardware are ready. The finished board can serve as a message center and a display of the bottles and occasions the corks represent.
More in Wine Basics
 What Is The Best Wine For Mimosas? Choose Bubbly That Balances Orange JuiceUpdated Nov 20, 2026
 Which Prosecco Is Best for Your Taste and OccasionUpdated Nov 20, 2026
 Which Wine Is Best For Health? Understand the Risks and BenefitsUpdated Nov 20, 2026
 Which Champagne Is Best for Your Taste and OccasionUpdated Nov 20, 2026
 What To Put In A Wine Gift Basket For A Thoughtful, Memorable GiftUpdated Nov 20, 2026
 What Is the Best Wine for Mulled Wine? Choose a Smooth, Fruity RedUpdated Nov 20, 2026