

We may earn a commission when you buy through links on this page, at no extra cost to you. Learn more.
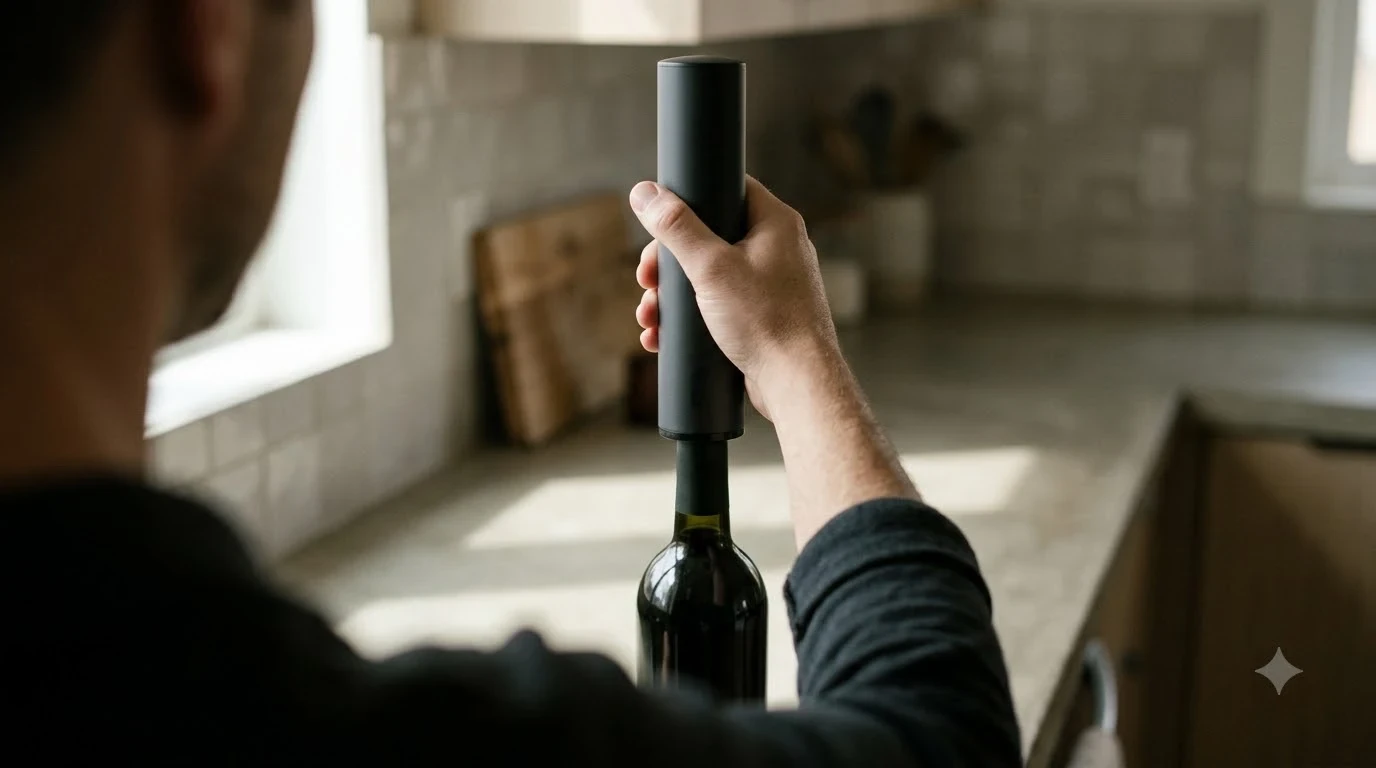
An Oster wine opener charger must match your electric opener’s specific model and charging connection; not every Oster charging base or adapter is interchangeable. Most documented Oster electric wine openers require approximately 6 to 8 hours for a full charge, using their designated charging stand and power adapter. Before purchasing a replacement, identify your model number and determine whether you need the complete charging base, the power cord, or help with an internal battery problem.
Finding an Oster charging replacement can be more complicated than ordering a generic power adapter. Older Oster electric wine openers use dedicated charging arrangements, and some replacement components are no longer available directly from the manufacturer. The safest approach is to check the model identification, compare the original charging components, and contact Oster support before spending money on a part that may not work with your opener.
Oster Wine Opener Charger: Specs and Key Features
An Oster wine opener charger is generally a two-part charging arrangement consisting of an electrical adapter and a dedicated charging stand. The stand positions the opener correctly, while its charging connection transfers power to the rechargeable unit. Identifying both components is important because a replacement adapter alone will not solve a problem caused by a damaged or incompatible charging base.
Oster’s FPSTBW8220 and FPSTBW8225 instruction manual identifies the charging stand, charging indicator, adapter plug, and opener as separate components. This distinction matters when shopping for replacements. A listing advertising an Oster charging cord may not include the stand, while a charging-base listing might not include the correct power supply. The Oster FPSTBW8220 and FPSTBW8225 instruction manual provides the relevant component identification and charging instructions.
The following specifications come from Oster’s documentation and product information. They provide a useful starting point, but they should not be treated as universal specifications for every Oster electric opener.
| Feature | Documented information |
|---|---|
| Documented opener models | FPSTBW8220 and FPSTBW8225 |
| Charging arrangement | Dedicated charging stand and power adapter |
| Recommended initial charge | At least 8 hours |
| Typical recharge time | Approximately 6–8 hours |
| Charging indicator | LED illuminates during charging |
| Connection method | Adapter connects to stand; opener seats into stand |
| Maximum stated bottle capacity | Up to 30 bottles per full charge for the applicable Oster product line |
| Consumer battery replacement | Internal battery is not generally offered as a consumer-replaceable part |
One important distinction concerns the maximum bottle capacity. Oster advertises up to 30 bottles per full charge for its 4-in-1 rechargeable wine opener. That figure is a manufacturer specification for the applicable product, not a guarantee for every older Oster model or a promise that an aging battery will maintain its original capacity.
The charging stand also serves a practical storage function. Oster’s instructions recommend returning the opener to its stand after use to protect the mechanism while it is not operating. If the original stand has disappeared, finding the correct replacement is more useful than buying a random adapter that happens to fit the electrical connection.
What Owners Like About the Charging System
The strongest advantage of the original Oster charging arrangement is its straightforward operation. Once the correct adapter is connected and the opener is properly seated, charging requires little attention beyond allowing the recommended charging period to finish.
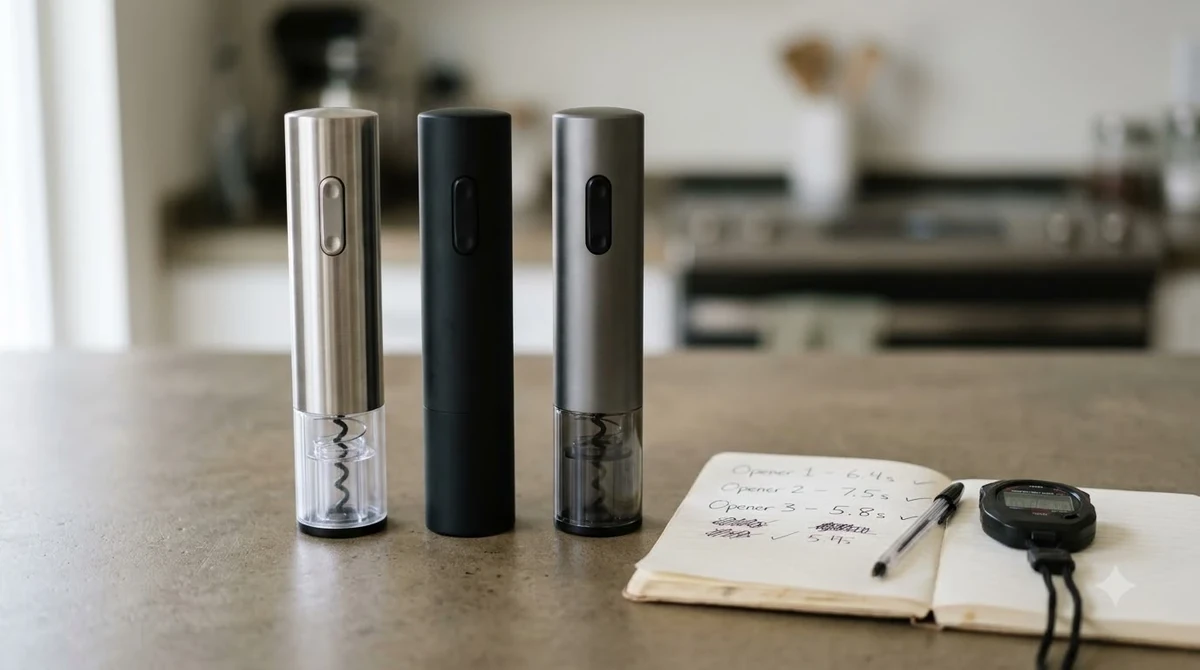
Owners who regularly open bottles for dinner parties can appreciate having a designated place for the appliance. Instead of searching through kitchen drawers for a charging cable, they can keep the opener upright in its stand on a counter or bar area. The arrangement also keeps the charging equipment together, reducing the chance of misplacing individual pieces.
Oster’s product information describes cordless operation and an ergonomic soft-grip body. The manufacturer’s 4-in-1 kit specification also states that a fully charged opener can handle up to 30 bottles. For households that open several bottles during entertaining, cordless operation can be convenient because the opener does not need to remain connected to an outlet while removing corks.
Owner feedback is mixed, but positive experiences are also represented. Reviews published on Oster’s product page include customers reporting several years of satisfactory use. One owner described an opener that had performed consistently since receiving it in 2015, while another reported that a replacement unit was operating well.
These experiences show why identifying the actual problem matters before replacing an entire appliance. A missing power adapter, an incorrectly seated opener, and a deteriorating rechargeable battery are different problems. Each requires a different solution, and replacing the complete opener before checking the charging connection may be unnecessary.
The original charging arrangement also has an advantage over improvised charging solutions: it is the configuration intended by the manufacturer. Oster specifically instructs owners to use the supplied charging unit and power cord. That makes the original equipment the sensible first choice whenever an appropriate replacement can be obtained.
For someone assembling a dedicated wine station, the upright base can also keep the opener accessible without occupying the space needed for glasses, decanters, and serving accessories. A coordinated setup can work particularly well alongside a bar cart, where frequently used accessories have a designated storage location.
Common Complaints and Replacement Problems
The main drawback of an Oster wine opener charger is replacement availability. Some owners discover that their original adapter or base is missing or damaged only after the appliance has been stored for several months. Finding an exact replacement can be difficult, especially with older or discontinued opener models.
Another recurring complaint concerns batteries that gradually lose their ability to hold a charge. Oster’s customer-care responses explain that the rechargeable battery is an internal component rather than a consumer-replaceable accessory. A replacement charging base cannot restore a battery that has reached the end of its useful life.
Owner reviews on Oster’s 4-in-1 product page include reports of charging equipment that stopped working, batteries losing power after a small number of charging cycles, and openers becoming unusable after several years. Other reviewers describe reliable performance over a much longer period. These individual experiences should be treated as examples rather than proof that every unit has the same reliability problem.
There is also some confusion about the charging indicator. Some owners expect the LED to change from red to green when charging finishes. However, Oster customer care explains that the red light can remain illuminated even after the opener is fully charged. The color alone is therefore not a dependable indication that the battery is defective.
A stuck cork is another complaint that can be mistaken for a charging problem. If the motor operates but the cork remains caught in the corkscrew, the issue involves the opening mechanism rather than necessarily the charger. Oster’s operating instructions explain that the upper switch releases the cork after it has been removed from the bottle.
Replacement availability is particularly important for older models. Oster’s customer-care response concerning a K257KLE opener, for example, states that the required replacement power supply was unavailable. That does not establish that every Oster charger is discontinued, but it demonstrates why checking the exact model before ordering is essential.
Another limitation is that a charger marketed simply as compatible with Oster products may not be suitable for your particular appliance. Brand names alone do not establish compatibility. The connector, electrical specifications, charging arrangement, and model designation all need to match.
How to Check Charger Compatibility Before Buying
Start by identifying the model number printed on your opener. Oster manuals identify the motor’s rear area as a location for model information. This number is more useful than the product’s appearance because several Oster openers have similar black-and-silver housings while using different charging arrangements.
Use the following steps before ordering any replacement component.
- Find the model number. Look at the rear of the motor housing and record the complete model designation. Examples in Oster documentation include FPSTBW8220 and FPSTBW8225. Do not assume that another model with a similar exterior uses the same charger.
- Identify the missing component. Determine whether you need the wall adapter, its connecting cable, the charging stand, or the entire charging assembly. Photograph the original equipment if it is available.
- Check the electrical specifications. Compare the replacement adapter’s output voltage, current rating, polarity, and connector type with the original manufacturer’s requirements. A connector that physically fits is not sufficient evidence of electrical compatibility.
- Compare the charging stand. Check its shape, contact arrangement, and model compatibility. A replacement base designed for a different Oster opener may not position the charging contacts correctly.
- Ask Oster about availability. Provide the complete model number and describe the missing or damaged part. Manufacturer support can help establish whether the component is available or whether an authorized service center is needed.
- Check the return policy. If purchasing from a third-party replacement-parts seller, confirm that the listing identifies your exact model and allows returns if the component proves incompatible.
These checks are particularly useful when shopping for older Oster accessories online. A listing might use broad descriptions such as electric wine opener charger, cordless wine opener base, or replacement Oster power adapter without identifying the precise models supported.
Tip: Never choose a replacement power adapter based only on the shape of its plug. Match the electrical output and charging requirements specified for your exact Oster model, and use the original charging equipment whenever possible.
It is also sensible to retain the original instruction booklet and purchase information. These documents can help establish the correct model and warranty coverage when contacting customer support. If the original paperwork is missing, Oster’s product documentation and support department are useful starting points.
Troubleshooting an Oster Wine Opener That Will Not Charge
Before replacing the charging equipment, check the electrical connection and seating position. Oster’s instructions specify that the opener must be firmly positioned in the charging stand so that the charging connection is fully engaged. A loose connection can prevent normal charging even when the adapter itself is functional.
Work through the following checks in order rather than immediately purchasing another charger.
1. Check the electrical outlet
Connect the original adapter to a different working wall outlet. Oster customer care specifically recommends trying another outlet when an opener does not charge properly. This simple check helps rule out a problem with the original socket before investigating the appliance.
2. Inspect the adapter and cable
Look for visible damage, loose connections, bent plug components, or a cable that has been pinched behind furniture. Do not use an adapter with damaged wiring or a damaged plug. The manufacturer’s manual warns against operating the appliance with a damaged cord or plug.
3. Reposition the opener
Remove the opener from its stand and place it back carefully. Make sure it sits firmly and that the charging contacts engage. If the unit is leaning or sitting unevenly, it may not connect correctly.
4. Allow the full charging period
For the documented FPSTBW8220 and FPSTBW8225 models, Oster specifies approximately 6 to 8 hours for recharging. The manufacturer recommends an initial charge of at least 8 hours before first use. Avoid judging the charging performance after only a short period.
5. Understand the LED indicator
Do not assume that a continuously illuminated red light means charging has failed. Oster customer care explains that the red indicator may remain on even when the opener is fully charged. For the applicable models, the charging time and subsequent operating performance are more useful indicators than expecting the light to turn green.
6. Consider internal battery failure
If the opener remains weak after the correct charging procedure, the rechargeable battery may have deteriorated. Oster states that the internal battery is not available as a consumer-replaceable component. Its customer-care guidance directs owners toward authorized service support for internal-part issues.
There is no good reason to dismantle the charging stand or motor housing to investigate the battery yourself. Oster’s manual says that the opener and charging unit contain no user-serviceable parts. Opening either component can create electrical and mechanical hazards and may affect warranty coverage.
For additional product assistance, contact Oster through its official support channels or call the US customer service number listed in the applicable manual, 1-800-334-0759. Have the model number and purchase documentation available so the representative can identify the correct product and discuss available options.
How the Oster Charger Compares to Other Wine Opening Options
The original Oster charging system is most suitable for someone who already owns a compatible electric opener and wants to restore its intended cordless operation. A manual corkscrew, a replacement electric opener, and a complete accessory set solve different problems, so the best choice depends on whether the difficulty involves charging, battery performance, or the opening process itself.
A manual corkscrew does not need a charging base, wall adapter, or rechargeable battery. It is a practical backup when an electric opener stops working, and it can be stored in a drawer without requiring access to a power outlet. However, it does require more physical effort and a little practice to remove corks cleanly.
A replacement electric opener makes more sense when the original Oster appliance has a failing internal battery and no suitable replacement part is available. Before buying another unit, compare the charging arrangement, warranty coverage, included accessories, and battery specifications. A product that includes a new dedicated charging base may be more practical than purchasing an older appliance without its original accessories.
A complete wine accessory kit is another possibility. Oster’s 4-in-1 Wine Kit includes a rechargeable opener, an aerating pourer, two vacuum stoppers, and a foil cutter. The manufacturer states that the opener can handle up to 30 bottles per full charge. This option provides several additional accessories, but it should not be treated as a source of interchangeable replacement charging components for older models. Oster’s 4-in-1 Wine Kit product information provides the manufacturer’s listed features and warranty details.
Buyers who already have a working manual opener may prefer to expand their accessory collection instead of replacing the electric unit. For example, a wine opener and preserver set combines opening and storage equipment in one purchase. A compact wine bottle opener keychain can also be useful as a portable backup, although it does not replace the convenience of an electric opener at home.
The following comparison summarizes the practical differences.
| Option | Charging required | Main advantage | Main limitation |
|---|---|---|---|
| Original compatible Oster charger | Yes | Preserves the intended charging arrangement | Availability depends on model |
| Manual corkscrew | No | Simple operation without electrical components | Requires manual effort |
| Replacement electric opener | Usually | Replaces an aging appliance | Requires a new purchase and charging setup |
| Complete wine accessory kit | Depends on included opener | Combines several wine accessories | May not provide compatibility with an older Oster base |
For buyers comparing different accessory manufacturers, the site’s Accessory Brands section can provide a broader starting point. The important consideration is not simply whether an alternative opener is electric, but whether its charging arrangement, battery support, and replacement-part availability suit your household.
There is no universal replacement that is automatically superior to the original Oster system. If your current opener is otherwise functional, obtaining the correct original charger is generally the most direct solution. If its internal battery has failed, replacing the complete appliance may be more realistic.
Care and Storage Tips for Oster Charging Equipment
Proper handling can help protect the charging stand, adapter, and opener from avoidable damage. The most useful habits are keeping the equipment dry, avoiding cable strain, and following Oster’s recommended charging procedure.
Keep the charging base on a stable, dry indoor surface. Oster’s manual specifies indoor use and warns against exposing the opener or charging equipment to rain or extreme conditions. A countertop or dedicated bar shelf away from sinks and hot appliances is a sensible location.
Position the cable so it does not hang over the edge of a counter or come into contact with hot surfaces. Oster also warns owners not to pull the power cord when disconnecting the plug. Hold the plug itself when removing it from the outlet.
For infrequent use, follow the manufacturer’s charging instructions rather than assuming that permanent connection to the wall is necessary. Oster customer care advises that an opener used infrequently should not be left plugged in continuously. The stated 6-to-8-hour charging period is the appropriate reference for the documented models.
Keep the charging stand free of accumulated dust and debris around its electrical connection. Before cleaning, disconnect the adapter from the outlet. Use a dry or slightly damp cloth for accessible exterior surfaces, and never immerse the opener or charging stand in water.
Oster’s manual specifically says that the motor unit should be wiped with a damp cloth or sponge and must never be immersed. The corkscrew spiral is sharp, so handle the mechanism carefully and avoid touching it unnecessarily.
It is also helpful to keep the original adapter and charging stand together. If you move the opener between a kitchen and a home bar setup, store the charging equipment in a designated place instead of mixing it with adapters belonging to other appliances.
Finally, retain the original model information and warranty paperwork. The FPSTBW8220 and FPSTBW8225 manual specifies a one-year limited warranty, while Oster’s 4-in-1 product page lists a three-year limited warranty for the FPSTBWGS19 kit. Warranty terms are product-specific, so the coverage for one model should never be assumed to apply to another.
Frequently Asked Questions
Does Oster sell a universal wine opener charger?
Oster’s documented charging instructions specify using the charging unit and power cord supplied with the applicable opener. A universal charger should not be assumed to work across the product range. Contact Oster with your model number to establish whether a compatible replacement is available.
Can an Oster wine opener charge through a USB cable?
The documented FPSTBW8220 and FPSTBW8225 charging arrangements use a dedicated stand and adapter rather than a USB charging connection. Do not connect a USB power source through an improvised cable or adapter. Use only a charging arrangement approved for your specific model.
Can an Oster wine opener work while connected to its charger?
Oster’s documented operating instructions describe charging and cordless operation as separate activities. They do not establish that every model can operate directly from its charging connection. Use the appliance according to the instructions supplied for its particular model rather than treating the charging stand as an operating power supply.
Where can I find the Oster wine opener serial or model information?
Oster’s instruction manual identifies the back of the motor as the location for the complete model number. Record that designation before contacting support or searching for replacement parts. The model number is particularly useful when several similar-looking openers have different accessories.
Does a replacement charging base include a new rechargeable battery?
No, a charging base and an internal rechargeable battery are separate components. Replacing the external base does not replace the battery inside the opener. Oster customer care identifies the internal battery as a component that is not offered for ordinary consumer replacement.
The best Oster wine opener charger is the original or manufacturer-approved charging assembly made for your exact model. Check the model number, distinguish the adapter from the charging stand, and troubleshoot the outlet and charging connection before ordering anything. If the internal battery has deteriorated or the required replacement component is unavailable, comparing the cost and practicality of a complete replacement opener is the more sensible next step.
More in Wine Accessories
 Vinglace Wine Tumbler Review: A Glass-Lined Choice for Better SippingUpdated Nov 20, 2026
 ZWILLING Electric Wine Opener Review: Features and DrawbacksUpdated Nov 20, 2026
 Vinturi Electric Wine Opener Review for Easy UncorkingUpdated Nov 20, 2026
 Vinabon Wine Aerator Review for Easier, Cleaner Wine ServingUpdated Nov 20, 2026
 Vacu Vin Electric Wine Opener Review: Easy Cork Removal for Home Wine LoversUpdated Nov 20, 2026
 Rabbit Wine Accessories for Easier Home Wine ServiceUpdated Nov 20, 2026