

We may earn a commission when you buy through links on this page, at no extra cost to you. Learn more.
How to make wine at home comes down to five steps: crush ripe grapes, add yeast, let the juice ferment, age the wine off its sediment, then bottle it with a little sulfite for protection. Primary fermentation usually takes one to two weeks, and aging typically runs three to six months before bottling. Home winemaking is a simple process with a few details that decide the result, mainly sugar level, temperature, sanitation, and oxygen control.
Making wine at home is a popular hobby for people who enjoy cooking, gardening, or experimenting with flavor. The process is older than written history and has changed little in its basic form. This guide walks through the main stages, the numbers that matter, and the common mistakes that cause spoiled batches, so you know what to expect before you start.
Choose the grapes and the equipment
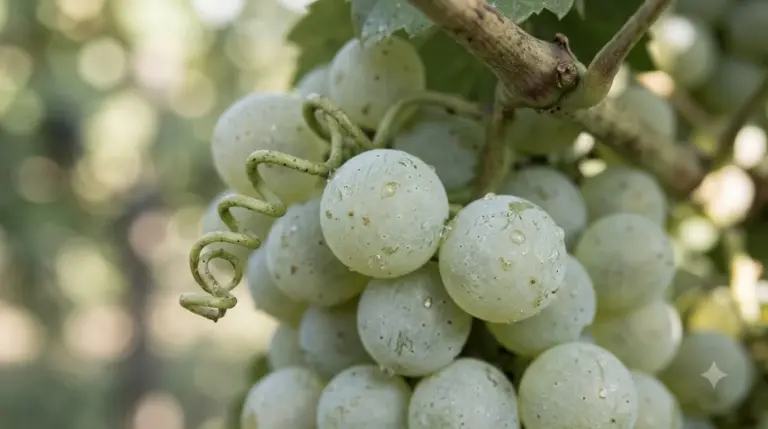
Good wine starts with good fruit. Ripe grapes with balanced sugar and acidity give the best results, and the grapes should be sound, with no mold or rot. Home winemakers often buy fresh grapes from a local grower or a wine supply shop, though some also use juice concentrate, which skips the crushing step.
You do not need a large setup. A clean food-grade bucket, a fermentation vessel with an airlock, a siphon or tube for transferring the wine, a hydrometer to measure sugar, and glass or food-safe containers for aging cover most of the work. Equipment must be cleaned and sanitized before every use, because stray bacteria are one of the most common causes of spoilage.
Step one: crush the grapes
Crushing breaks the grape skins and releases the juice. Small producers sometimes trample grapes or use a small crusher, and the goal is to open the berries gently without crushing the seeds, which can add bitterness. For red wine, the stems are usually removed first because they add tannin that can taste harsh if too much is extracted.
The mixture of crushed skins, seeds, and juice is called must. Red wine is usually fermented with the skins in contact with the juice, because the skins provide color and much of the flavor. White wine is usually pressed earlier, so the juice ferments with little skin contact. That difference is one reason red and white home batches look and taste so different.
Step two: add yeast and start fermentation
Wild yeast on the grape skins can ferment the must on its own, but the results are unpredictable. Most home winemakers add a cultured wine yeast, which starts fermentation reliably and produces consistent flavor. Read the yeast package for the recommended temperature range, since different strains behave differently.
Temperature matters a great deal. According to the Wikipedia article on winemaking, red wine is typically fermented at about 22 to 25 degrees Celsius, while white wine is kept cooler, at about 15 to 18 degrees Celsius. Cooler temperatures preserve fresh fruit in white wine, and warmer temperatures help extract color and tannin from red skins.
Sugar level sets the potential alcohol. Yeast turns sugar into alcohol and carbon dioxide, and the same source notes that roughly 0.5 grams of alcohol form for each gram of sugar. A must with about 24 percent sugar would yield about 12 percent alcohol. A hydrometer or saccharometer measures sugar before fermentation begins, so you can adjust the batch if the grapes are low in sugar. Adding sugar to raise potential alcohol is a common practice called chaptalization.
| Stage | Typical timing | What to watch for |
|---|---|---|
| Crushing and pressing | Same day as harvest | Gentle handling, clean equipment |
| Primary fermentation | One to two weeks | Steady bubbling in the airlock, stable temperature |
| Racking off sediment | After active fermentation slows | Clear liquid, sediment left behind |
| Aging | Three to six months | Airlock kept full, container sealed from air |
| Bottling | When the wine is clear and stable | Final sulfite addition, clean bottles |
Tip: Keep a written log of sugar readings, temperatures, and dates. A simple record makes it easier to repeat a good batch and to spot a problem early.
Step three: age the wine and manage oxygen
After active fermentation slows, the wine needs to be moved off its lees, the dead yeast and solids that settle at the bottom of the container. This process is called racking, and it is usually repeated once or twice as the wine clears. Clear wine tastes cleaner and is less likely to spoil.
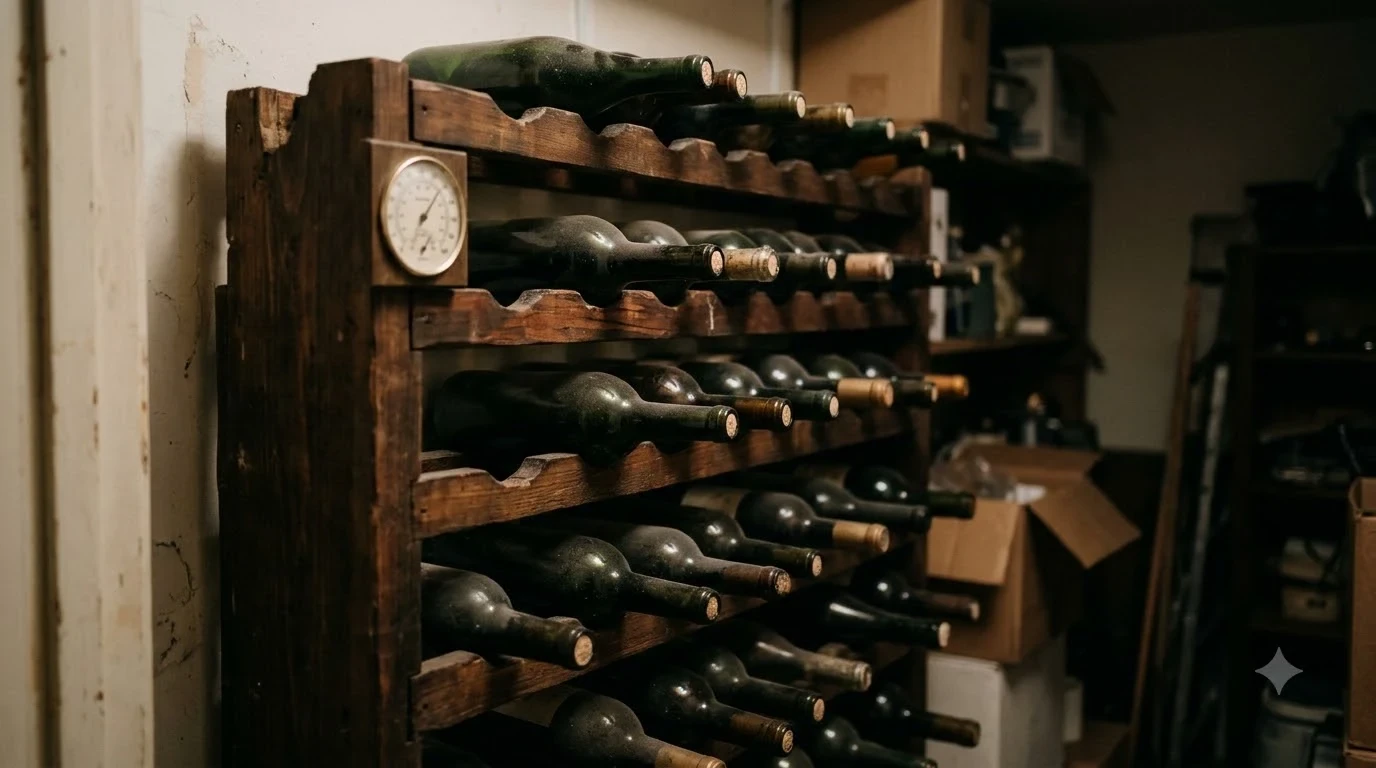
Aging keeps the wine protected from oxygen. The vessel should be filled close to the top and fitted with an airlock, because too much air exposure can turn fresh fruit flavors flat or vinegary. Aging typically runs three to six months, and the wine is ready when it is clear and tastes balanced. Some home winemakers age reds longer, depending on the grape and the style they want.
Step four: consider malolactic fermentation
Malolactic fermentation is an optional second fermentation in which lactic acid bacteria convert the sharper malic acid into the milder lactic acid. Many red wines and some full whites go through it, which softens the acidity and adds a creamy texture. Winemakers who want a crisp, fresh wine often skip it or prevent it.
The step needs care. Malolactic bacteria can spoil a wine if the pH rises too high, and the same reference recommends keeping pH below about 3.55 for whites and 3.80 for reds. Testing the pH with a meter or strips is the only reliable way to know where a batch stands before deciding whether to let the bacteria work.
Step five: bottle the wine with sulfite
Bottling is the final step. Before filling bottles, most home winemakers add a small dose of sulfite, usually as sulfur dioxide. Sulfites act as both an antimicrobial and an antioxidant, which protects the wine from spoilage after it leaves the vessel. Our guide to Wine Glossary terms explains the basic wine words you may see on supply packaging.
The same reference notes that wine made without any sulfur dioxide can suffer bacterial spoilage even when the winemaking practice is careful. Sanitation remains the most important factor for any batch. Bottles should be clean, corks or screw caps should be fresh, and the wine should be stored at a steady, cool temperature while it rests.
Common mistakes in home winemaking
Most failed batches come from a small set of problems. Poor sanitation is the most common, because bacteria and wild yeast can overwhelm the intended culture. Fermenting at a temperature far outside the yeast’s range is another frequent issue, and it can produce stuck fermentations or unpleasant aromas. Oxygen exposure during aging also causes trouble, since it dulls fruit and can create a sherry-like or vinegar-like taste.
Using overripe or moldy fruit, guessing at sugar levels, and bottling too early are other mistakes. Patience pays off. A batch that has rested for several months and cleared fully tends to taste much better than one rushed to the bottle. For the role tannin plays in red wine structure, see our explainer on what is tannins in wine.
Frequently Asked Questions
How long does it take to make wine at home?
Primary fermentation usually takes one to two weeks, and aging typically runs three to six months before bottling. Most batches need at least several months from crush to bottle, and some reds benefit from longer aging.
Do I need to add yeast to homemade wine?
Wild yeast can ferment the must on its own, but results are unpredictable. Most home winemakers add a cultured wine yeast for consistent fermentation and flavor, and they follow the temperature range printed on the yeast package.
Why do homemade wines spoil?
Spoilage usually comes from bacteria or wild yeast, unclean equipment, or too much oxygen during aging. Keeping everything sanitized, the vessel full and sealed, and the wine at a steady temperature prevents most problems.
Is sulfite necessary when bottling homemade wine?
Most home winemakers add a small dose of sulfite at bottling because it protects against spoilage. The reference notes that wine without any sulfur dioxide can still suffer bacterial spoilage, so sanitation remains essential either way.
Making wine at home rewards careful habits more than fancy equipment. Start with sound grapes, keep everything clean, watch temperature and sugar, and be patient during aging. For more on how grape varieties shape the finished bottle, read our guide on how to make wine from grapes.
More in Wine Basics
 Which Rose Is Best for Your Taste, Budget, and Food PairingsUpdated Nov 21, 2026
 Is Cheap Wine Bad? How to Find Bottles Worth DrinkingUpdated Nov 21, 2026
 What To Write On A Wine Gift Tag: Thoughtful Messages For Every OccasionUpdated Nov 21, 2026
 Which Wine Is Best For Weight Loss? Compare Lower-Calorie ChoicesUpdated Nov 21, 2026
 What Is The Best Wine For Mimosas? Choose Bubbly That Balances Orange JuiceUpdated Nov 20, 2026
 Which Prosecco Is Best for Your Taste and OccasionUpdated Nov 20, 2026