

We may earn a commission when you buy through links on this page, at no extra cost to you. Learn more.
The direct answer to how to build a wine rack from pallets is to use clean, heat-treated boards and assemble a 15-bottle rack with five columns, three rows, and open-front bays. A compact example measures about 24.5 inches wide, 17 inches high, and 15 inches deep, with each bay sized around the bottles you plan to store. The essential steps are to inspect the pallet, remove every fastener, cut and sand the boards, assemble a square frame, and secure the finished rack against tipping.
A pallet wine rack can be a practical way to reuse sound wood and create storage that fits a particular wall, counter, or collection. The plan below uses a simple cabinet-style layout rather than relying on the original pallet structure to carry a loaded rack. It is designed for standard 750-milliliter bottles, but the measurements are a starting point: measure your own bottles before making the final cuts.
Choose a safe pallet before bringing it indoors
Start with a dry, clean pallet that has a legible treatment mark and no sign of spills, pests, or structural damage. For an indoor wine rack, look for the ISPM 15 code HT, reject any pallet marked MB, and pass over wood with unknown stains, strong odors, or deep cracking.
The official ISPM 15 mark identifies the treatment type as well as country and facility information. The U.S. Department of Agriculture’s Animal and Plant Health Inspection Service guidance explains that the mark includes the IPPC logo, a two-letter country code, a facility number, and a treatment code. HT identifies heat treatment; MB identifies methyl bromide fumigation. Those codes describe pest treatments, not a guarantee that a used pallet has stayed clean during transport, so inspect the actual boards as carefully as the stamp.
Choose a pallet with straight, solid deck boards and sound support blocks. Reject boards with soft or crumbly areas, active insect holes, black mold-like growth, oily patches, chemical smells, or large splits around nail holes. Avoid painted pallets and pallets that look as though they were exposed to leaking containers. A clean appearance is not proof of a clean history, and an illegible or missing mark makes the pallet a poor choice for this indoor project.
Do not assume that every pallet is the same size or construction. Some have widely spaced slats, others use closely fitted boards, and the thickness of the wood can vary across the same pallet. Choose one with enough usable material for the back, sides, shelves, and dividers; a second pallet or a few pieces of new lumber may be needed if the boards are too short or damaged.
Plan the rack around real bottle dimensions
Measure the bottles you intend to store before setting the rack width, height, or depth. A standard 750-milliliter wine bottle is commonly shown at about 11.8 inches long and 2.95 inches in diameter, but sparkling bottles, broad-shouldered bottles, and large formats can require more room.
The example below provides 15 separate bays in a five-column by three-row layout. Each bay is approximately 4 inches wide, 4.5 inches high, and 14 inches deep; those clear dimensions leave room around a typical bottle while keeping the bottle lying horizontally with its neck facing the open front. Measure the widest bottle body and the longest bottle in your collection, then add clearance rather than forcing a close fit.
| Rack part or measurement | Example size | Purpose |
|---|---|---|
| Overall width | 24.5 in | Five bottle bays across |
| Overall height | 17 in | Three rows with shelf thickness |
| Overall depth | 15 in | Room for a bottle about 11.8 in long |
| Clear bay width | 4 in | Side-to-side bottle clearance |
| Clear bay height | 4.5 in | Vertical clearance for the bottle body |
| Clear bay depth | 14 in | Front-to-back bottle support |
| Capacity | 15 bottles | Five columns multiplied by three rows |
These are working dimensions, not a universal standard. Test the widest and longest bottle you own, including its closure, before cutting; reserve larger bays for sparkling bottles or other broad formats.
Gather tools and prepare the pallet boards
Set out a pry bar, hammer, nail puller or reciprocating saw with a metal-cutting blade, tape measure, pencil, square, circular saw or jigsaw, drill/driver, clamps, and sanding equipment. Add safety glasses, hearing protection, work gloves for handling rough wood, and a dust mask or respirator suitable for wood dust.
For the 15-bottle layout, plan to use pallet boards for the rear panel, two sides, top and bottom, two internal shelves, four vertical dividers, and three front retaining strips. The exact cut list depends on the usable board widths and thicknesses in the pallet. Lay the parts out on the floor before cutting so you can see whether there is enough sound wood and whether the grain or damage makes a board unsuitable for a load-bearing part.
Remove boards slowly and deliberately. A pry bar can split brittle pallet slats, while a reciprocating saw can cut the nails between the deck boards and stringers with less levering force. Keep the saw blade clear of your hands, watch for hidden nails, and never kick or jump on a pallet to break it apart. After dismantling, use a nail puller to remove exposed fasteners and run a magnet over the boards to locate small nail fragments that can remain embedded.
Sort boards into frame-and-shelf pieces, short-divider pieces, and scrap. Discard any board with a crack at a screw location, unusual flex, or damage that cannot be sanded away.
Cut the cabinet frame and keep it square
Build the rack as a small cabinet with a back panel, two side panels, a top, a bottom, and two horizontal shelves. For the example dimensions, make the finished outside measurements about 24.5 inches wide by 17 inches high by 15 inches deep, adjusting the cut list for the actual thickness of the pallet boards.
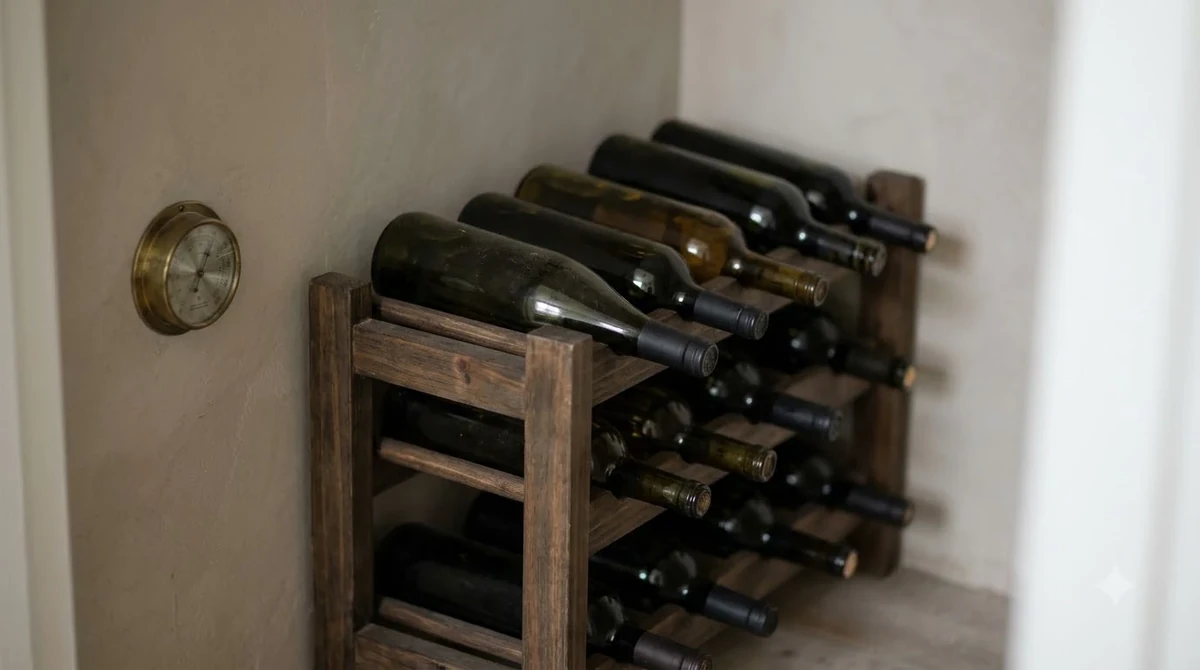
First, join several pallet slats edge-to-edge to make the back panel. Fit a crosspiece across the back near the top and another near the bottom; these help hold the panel flat and provide solid points for later fastening. Clamp the boards before drilling, check the panel diagonally with a tape measure to confirm that the corners are square, and predrill screw holes near board ends to reduce splitting.
Attach the side panels to the back, then fit the bottom and top between them. Use screws rather than relying only on old pallet nails, and select a screw length that passes through the first board without poking through the outside face. Keep the frame on a flat work surface while fastening. Measure both diagonals again: if they differ, gently pull the longer diagonal toward square with a clamp before tightening the final screws.
Install the two horizontal shelves so the rack has three equal-height openings. With boards around three-quarters of an inch thick, the interior height needs to accommodate three clear openings of about 4.5 inches plus the thickness of the two shelves and the top and bottom panels. Dry-fit a bottle in each row before permanently fixing the shelves; a small adjustment now is much easier than rebuilding a loaded cabinet later.
Add dividers and bottle-retaining strips
Vertical dividers separate each row into five bottle bays and stop neighboring bottles from rolling into one another. Cut four dividers to the interior height and depth, position them evenly across the width, and fasten them to the top, bottom, and each shelf so that every opening stays aligned from front to back.
Use a spacer block cut to the planned clear bay width to set the dividers consistently. For this rack, aim for about 4 inches of clear width in each bay, adjusting for divider and side-panel thickness. Check each opening at the front and rear; an inward-leaning divider can catch a bottle shoulder.
Fit a low retaining strip across the front of each shelf, leaving enough opening for a bottle to slide in while preventing it from rolling out. A strip around 1 inch high is a useful starting point, but test it with an empty bottle before loading wine. Ease the top edge so it has no sharp corners, and make sure screw tips do not protrude into the bottle bays. The rear panel acts as the backstop, while the dividers and front strips keep bottles separated and seated.
Do not depend on a decorative lip, one nail, or a loose shelf to hold glass bottles. Correct any rocking frame, bowed shelf, or loose joint before loading. If a shelf flexes, add a sound-wood support cleat fastened into the side panels or dividers.
Sand, finish, and secure the finished rack
Sand every surface that a hand or bottle can touch, starting around 80 grit to remove splinters and moving through 120 and 180 grit until the wood feels smooth. Pay particular attention to shelf edges, divider corners, and the inside of each bay, where rough grain can snag a label or scratch a bottle.
Fill only small cosmetic holes; do not use filler to disguise a cracked structural joint. Wipe away dust between sanding stages and inspect the rack under bright light. If you apply a finish, choose one intended for interior wood furniture, follow its curing instructions, and allow the odor to dissipate fully before putting bottles in the rack. A clear water-based finish preserves a lighter look, while a darker stain changes the color; either way, the finish should be fully dry and the surface should not feel tacky.
Place the rack on a flat, level surface and secure it against tipping, especially near children, pets, or regular foot traffic. For a wall connection, locate studs and drive suitable structural screws through the rear support into the studs, not just drywall. On a counter or sideboard, use an anti-tip strap or wall bracket. Keep the rack away from heaters, sunny windows, and ovens, and keep it low enough to reach the top row safely.
Tip: Load the lowest row first, adding one bottle at a time while checking for movement, shelf flex, and front-strip clearance. If the frame shifts or a joint opens, unload it and reinforce the structure before adding more bottles.
Choose a stable place for wine storage
A well-built rack keeps bottles organized, but its location matters just as much as the joinery. Wine Enthusiast’s storage guidance recommends a steady temperature around 53–57°F, while Decanter describes about 53°F as a classic cellar temperature and advises avoiding large swings, bright light, and unnecessary movement.
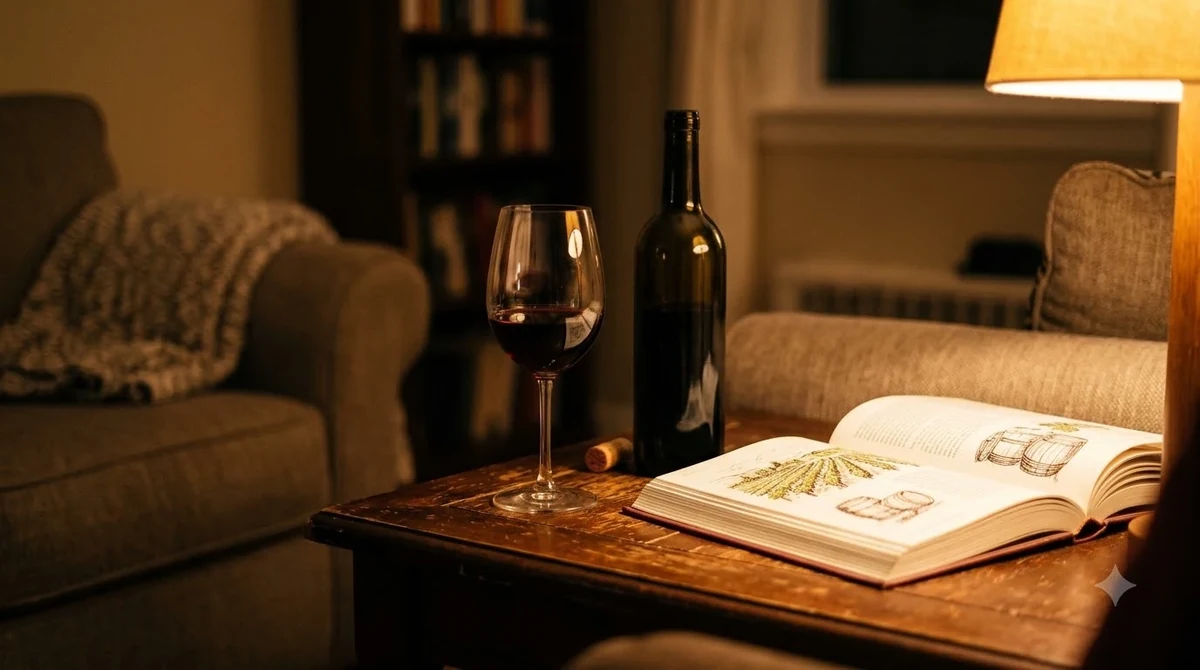
Choose a dark, cool spot with little temperature variation. A kitchen wall beside an oven, a sunny window, or a laundry area with changing heat is a poor choice for bottles intended to age; a closet or consistently cool interior room is better. Pallet wood supports bottles but does not regulate temperature. Store cork-closed bottles horizontally so wine remains in contact with the cork, especially during longer storage. Screw-cap bottles do not depend on that relationship, but horizontal storage keeps a mixed collection consistent. Keep the rack away from strong light and avoid shifting bottles repeatedly.
Wine Enthusiast recommends at least 25 percent more capacity than the current collection, so a 15-bottle rack is a better fit for about 12 bottles than for a full rack with no room to grow. For storage lasting three years or more, the publication gives a relative-humidity range of 50–75 percent. An open rack cannot control humidity, so place it in a room where conditions are already stable.
A pallet rack is a storage fixture, not a substitute for a temperature-controlled cellar. For valuable bottles held for years, compare your collection’s needs with how much it costs to build a wine cellar before choosing a location. For another wood-based design, see how to make a wine rack out of wood, or browse the site’s Wine Q&A for storage and serving basics. Keep space around the rack for cleaning, and check the screws and wall strap periodically.
Frequently Asked Questions
These answers cover common decisions after the 15-bottle, five-column rack is assembled. Check the HT or MB pallet code before using reclaimed boards, and use a full-size bottle template before changing the 4-inch bay width.
How long does it take to build a pallet wine rack?
A straightforward rack can fit into a weekend project, but the time depends on how carefully the pallet comes apart and how much repair the boards need. Bosch DIY lists a four-hour duration for its separate wooden wine-rack project, which is a useful reference rather than a guaranteed time for reclaimed wood.
Can I add a place to hang wine glasses?
Yes. A separate rail below the rack can hold stemware by its base, provided the glasses have enough clearance and cannot be knocked by bottles being removed. One Sikana pallet project uses notches spaced 6 centimeters apart and leaves a 5-centimeter margin at the end of its glass-hanging plank.
Can the rack hold magnums or unusually shaped bottles?
Do not assume that a bay sized for a standard 750-milliliter bottle will fit a magnum, sparkling bottle, or broad-shouldered bottle. Make a separate full-size template from the actual bottle and increase the bay width, height, and depth as needed before cutting the dividers.
Can I leave a pallet wine rack outside?
An indoor rack should not be treated as outdoor furniture. Repeated wetting and drying can open joints and warp reclaimed boards, while direct sun can heat the bottles well beyond the preferred storage range; an outdoor display is best kept empty or used only for short-term entertaining.
Do I need to store screw-cap wines on their sides?
No cork needs to stay moist in a screw-cap bottle, so upright storage is possible. Decanter notes that side storage matters less for screw-cap closures, although a horizontal rack can still make mixed collections easier to organize.
A pallet wine rack works best when the wood is clean, the bays are measured for the bottles, and the frame is securely braced before loading. Start with one carefully inspected pallet, build the sample 15-bottle layout to fit your space, and leave enough clearance to handle every bottle without forcing it into place.
More in Wine Basics
 Which Rose Is Best for Your Taste, Budget, and Food PairingsUpdated Nov 21, 2026
 Is Cheap Wine Bad? How to Find Bottles Worth DrinkingUpdated Nov 21, 2026
 What To Write On A Wine Gift Tag: Thoughtful Messages For Every OccasionUpdated Nov 21, 2026
 Which Wine Is Best For Weight Loss? Compare Lower-Calorie ChoicesUpdated Nov 21, 2026
 What Is The Best Wine For Mimosas? Choose Bubbly That Balances Orange JuiceUpdated Nov 20, 2026
 Which Prosecco Is Best for Your Taste and OccasionUpdated Nov 20, 2026