

We may earn a commission when you buy through links on this page, at no extra cost to you. Learn more.
How to make a wine rack out of wood is straightforward: measure your bottles, cut a stable frame, add matching cradles, and fasten the joints securely. A compact six-bottle rack can be made with 3/4-inch plywood or solid boards, a saw, a drill, and basic woodworking hardware. The important steps are sizing the openings for the bottles you own and placing the finished rack somewhere cool, dark, and away from heat.
A wooden wine rack can be a countertop organizer, a wall display, or the start of a larger storage system. This project describes a small freestanding rack with two rows of horizontal bottle openings. The dimensions are a starting point for standard bottles; measure wider sparkling, Burgundy, or specialty bottles before cutting, and test the opening size in scrap wood first.
Choose a rack design and a suitable storage location
A practical rack supports each bottle at two points, keeps it from rolling, and leaves enough room to remove it without striking the next bottle. For a first build, a compact two-row rack is easier to square and reinforce than a tall cabinet, while a wall-mounted design saves floor and counter space but needs secure attachment to wall framing.
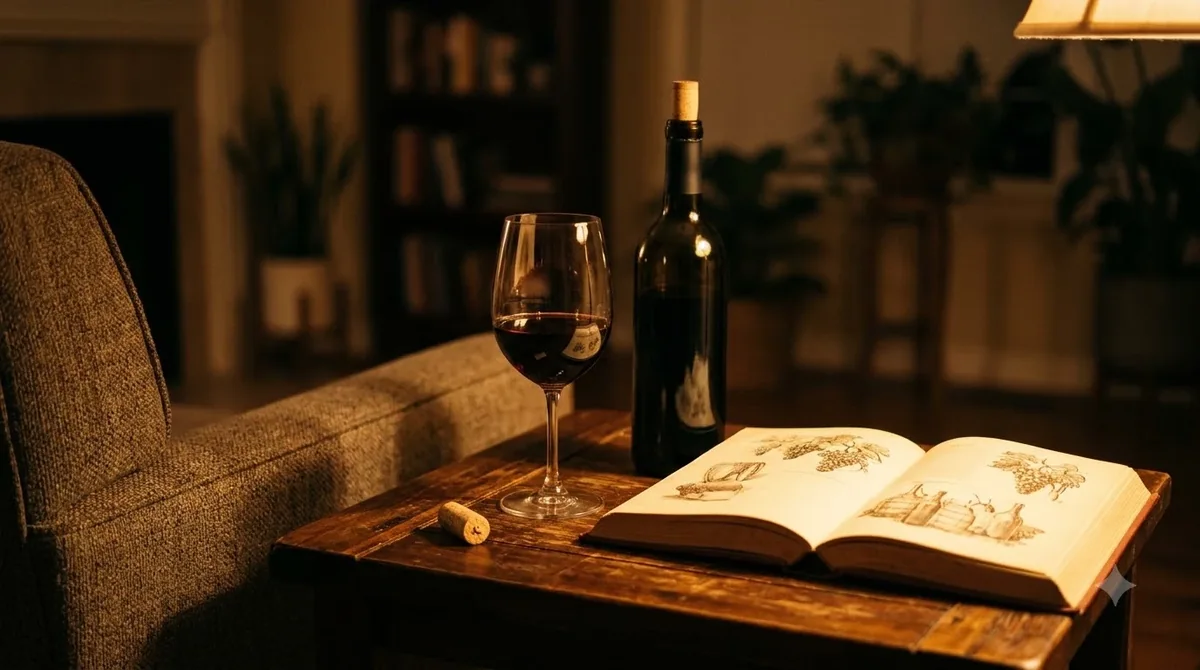
This plan uses two parallel face rails, each with six circular openings arranged in two rows of three. A bottle lies horizontally between a matching pair of openings, with one opening supporting the neck end and the other supporting the base end. The lower curve of each opening becomes the cradle, and a bottom panel ties the frame together. The finished rack holds six bottles, provided they fit the openings and the space between the rails.
Choose the location before finalizing the footprint. Wine Enthusiast identifies sunlight, heat, vibration, and strong odors as storage concerns, and describes about 55°F as a useful storage target for red, white, sparkling, and fortified wines. A pantry, interior cupboard, or cool basement shelf is usually better than a sunny counter beside an oven. The wood rack is only a holder, not a temperature-control system; see Wine Enthusiast’s wine-storage guidance before choosing a permanent spot.
Allow front clearance to remove bottles, and keep the rack away from a radiator, stove, dishwasher vent, or direct sun. A wall-hung version needs a French cleat or similar support fixed to studs, not drywall alone. For a coordinated serving area, see how to make a wine glass rack.
Measure bottles and set the rack dimensions
Bottle shapes vary, so accurate measurements matter more than decorative details. Measure the widest part of the bottle body, the overall length from base to cork, and the neck diameter before settling on the opening size and distance between the rails.
For this six-bottle layout, start with an outside frame about 22 inches wide, 13 inches deep, and 11 inches high. Use two face rails about 20 1/2 by 10 1/2 inches, two side panels about 11 1/4 by 10 1/2 inches, and one bottom panel about 20 1/2 by 11 1/4 inches. With 3/4-inch face rails and side panels fitted between them, the inside distance between the rails is about 11 1/4 inches. The two rows each hold three bottles, with the bottles running from front to back.
| Part or measurement | Quantity | Starting size |
|---|---|---|
| Face rails | 2 | 20 1/2 × 10 1/2 in. |
| Side panels | 2 | 11 1/4 × 10 1/2 in. |
| Bottom panel | 1 | 20 1/2 × 11 1/4 in. |
| Cradle openings | 12 | 3 1/2 in. diameter; test first |
| Opening centers | 6 per rail | 3 columns × 2 rows |
| Rail spacing | 1 set | About 11 1/4 in. inside |
Mark opening centers at approximately 3 1/2, 10 1/4, and 17 inches from one end, with row centers 2 1/2 and 7 inches from the bottom. A 3 1/2-inch hole saw is a useful starting point, not a universal size. Test a full-size template against your widest bottle: it should rest on the lower curve without slipping through or binding at the shoulder. Adjust before drilling the rails.
Select wood, hardware, and tools for a strong frame
Choose straight, dry stock that resists flexing under a full load. Three-quarter-inch plywood is stable and predictable for this compact design, while maple or oak gives a more furniture-like appearance when the edges are exposed.
Use 3/4-inch plywood or boards for the face rails, side panels, and bottom. Birch or oak plywood has a smooth surface for staining or clear finishing; construction-grade plywood can work if its plies are sound and the edges are prepared. Avoid warped panels, loose knots near the openings, split edges, or large internal voids. If you prefer solid wood, choose flat boards and allow them to adjust to the room before cutting, because wood can move as humidity changes.
Gather a tape measure, pencil, combination square, circular saw or miter saw, drill/driver, 3 1/2-inch hole saw with an arbor, clamps, countersink bit, and sandpaper. Keep eye and hearing protection nearby, and use a dust mask when cutting or sanding plywood. A hole saw makes repeatable round openings; a jigsaw is useful for trimming a template or easing a corner. Clamp each workpiece securely and support the offcut so it does not tear away at the end of a cut.
Use wood glue, 1 1/4- to 1 1/2-inch screws suited to the stock, and four small corner blocks or internal cleats. Choose screws that will not protrude through the outside face. RYOBI’s project uses 3/4-inch wood, a 3/8-inch dowel, glue, pocket-hole screws, and an orbital sander; its DIY wine rack instructions show a shelf-style alternative. Avoid thin craft board or split reclaimed wood: the joints must carry the concentrated weight of several filled bottles.
Cut the panels and drill matching bottle openings
Lay out every component before cutting, then label the inside faces so parts do not get reversed. Accurate, matching openings are what keep the bottles level instead of twisting them at different angles.
Cut the two face rails to 20 1/2 by 10 1/2 inches, the side panels to 11 1/4 by 10 1/2 inches, and the bottom panel to 20 1/2 by 11 1/4 inches. Check each piece with a square and compare the two rails side by side. If one rail is shorter or out of square, the paired openings may not line up. Sand the cut edges lightly so splinters do not interfere with assembly.
Mark the opening centers on one face rail using the same measurements for all three columns and both rows. Drill a small pilot hole at each center, clamp a sacrificial backing board behind the rail, and cut halfway through from the front. Turn the rail over and finish from the opposite face using the pilot hole as a guide. This two-sided method reduces tear-out around the opening. Transfer the marks to the second rail with the same template so each opening lines up with its partner.
Test the hole saw on matching scrap before drilling the rails, using the widest bottle you plan to store. Sparkling bottles can have broader bodies and specialty bottles unusual shoulders, so make a separate bay rather than forcing them into a tight cradle. Dry-fit the rails with spacers and test one bottle; it should stay horizontal without tipping when lightly touched.
Assemble the rack and reinforce every joint
Assemble the frame on a flat work surface and check for square before tightening the screws. The face rails carry the bottle openings, while the side panels and bottom keep those rails aligned and stop the rack from twisting when bottles are loaded or removed.
Attach one face rail to the two side panels with glue and countersunk screws. Clamp the pieces so their top and bottom edges are flush, drill pilot holes, and drive screws slowly to avoid splitting the plywood. Fit the second face rail at the opposite side, using temporary spacers to hold the inside distance consistent from top to bottom. Check the overall depth at both ends before the glue sets.
Fit the bottom panel beneath the lower row, apply glue along the contact edges, and secure it with screws through the side panels and rails. Add small corner blocks or 3/4-inch cleats if the frame flexes, keeping them clear of the bottle openings. Measure both diagonals: matching lengths indicate a square frame. Shift the rack before the glue cures, wipe away squeeze-out, and leave it clamped for the period stated on the adhesive label. Do not rely on finish nails alone for the main joints; use screws, glued joinery, or another positive mechanical connection, and correct any movement before loading.
Tip: After the glue cures, test the rack with one bottle before filling all six spaces. If a joint flexes, add a fitted cleat or corner block and test again rather than relying on a thicker coat of finish.
Sand, finish, and check the rack before loading
A smooth finish makes the rack easier to clean and helps prevent splinters from catching labels or hands. Sand progressively, soften exposed corners, and let the finish cure fully before placing bottles in the openings.
Start with 120-grit paper to smooth saw marks, then move to 180 grit and finish with 220 grit on exposed surfaces. Pay attention to the edges around the circular openings because rough fibers can snag a label or scratch a hand. Ease sharp outside corners with a few light passes, but do not round the lower cradle edges so much that the support surface becomes shallow.
Remove dust with a vacuum and a clean, lint-free cloth. If you use plywood, apply edge banding to visible edges before staining to conceal the layered plies. Test stain or paint on an offcut because maple, oak, pine, and plywood veneer absorb color differently. Apply thin coats rather than flooding the openings and joints, where finish can pool.
Choose an indoor furniture finish and follow its directions for ventilation, drying, and cure time. A surface that feels dry may still need several days to harden. Before loading, confirm that all 12 openings are smooth, the rails remain parallel, and the bottom sits flat; correct any rocking or add non-slip feet.
Place and load bottles with storage in mind
Set the rack on a level, stable surface with enough clearance to slide bottles in and out without striking a wall or cabinet door. Load it gradually and distribute the weight across both rows rather than filling one side first.
Keep the rack away from direct sun, a radiator, a stove, a dishwasher vent, and locations with sharp temperature swings. Wine Enthusiast describes heat, ultraviolet light, vibration, and strong odors as storage concerns; it also recommends horizontal storage for cork-finished bottles to keep the cork moist. A wooden rack cannot control those conditions, so select the room carefully. A dark pantry or stable cellar is preferable to a bright windowsill.
Slide each bottle into its paired openings with the label facing outward if you want to identify it quickly. Do not force a bottle past a tight opening or let one bottle rest on another bottle’s neck. Fill the lower row first, then the upper row, checking that the rack remains level as weight is added. Leave extra clearance around unusually wide bottles so they can be removed without knocking their neighbors.
A 750-milliliter Bordeaux bottle may fit, while a broad Champagne bottle, Burgundy bottle, or 1.5-liter format may need a larger cradle or separate shelf. Measure before loading. Check the rack for loose screws or swelling; unload it before repairs. Leftover clean corks can become a cork board made from wine corks, and the Wine Q&A section covers bottle styles and storage.
Frequently Asked Questions
These answers cover common choices for a small six-bottle rack, from closure style and wood selection to load limits and larger bottles.
Can a wooden wine rack hold bottles with screw caps?
Yes. Screw-cap bottles can stand upright or lie horizontally because the closure does not need wine contact to stay moist. Horizontal storage still saves space and keeps bottle styles arranged consistently.
Should I use pine, oak, or plywood for a first wine rack?
All three can work if the stock is straight and dry. Pine is easy to cut but dents; oak is harder with a pronounced grain; quality plywood tends to stay flatter across a wide panel. Match fasteners and finish to the material.
How much weight can a homemade wine rack support?
There is no universal rating: capacity depends on wood, panel thickness, joinery, fasteners, and workmanship. Test for flex and add bottles gradually. A wall-mounted rack also needs suitable wall attachment.
Do I need to seal the inside of the bottle openings?
Sealing exposed wood makes dust easier to wipe away, but the finish must cure fully before loading. Avoid drips inside openings because they reduce clearance and can catch labels. Sand rough fibers smooth first.
Can I make the rack larger for magnum bottles?
Yes, but measure the actual bottles first. A 1.5-liter magnum is generally longer and wider than a 750-milliliter bottle, and larger openings leave less wood between cradles. A separate bay is often safer than enlarging every opening.
A dependable wooden wine rack starts with careful measurements, square cuts, and joints that do not flex under load. Test one cradle before drilling the full set, let the finish cure, and keep the rack in a cool, dark, stable place so the bottles are stored as thoughtfully as the rack is built.
More in Wine Basics
 What Is The Best Wine For Mimosas? Choose Bubbly That Balances Orange JuiceUpdated Nov 20, 2026
 Which Prosecco Is Best for Your Taste and OccasionUpdated Nov 20, 2026
 Which Wine Is Best For Health? Understand the Risks and BenefitsUpdated Nov 20, 2026
 Which Champagne Is Best for Your Taste and OccasionUpdated Nov 20, 2026
 What To Put In A Wine Gift Basket For A Thoughtful, Memorable GiftUpdated Nov 20, 2026
 What Is the Best Wine for Mulled Wine? Choose a Smooth, Fruity RedUpdated Nov 20, 2026