

We may earn a commission when you buy through links on this page, at no extra cost to you. Learn more.
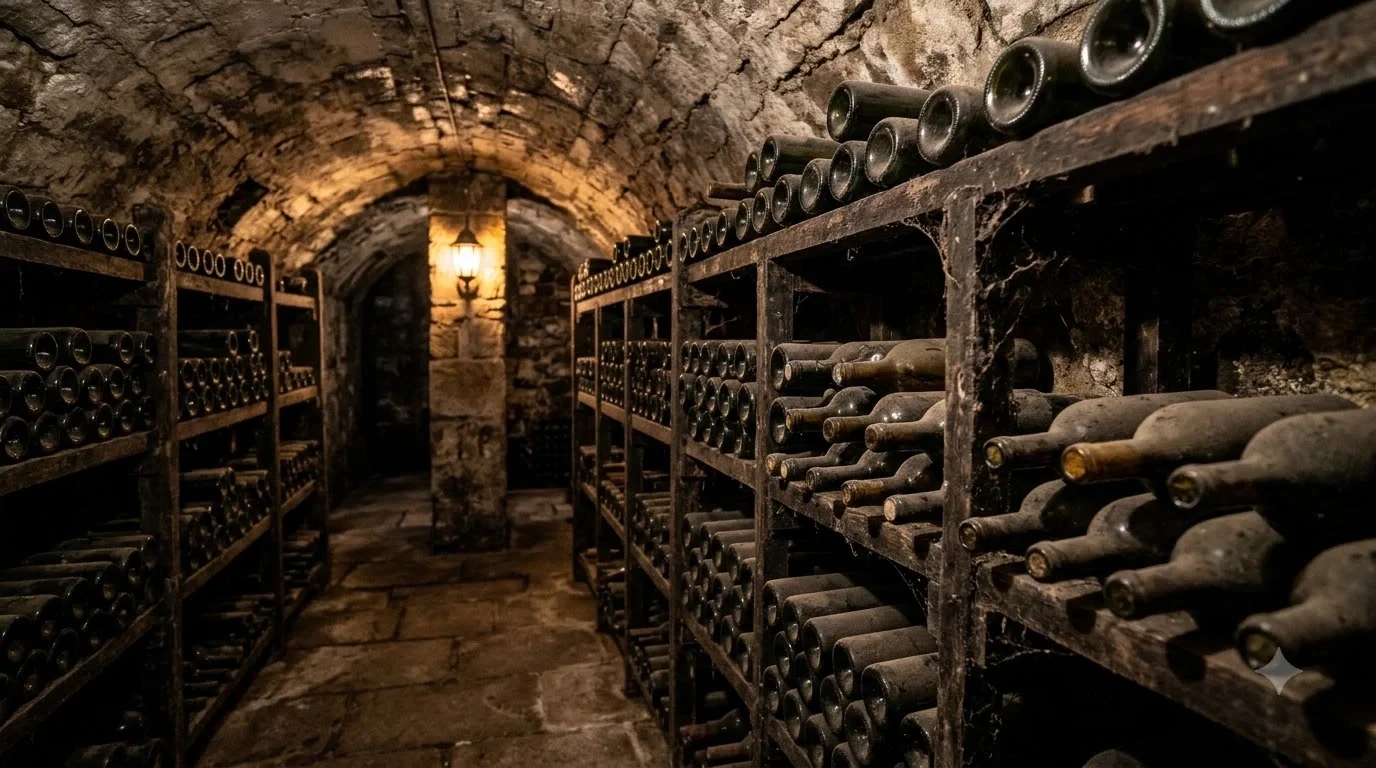
How to insulate a wine cellar starts with insulating every wall and the ceiling, installing a continuous vapor barrier on the warm side, and sealing gaps around doors, windows, and utilities. For an actively cooled cellar, aim for at least R-19 in the walls and R-30 in the ceiling, adjusting the specification for the surrounding climate and construction. Closed-cell spray foam, fiberglass batts, and rigid foam boards are all possible choices, but each requires an appropriate moisture-control strategy. Proper insulation helps maintain a consistent storage environment while reducing the workload on the cooling system.
A wine cellar needs more than a powerful refrigeration unit to protect a collection. Its walls, ceiling, floor, door, and glass must work together to prevent unwanted heat transfer and moisture movement. Without a properly insulated enclosure, even a well-sized cooling system can struggle to maintain stable conditions, particularly during hot summers or in humid regions. Planning the insulation before installing racks, decorative finishes, and cooling equipment makes the project easier to manage and helps avoid expensive reconstruction.
Choose the Right R-Value for Your Wine Cellar
The first step is deciding how much insulation each surface needs. A practical starting specification for an actively cooled cellar is R-19 for walls and R-30 for the ceiling, with adjustments for whether the surrounding space is conditioned, unconditioned, or exposed to outdoor temperatures.
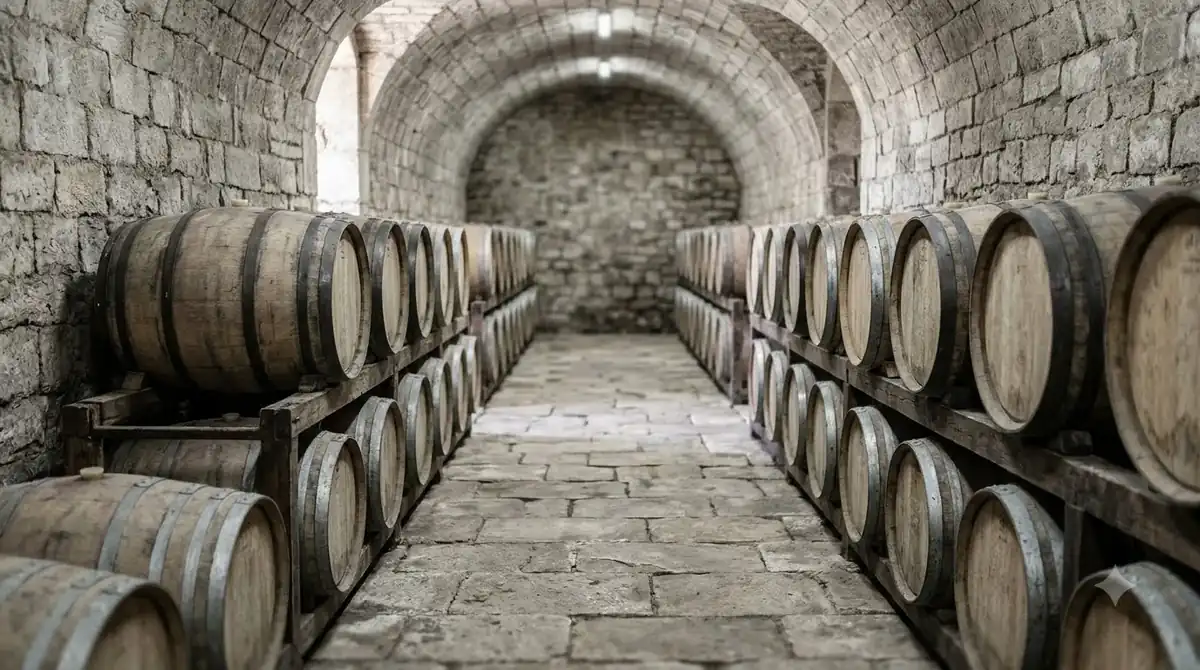
R-value measures resistance to heat flow. A higher number means that less heat passes through the insulated assembly under comparable conditions. Because a wine cellar is usually maintained near 55 degrees Fahrenheit while nearby rooms may be considerably warmer, insulation helps prevent the cooling system from constantly replacing the cool air lost through the enclosure.
Wine Enthusiast recommends at least R-13 for interior walls and R-19 for exterior walls, with R-19 as the minimum ceiling recommendation and R-30 preferred. IWA provides a more climate-conscious approach, recommending R-13 to R-19 for walls adjoining conditioned spaces and R-30 for exterior walls, ceilings, and surfaces adjoining unconditioned areas. These figures offer useful planning benchmarks rather than a universal building specification. The Wine Enthusiast wine cellar preparation guide provides additional construction recommendations for insulation, vapor barriers, flooring, and doors.
For a demanding installation, the more conservative R-19 wall and R-30 ceiling targets are sensible starting points. A cellar beneath an attic, beside a hot garage, or against an exterior wall in a warm climate may need additional thermal protection. A basement surrounded by conditioned rooms may have a smaller temperature difference across some surfaces, although moisture protection remains important.
Understanding common insulation targets
| Cellar surface | Suggested R-value | Installation consideration |
|---|---|---|
| Interior walls | R-13 to R-19 | Depends on the temperature of the adjoining room |
| Exterior walls | R-19 to R-30 | Consider outdoor temperature extremes |
| Ceiling below an attic | R-30 or higher | Protect against heat from above |
| Ceiling below conditioned space | R-19 to R-30 | Maintain a continuous insulated assembly |
| Raised floor above an unconditioned area | Project-specific | Include insulation and vapor control |
| Concrete slab on grade | Project-specific | Seal against moisture transmission |
The table provides planning ranges, not a substitute for calculating the complete wall or ceiling assembly. Studs, framing connections, windows, and other structural elements can conduct heat around insulation. A wall with R-19 insulation between wooden studs does not necessarily perform like a continuous R-19 insulated surface.
For example, a cellar with 2-by-4 framing has less room for insulation than one built with 2-by-6 framing. If the room faces an unconditioned garage, the available cavity depth may limit the achievable R-value. Adding continuous rigid foam outside the framing can improve the overall assembly, provided the materials are compatible with the moisture-control design.
Also consider the cooling system before finalizing the insulation specification. Its required capacity depends on the room dimensions, surrounding temperatures, glass area, lighting, door openings, and heat entering through the enclosure. Better insulation reduces heat gain, but it does not eliminate the need for correct equipment sizing.
Compare the Best Wine Cellar Insulation Materials
The most useful insulation materials for a wine cellar are closed-cell spray foam, rigid foam board, and fiberglass batts. The right choice depends on available wall depth, moisture exposure, installation quality, and whether the project involves new construction or an existing room.
Closed-cell spray foam is a particularly useful option because it combines thermal insulation with air sealing and significant resistance to water vapor. It expands into cavities and can fill irregular spaces around framing. This makes it attractive for rooms with complicated wall construction or limited opportunities to install a separate vapor barrier.
However, spray foam requires professional installation and careful attention to product specifications. The installer must apply the correct thickness, prepare the surfaces properly, and follow safety and curing requirements. Closed-cell foam is not automatically a complete solution if gaps remain around electrical penetrations, doors, windows, or connections between walls and ceilings.
Rigid foam board
Rigid foam boards are useful when a project needs consistent insulation across a relatively flat surface. Common options include expanded polystyrene (EPS), extruded polystyrene (XPS), and polyisocyanurate (polyiso). Their thermal performance differs by product and thickness, so compare the manufacturer’s published R-value rather than assuming every board performs equally.
Boards can be installed between framing members or as continuous insulation across a wall assembly. Continuous installation can reduce thermal bridging through wooden studs. The main challenge is making the joints airtight and controlling moisture at the edges, corners, and penetrations.
Rigid foam should not be treated as a complete vapor barrier simply because it has a foil facing or relatively low permeability. Its performance depends on the particular material, thickness, joints, and installation details. Seal seams with compatible tape and use appropriate sealants around openings.
Fiberglass batts
Fiberglass is a familiar and widely available insulation material. It can fit between 2-by-4 or 2-by-6 studs and provides a practical option for straightforward framed walls. Vigilant estimates that standard fiberglass batts provide approximately R-3 per inch, although actual product ratings vary.
The main weakness is installation sensitivity. Fiberglass does not stop air movement by itself and does not provide the vapor protection needed for a refrigerated cellar. Gaps around framing, compression, poorly fitted corners, and openings can reduce the effectiveness of the insulated assembly.
Never compress a batt to force it into a cavity that is too small. Insulation needs to maintain its intended thickness to deliver its rated thermal performance. Cut pieces accurately around electrical boxes and framing members, and install a separate, properly detailed air and vapor control layer.
Tip: For a new refrigerated cellar, compare the complete installed wall assembly rather than the insulation material alone. A well-sealed R-19 fiberglass wall with correct vapor protection can outperform a poorly installed higher-rated product with open seams and unsealed penetrations.
Before selecting a material, consider the wall covering and fire protection requirements as well. Exposed foam products generally require an approved protective covering. Moisture-resistant gypsum board or another code-compliant finish can provide a suitable interior surface while protecting the insulation.
Install a Continuous Vapor Barrier on the Correct Side
A vapor barrier is essential in many refrigerated wine cellar assemblies because warm, moisture-laden air can move toward the colder cellar and condense inside the walls. The usual starting principle is to position the vapor-control layer on the warm side of the insulation, but the correct location depends on climate, construction, and local building requirements.
In a typical home wine cellar, the inside of the cellar is colder than the surrounding house or outdoor environment. Water vapor can therefore migrate toward the colder assembly. If it reaches a sufficiently cold surface within the wall, condensation can develop. Over time, moisture can damage insulation, framing, drywall, and decorative finishes.
Wine Enthusiast recommends a minimum 6-millimeter plastic sheet across the warm side of cellar walls and ceilings. IWA also identifies 6-mil polyethylene as a common material for this purpose. This layer should form a continuous enclosure rather than a collection of separate pieces with unsealed gaps.
How to install polyethylene sheeting
Begin by measuring all wall and ceiling surfaces. Include corners, framing transitions, door openings, and areas around pipes and electrical equipment. Purchase enough polyethylene to allow overlaps and secure connections instead of cutting pieces to fit exactly without extra material.
Install the sheet on the designated warm side of the insulation assembly. In a conventional framed construction, this may mean placing it toward the exterior or warmer adjoining space rather than directly against the cold cellar finish. Follow the building designer’s moisture-control specification because some wall assemblies require a different approach.
Overlap adjacent sheets by at least 6 inches as recommended by IWA. Use compatible moisture-resistant tape to seal the overlaps. Carefully seal around electrical boxes, conduit, pipes, cooling-unit openings, and other penetrations. Ordinary duct tape should not be assumed to provide a durable vapor seal.
Pay special attention to the transition between walls and the ceiling. These areas are frequently overlooked because framing members, wiring, and mechanical equipment create complicated connections. The barrier should remain continuous around the entire enclosure.
Closed-cell spray foam can provide both insulation and vapor resistance when installed at the appropriate thickness. In that assembly, a separate polyethylene sheet may not be necessary. However, the installer must verify the foam’s vapor permeance and the requirements of the complete construction rather than assuming every spray foam product performs the same way.
One important warning: avoid automatically installing a second vapor barrier on the cold side of an existing wall. Two low-permeability layers can trap moisture between them if the assembly is not designed correctly. A building professional should evaluate the wall before additional polyethylene or impermeable finishes are added.
For additional details about insulation choices, vapor barrier placement, and cellar preparation, consult IWA’s wine cellar installation preparation recommendations.
Insulate the Walls and Ceiling Without Leaving Gaps
Once the framing and moisture-control plan are ready, insulation should cover the entire cellar enclosure. The objective is to create a continuous thermal boundary, including corners, ceiling transitions, framing cavities, and areas around mechanical equipment.
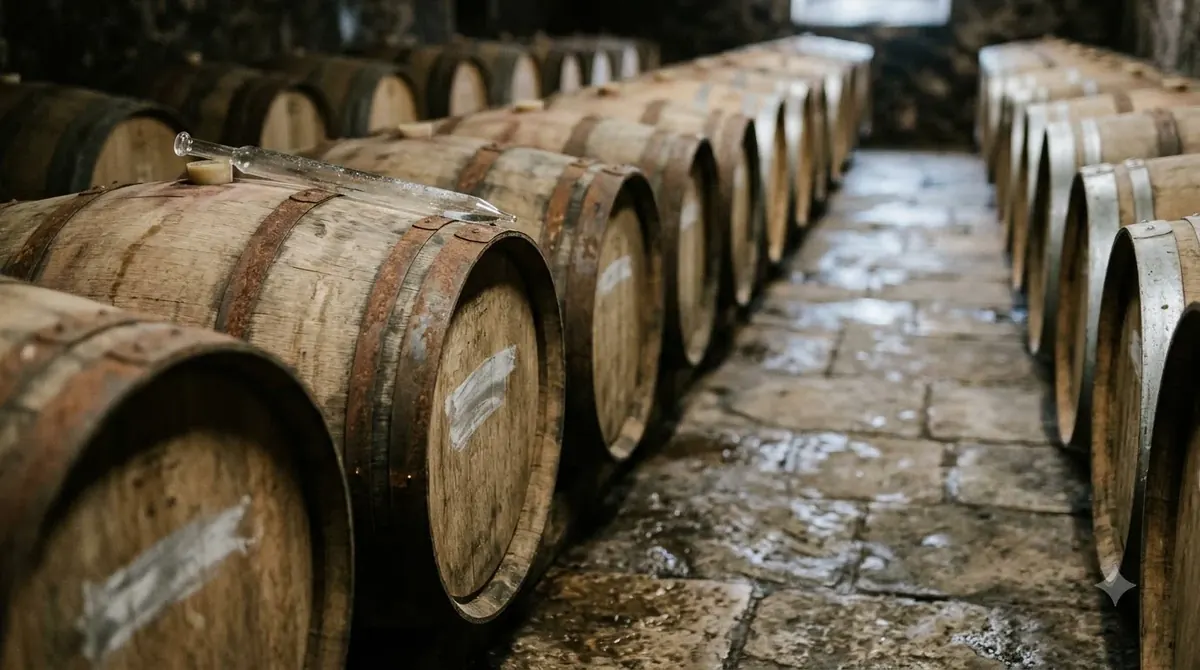
For new construction, 2-by-6 framing offers more cavity depth than 2-by-4 framing and can accommodate thicker insulation. Vigilant recommends planning around 2-by-6 wall studs and 2-by-8 ceiling framing for its typical cellar construction specifications. The framing dimensions should still be checked against structural requirements and the intended finish thickness.
Before installing insulation, complete the electrical and mechanical rough-in work. Vigilant recommends running wiring for outlets, lighting, and cooling equipment before closing the walls. This reduces the likelihood of cutting into the finished vapor barrier later to accommodate new wiring.
Step-by-step wall installation
1. Inspect the framing. Check that studs are straight, secure, and spaced according to the construction plan. Look for cracks, water staining, damaged timber, and areas that may allow outdoor air to enter. Resolve moisture problems before covering the structure.
2. Prepare service openings. Identify every electrical box, conduit, pipe, and cooling-system connection. Plan how the vapor barrier will connect to each penetration. Electrical and mechanical work should be performed by appropriately qualified professionals.
3. Install the moisture-control layer. Fit the specified barrier continuously on the correct side of the assembly. Seal overlapping sheets and connections before insulation and wall coverings conceal them.
4. Fit the insulation. Install batts without compression or gaps, or apply rigid boards and spray foam according to the manufacturer’s instructions. Pay particular attention to the junction between studs and the top and bottom plates.
5. Seal remaining openings. Use compatible sealants and appropriate products around framing gaps, service penetrations, and connections. Avoid blocking required ventilation openings or interfering with cooling-system components.
6. Inspect before covering. Check the entire wall for missing insulation, open seams, damaged vapor barriers, and unsealed penetrations. Photographing the installation before drywall goes up can be helpful for future repairs.
Do not overlook the ceiling
The ceiling deserves particular attention because heat from an attic, roof, or upper floor can create a substantial cooling load. R-30 is a useful target for a ceiling beneath an unconditioned attic, while the final specification should account for the assembly and local energy requirements.
Install insulation between ceiling joists and maintain continuity at the perimeter. Recessed lighting, electrical wiring, ducts, and structural connections can interrupt the insulated layer. Use appropriate airtight fixtures and approved sealing methods to protect the enclosure.
Where a wine cellar sits below an unconditioned garage or directly beneath a roof exposed to strong sunlight, additional insulation may be appropriate. A contractor can evaluate the thermal load and determine whether deeper cavities or continuous insulation are needed.
After the insulation and vapor-control work passes inspection, install the selected interior covering. Moisture-resistant green board is a common choice, while suitable plywood and rot-resistant wood paneling can provide additional design options. Any finish should be compatible with the expected cellar humidity.
Protect Concrete Floors, Doors, and Glass Openings
Walls and ceilings are only part of the thermal enclosure. Floors, doors, and windows can create significant heat and moisture pathways if they are not properly designed. A cellar with excellent wall insulation can still struggle if its door has gaps or its glass is poorly insulated.
Floor treatment depends on the structure beneath the room. A concrete slab directly on or below grade generally behaves differently from a raised timber floor above a garage or crawl space. IWA explains that below-grade concrete floors may not require insulation but should still be sealed against moisture transmission.
Concrete and raised floors
Inspect a concrete floor for visible cracks, damp areas, and signs of water intrusion. Seal suitable surfaces with a compatible concrete moisture-control product. The floor must be capable of tolerating the cellar’s expected humidity and cleaning conditions.
For a raised floor above an unconditioned space, install suitable insulation between the joists and incorporate the required vapor-control layer. Rigid foam, properly installed fiberglass, or closed-cell spray foam may be appropriate depending on the assembly. The objective is to prevent warm air and moisture from moving through the floor.
Consider the finished flooring as part of the same system. Sealed concrete, tile, cork, vinyl, and suitable hardwood are possible choices. Avoid carpet because it can retain moisture and odors and is difficult to clean in a humid environment.
Choose a properly sealed door
An exterior-grade door with a complete weatherstripping system is a practical choice for a refrigerated cellar. Install seals along the sides and top, and use an appropriate door sweep at the bottom. The door should close firmly without leaving visible gaps.
Check the frame as well as the door itself. Even a well-insulated slab can perform poorly if air moves through the gap between the frame and surrounding wall. Seal the frame-to-wall connection with compatible materials and ensure the latch pulls the door tightly against its weatherstripping.
Use insulated glass
Glass walls and doors can make a cellar visually appealing, but they generally provide less insulation than a properly constructed wall. Double-pane insulated glass is preferable to single-pane glass because it reduces heat transfer and helps limit condensation.
Keep large glass areas under control, especially if the cellar receives direct sunlight. Glass performance, frame construction, orientation, and the size of the glazed area all influence the total cooling load. An attractive glass-front cellar should be engineered around the actual thermal requirements rather than treated like an ordinary interior partition.
Wine Enthusiast specifically recommends airtight dual-pane glass and exterior-grade doors with weatherstripping. These details are especially important in a cellar that must maintain approximately 55 degrees Fahrenheit while the surrounding home is warmer.
Seal the Cellar and Coordinate the Cooling System
Insulation, vapor protection, air sealing, and refrigeration must be designed as one system. Installing a larger cooling unit cannot compensate for a badly insulated room, and excellent insulation cannot maintain the desired temperature without suitable climate control when the surrounding environment is too warm.
Begin by calculating the cellar’s dimensions and identifying the temperatures of the surrounding spaces. A small closet surrounded by conditioned rooms has a different heat load from a basement room with an exterior wall or a glass-front cellar beneath a sun-exposed roof.
Cooling equipment should be selected before the framing and installation details are finalized. Vigilant recommends planning the cooling system before construction begins because equipment type and placement can affect the enclosure, wiring, and ventilation arrangements.
Account for the equipment’s heat load
A cellar cooling unit removes heat from the storage space but also releases heat through its exhaust side. That heat needs a suitable destination. A through-the-wall system, for example, must have an appropriate location for rejecting warm air rather than simply exhausting it into an unsuitable enclosed area.
Follow the equipment manufacturer’s requirements for ventilation, electrical supply, condensate drainage, clearances, and operating conditions. Some systems need dedicated electrical circuits. Others use separate evaporator and condenser components that require coordinated installation.
Do not assume a standard household air conditioner is interchangeable with a dedicated wine cellar cooling system. Wine storage requires stable temperature conditions, and conventional air conditioning may create unwanted temperature fluctuations or dry the room excessively.
Test the enclosure before loading bottles
After construction, close the door and allow the room to reach its intended operating conditions. Use a reliable thermometer and hygrometer to monitor temperature and relative humidity. Check conditions at different points in the cellar because corners, ceiling areas, and locations near glass may behave differently.
A reasonable long-term storage target is approximately 55 degrees Fahrenheit, with humidity commonly maintained around 50% to 70%. These conditions help provide a stable environment for cork-sealed bottles while avoiding excessive moisture on walls, racks, and labels.
Run the cooling system through a complete operating cycle and observe whether the room maintains a consistent temperature. Check for condensation around door frames, windows, cooling equipment, and wall penetrations. If moisture appears, investigate the source rather than simply increasing the cooling capacity.
Allow the room to stabilize before filling it with bottles. This makes it easier to identify construction defects and adjust the equipment without having to work around a full collection.
Maintain Insulation and Prevent Common Construction Problems
A well-insulated wine cellar should require relatively little intervention, but periodic inspections help identify small problems before they affect the entire room. Pay attention to humidity, temperature changes, condensation, damaged seals, and any unusual odors.
One frequent mistake is insulating the walls while ignoring the ceiling or floor. This creates an incomplete thermal envelope. Another is using high-rated insulation without sealing the gaps around framing, electrical outlets, and cooling equipment. The performance of the complete assembly matters more than the number printed on one insulation package.
Watch for condensation and mold
Condensation can indicate a break in the vapor barrier, an air leak, a cold surface, or an unsuitable humidity condition. Inspect the wall and ceiling junctions, corners, door frames, and areas around pipes first. Moisture hidden behind drywall may be more serious than visible droplets because it can damage framing before the problem becomes obvious.
Do not cover a damp wall with additional insulation or decorative paneling. Identify the source of water, correct leaks, dry the affected materials, and replace damaged components when necessary. Persistent moisture problems may require an experienced building-envelope contractor.
Inspect doors and mechanical penetrations
Weatherstripping can become compressed or damaged through repeated use. Check the entire perimeter of the cellar door and replace worn seals. Examine door sweeps for gaps that allow warm air to enter near the floor.
Also inspect the areas around electrical outlets, light fixtures, conduit, and cooling-unit connections. A small opening can become a pathway for warm, humid air. Use suitable sealants that are compatible with the surrounding materials and do not interfere with electrical or mechanical safety requirements.
Monitor seasonal performance
Summer and winter can create different moisture conditions. In a hot, humid summer, the temperature difference between the cellar and surrounding rooms may increase the risk of condensation. During colder months, heating systems can alter indoor humidity and change how moisture moves through the building assembly.
Record cellar temperature and humidity periodically. If the cooling unit runs much longer than expected, check the door seals, filters, ventilation, and visible insulation defects. A sudden increase in operating time may indicate a new heat source or a problem with the enclosure.
Keep the cellar clean and avoid introducing strong chemical odors through cleaning products, finishes, or stored materials. Wine bottles should also remain away from direct sunlight and unnecessary vibration. Proper insulation is the foundation of a good storage environment, but careful room management completes the job.
For the next stage of planning, consider how to organize a wine cellar so the racking layout, bottle capacity, and circulation space work with the finished insulated room.
Frequently Asked Questions
Can I insulate a wine cellar using only rigid foam boards?
Rigid foam boards can provide effective insulation, but the board material and thickness determine whether they also provide sufficient vapor resistance. EPS, XPS, and polyiso have different properties, so their specifications should be checked individually. Seal the joints and edges carefully, and use an appropriate protective interior covering where required by building codes.
Can an existing basement wine cellar be insulated from the inside?
Yes, an existing basement cellar can often be improved from the interior, but the wall assembly must be evaluated before adding insulation. Concrete can transmit moisture, and existing finishes may conceal water damage or leaks. A professional should determine whether rigid foam, closed-cell spray foam, or a framed insulated wall is suitable for the specific basement conditions.
Does a wine cellar need a dehumidifier after insulation?
Not necessarily. A correctly constructed refrigerated cellar can maintain an appropriate humidity level through its insulation, vapor-control assembly, and cooling operation. A separate dehumidifier may be needed if measurements show persistent excessive moisture, but the underlying source of water should be investigated first. Some cellar cooling systems also have specific humidity-management limitations.
Can a wine cellar be insulated with mineral wool?
Mineral wool can be used in a properly designed framed cellar wall because it provides thermal and acoustic insulation and is available in different densities. However, it does not independently create an airtight enclosure or a complete vapor barrier. Its installation must therefore be coordinated with suitable air sealing, moisture control, and protective wall finishes.
How thick should insulation be around a wine cellar?
Thickness depends on the insulation product’s R-value per inch and the total performance required from the wall assembly. For example, a material rated at R-5 per inch would require approximately 4 inches to provide R-20 before accounting for framing and other thermal bridges. Available cavity depth, fire protection, and moisture-control requirements also influence the final thickness.
Insulating a wine cellar properly means creating a continuous enclosure that controls heat, air movement, and moisture across every surface. Prioritize suitable wall and ceiling R-values, a correctly positioned vapor barrier, airtight doors, and insulated glass before investing in decorative finishes and racks. With careful construction and a correctly sized cooling system, the cellar can maintain the stable conditions needed for long-term wine storage.
If you are planning the project from the beginning, compare how much a wine cellar costs before choosing materials and equipment, or explore how to make a wine cellar in a closet for a smaller residential installation.
More in Wine Basics
 Which Rose Is Best for Your Taste, Budget, and Food PairingsUpdated Nov 21, 2026
 Is Cheap Wine Bad? How to Find Bottles Worth DrinkingUpdated Nov 21, 2026
 What To Write On A Wine Gift Tag: Thoughtful Messages For Every OccasionUpdated Nov 21, 2026
 Which Wine Is Best For Weight Loss? Compare Lower-Calorie ChoicesUpdated Nov 21, 2026
 What Is The Best Wine For Mimosas? Choose Bubbly That Balances Orange JuiceUpdated Nov 20, 2026
 Which Prosecco Is Best for Your Taste and OccasionUpdated Nov 20, 2026