

We may earn a commission when you buy through links on this page, at no extra cost to you. Learn more.
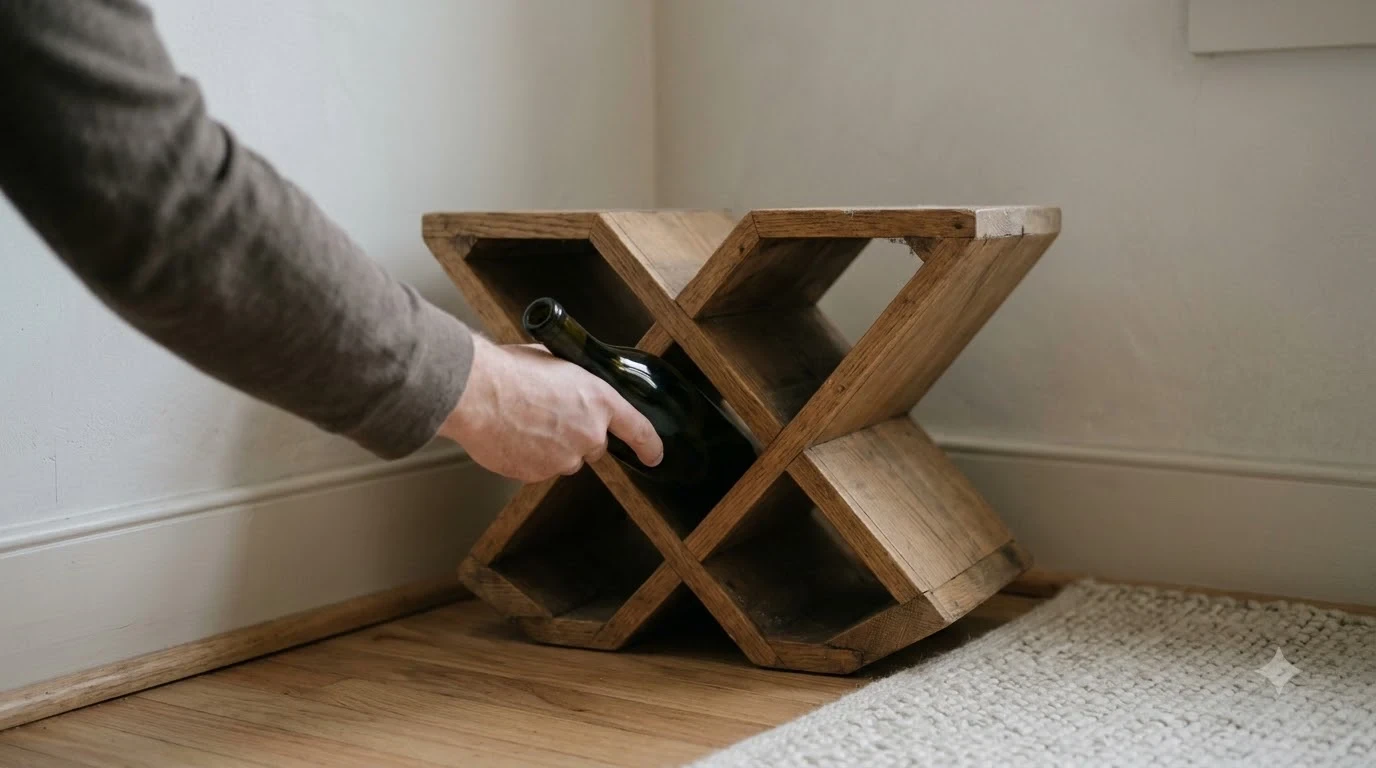
How to build a wine rack starts with choosing a sturdy material, sizing the shelves to your bottles, and leaving room to pull each bottle out safely. A wine rack is a set of shelves for organized storage, and a simple one can be built at home with basic tools and a few planning steps. The main goal is a rack that holds bottles securely, keeps them off the floor, and lets you find the one you want without disturbing the rest.
Many wine lovers buy a rack before they think about the details, and then find that the bottles do not fit or the shelves sag under the weight. Building your own avoids those problems and lets you match the design to the space. This guide covers the materials, the layout, and the small choices that make a rack useful over time.
Choose the right material
Material shapes the look, the weight, and how the rack behaves in a room. The Wikipedia entry on wine racks describes wood as the most popular choice, because it is easy to obtain and simple to work with. Cedar is a common pick for its pleasant scent, but the same reference points out that cedar’s aroma can penetrate the wine through the cork. If you are building for long-term storage, a wood with little odor, such as a plain pine or a hardwood sealed on the outside, is a safer choice.
Metal is another option. It allows more flowing shapes than wood and can be painted to match any decor. Stainless steel is often placed in kitchens because it resists corrosion and staining, and wrought iron is durable and long lasting, which is why it appears in decorative racks. Plastic and modular designs are the most modern choice, and they can be a good fit for a small apartment where a built-in look is not needed.

Plan the layout before you cut anything
Start with the space. Measure the wall, shelf, or corner where the rack will sit, and note the height of any ceiling or door that could limit access. Then decide how many bottles you want to hold and whether you prefer a single row or a grid. A grid of cubbies is the most common design because each bottle has its own slot, but a long shelf with a cross-bar works well for a smaller collection.
Think about how you will reach the bottles. A cubby should be wide enough to slide a bottle in and out without knocking the neighbors. A shelf that is too deep forces you to reach into the back, and a shelf that is too shallow lets bottles tip forward. Sketch the layout on paper, mark the positions, and check that each opening will hold the bottles you actually own, including any wide sparkling bottles.
| Design choice | Best for | Watch out for |
|---|---|---|
| Grid of cubbies | Large collections where each bottle needs its own slot | Cubbies that are too narrow for wide bottles |
| Single long shelf with a cross-bar | A small collection on a wall or in a cabinet | Sagging if the span is too long |
| Solid wood frame | A classic look and a sturdy build | Choosing a strong-smelling wood |
| Metal frame | Kitchens and modern spaces | Rust or dents if the finish is thin |
Build the frame and the shelves
Cut the side panels, the top and bottom, and the dividers to the sizes from your sketch. Use a square to check each corner so the frame sits flat, and secure the joints with wood glue and screws or dowels. Shelves should be supported from underneath or by a strong cross-brace, because a heavy collection of wine adds up quickly. Sand every surface before finishing, paying attention to any edges where the bottles will rest.
Once the frame is assembled, add the back panel if you want the rack to be rigid, or leave it open for better airflow. Check that the rack stands level on the floor and that each shelf is square to the sides. A rack that wobbles is hard to load and can stress the bottles, so take the time to shim or adjust the feet before you start filling it.
Finish the rack and set it up
Apply a finish that suits the wood or metal and keeps it clean. Paint or a clear sealer protects the surface from moisture and makes it easier to wipe down. Let the finish dry fully before loading the rack, and keep strong-smelling products away from the storage area so they do not affect the wine.
Position the rack in a cool, dark place away from heaters, direct sunlight, and vibration from machines. Before you load it, slide a few empty bottles into each opening to test the fit, and confirm that the rack can be reached from the front without bumping the cabinet or the wall behind it. A closet, a pantry, or a corner of a basement works well. If you plan to store bottles for a long time, the guide on how to build a wine cellar explains how to control temperature and light, which matter more than the rack itself for aging.
Common mistakes to avoid
The most common mistake is building the rack too narrow, so bottles scrape against each other when you pull one out. Another is using a material that gives off a strong smell, which can affect the flavor of the wine over time. Skipping the level check is also a problem, because an unlevel rack tends to shift and loosen the joints. Finally, many people forget to plan for the weight of a full rack and end up with shelves that sag. A rack that holds twelve bottles of heavy red can weigh far more than the shelf was designed for, so check the span between supports and add a center brace on any shelf longer than a single cubby.
Another common problem is leaving no clearance at the back. A rack pushed hard against a wall can trap heat and moisture, and the bottles at the back become hard to reach. Leave a small gap behind the rack so air can move, and keep the front edge clear so the labels stay visible.
It is also worth thinking about how the rack will look as the collection grows. A simple design is easy to expand with another module, while a fixed, oversized rack can feel crowded or empty at the same time. Modular frames let you add a column later without rebuilding the whole piece, and they keep the look consistent as the collection grows from a few bottles to a serious stock. Leave room in the layout for a few extra bottles, and keep the plan flexible.
Frequently Asked Questions
What is the best wood for a DIY wine rack?
A wood with little odor is safest for long-term storage. Cedar smells pleasant but can affect the wine through the cork, so many people prefer a plain pine or a sealed hardwood.
Should wine be stored on its side in a rack?
Many racks are built to hold bottles on their sides, which keeps the cork moist. The Wikipedia reference on wine racks does not say which orientation is best, so the rack design should simply hold each bottle securely.
How do you stop a wine rack from wobbling?
Check that every corner is square and that the rack sits level on the floor. Add a back panel or cross-braces, and fasten the joints firmly so the frame holds its shape under a full load.
Can a wine rack go in the kitchen?
Yes, as long as the spot is cool and away from the stove and the dishwasher. Stainless steel and metal racks are common in kitchens because they resist staining and cope with everyday use.
A good rack is simple to plan and easy to build. Choose a material that suits your space, sketch the layout with your bottles in mind, and finish the frame carefully. For more background on storing and serving wine, the wine basics section is a useful next step.
More in Wine Basics
 Which Rose Is Best for Your Taste, Budget, and Food PairingsUpdated Nov 21, 2026
 Is Cheap Wine Bad? How to Find Bottles Worth DrinkingUpdated Nov 21, 2026
 What To Write On A Wine Gift Tag: Thoughtful Messages For Every OccasionUpdated Nov 21, 2026
 Which Wine Is Best For Weight Loss? Compare Lower-Calorie ChoicesUpdated Nov 21, 2026
 What Is The Best Wine For Mimosas? Choose Bubbly That Balances Orange JuiceUpdated Nov 20, 2026
 Which Prosecco Is Best for Your Taste and OccasionUpdated Nov 20, 2026