

We may earn a commission when you buy through links on this page, at no extra cost to you. Learn more.
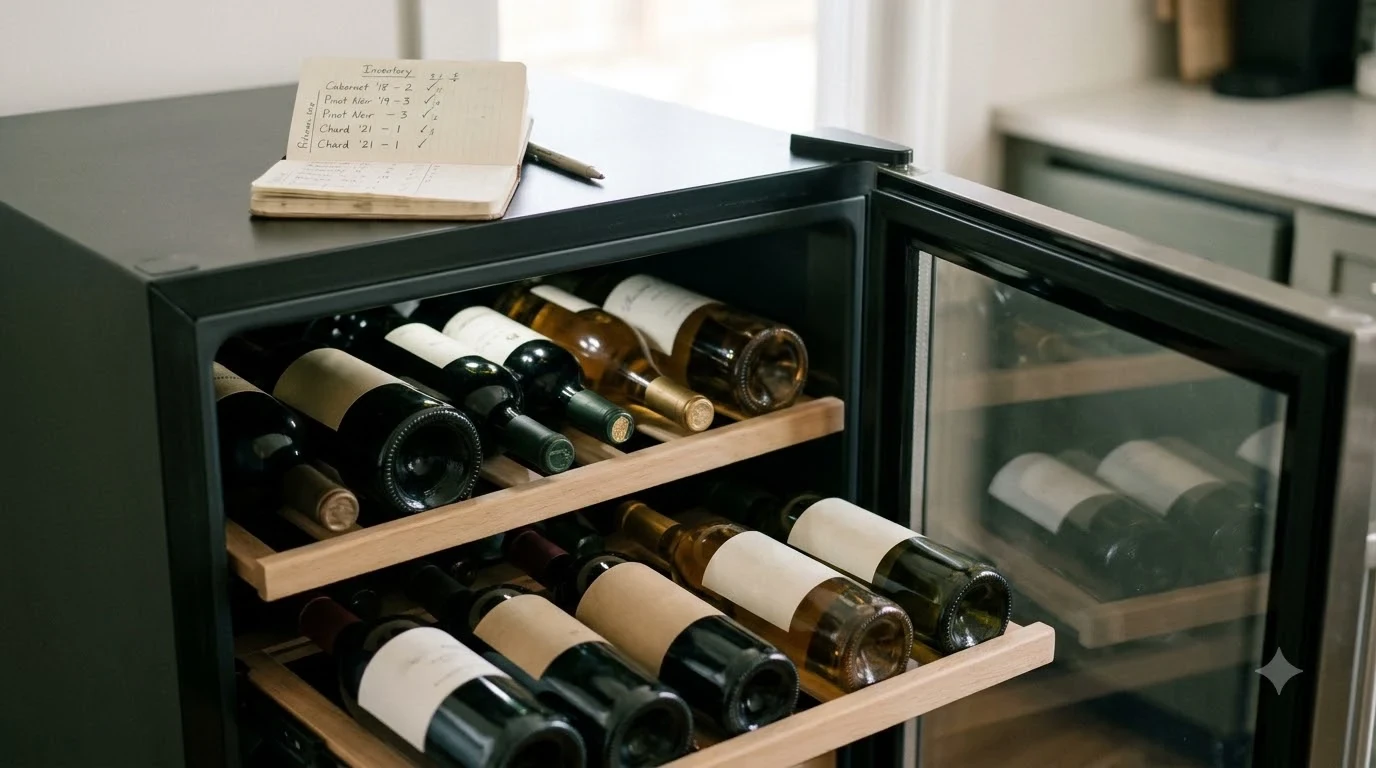
EuroCave Wine Fridge Repair starts by identifying whether the problem is routine maintenance or a fault in the cabinet’s electrical controls or refrigeration system. Owners can inspect the door, ventilation openings, filters, drain, and power supply, but persistent temperature alarms, sensor faults, and cooling failures need professional service. Warning symbols and maintenance steps vary by model, so use the manual for the exact cabinet.
A EuroCave cabinet protects wine through stable temperature, suitable humidity, air renewal, and limited vibration. A flashing icon does not always mean a major component has failed. This guide covers safe first checks, routine care, service decisions, and steps to protect bottles while the cabinet is repaired.
What EuroCave Repair Really Involves
Repair begins by separating a maintenance reminder from a performance fault. A filter alert, blocked drain, or door that has not latched is different from a failed sensor, compressor, or refrigeration circuit.

EuroCave cabinets may have more than one filter. Some Compact models have a removable grille filter that the manual says to rinse every three months; the activated-carbon filter is a separate part intended for annual replacement. The manufacturer’s charcoal-filter guide places that cartridge in the upper-left ventilation opening and describes a quarter-turn removal method for the models it covers.
Procedures also vary by control generation and cabinet type. A single-temperature aging cabinet, a multi-temperature serving cabinet, and different Compact or Royale models may use different icons, humidity systems, and button sequences. Record the model reference and serial number before following a procedure. EuroCave’s official FAQ says the serial number is on an identification plate at the bottom inside the cabinet and asks owners to have it ready when contacting customer service. The objective is stable operation, not simply making an alarm disappear.
Diagnose the Symptom Before Changing Settings
Write down what the cabinet is doing, what the display shows, and when the problem began. A short record can distinguish a door or loading issue from a persistent cooling or sensor fault.
Compare the displayed temperature with the selected setting. The Compact manual, for example, uses a ±4°C threshold for its temperature alert; other lines may use different logic. Note whether the reading is rising, falling, or steady; whether the fan or compressor runs unusually often; and whether frost or condensation is visible. A large batch of room-temperature bottles can take time to cool, and frequent door openings introduce warm air, so do not treat a short recovery period as proof of failure.
Inspect the door before assuming the refrigeration system is defective. A bottle or shelf may prevent full closure, while a dirty or twisted gasket can let warm, moist air enter. Note whether the cabinet is level and whether the door sits evenly against the frame. Persistent moisture, heavy frost on the rear wall, or a steady temperature increase deserves prompt attention rather than repeated changes to the set point.
Record whether the unit powers on and distinguish a blank display from an open-door warning, humidity alert, or sensor code. These details help a dealer identify the correct model documentation and decide whether electrical or refrigeration service is needed.
Safe Checks Owners Can Make
Several first-line checks are appropriate without opening technical panels. Keep the work external and reversible: confirm the power supply, clear visible airflow obstructions, close the door correctly, and inspect accessible seals and filters.
Confirm that the wall outlet works and that the plug is fully seated. If the display is blank, check the household breaker for an obvious trip. Do not remove electrical covers or probe wiring; stop using the cabinet if its cord, plug, or socket is damaged. Clear ventilation openings and the space around the unit, following the clearance specified for its installation. Built-in and freestanding designs differ, and a recommendation for another brand does not establish the correct clearance for your EuroCave.
Inspect the door seal around its full perimeter. Remove any bottle or shelf stopping the door from closing and clean the gasket with mild soapy water. EuroCave’s Compact manual says to rinse all soap residue away; it permits occasional use of an ethanol-based solution below 10% only if mild soap is insufficient, followed by thorough rinsing. Avoid harsh solvents, abrasive tools, glue, or stretching a damaged seal.
For a filter alert, identify which filter your model uses before ordering a part. Use a manufacturer-approved carbon filter and follow the correct reset procedure. On the newer models covered by EuroCave’s online guide, the reminder appears every 365 days; after replacement, the filter control and plus key reset the countdown. Button sequences are not universal, so do not apply that sequence to a different control panel. The intervals and first responses are summarized below.
Tip: Before changing a setting or resetting an alarm, photograph the display and record the cabinet temperature, selected setting, and time. This gives the technician useful evidence and shows whether the temperature is recovering.
| Item or alert | Published interval or threshold | Appropriate first response |
|---|---|---|
| Compact lower grille filter | Every 3 months | Remove, rinse under running water, dry, and refit. |
| Activated-carbon filter | About 12 months; 365-day reminder on most recent models | Fit the correct replacement and reset the model’s counter. |
| Compact low-humidity alert | Below 65% relative humidity for more than 72 hours | Add water to the humidity cassette as directed in that manual. |
| Compact temperature alert | Temperature has not returned within a ±4°C threshold | Check door closure, hinge, and recent bottle loading; contact the dealer if it persists. |
| Interior drain and cabinet cleaning | Approximately once a year | Unplug and unload first; clear the drain and clean the interior as instructed. |
Maintenance That Prevents Repeat Failures
Scheduled cleaning helps avoid cooling strain, odors, and moisture problems. Follow the model’s maintenance intervals, keep the door seal sound, and monitor temperature and humidity rather than waiting for a warning.
For the Compact model covered by its user manual, rinse the lower grille filter every three months and let it dry before refitting. Approximately once a year, unplug and unload the cabinet, clear the bottom drain, clean and dry the interior, replace the activated-carbon filter with a manufacturer-guaranteed part, and inspect the seals. EuroCave Swiss describes a carbon-filter life of about 12 months in normal use, or six months in smoking areas. Its annual maintenance list also includes leveling the cabinet and door, inspecting moving parts and screws, testing the door seal, and checking electronics and operating parameters. Other EuroCave ranges may use a different grille or filter arrangement.
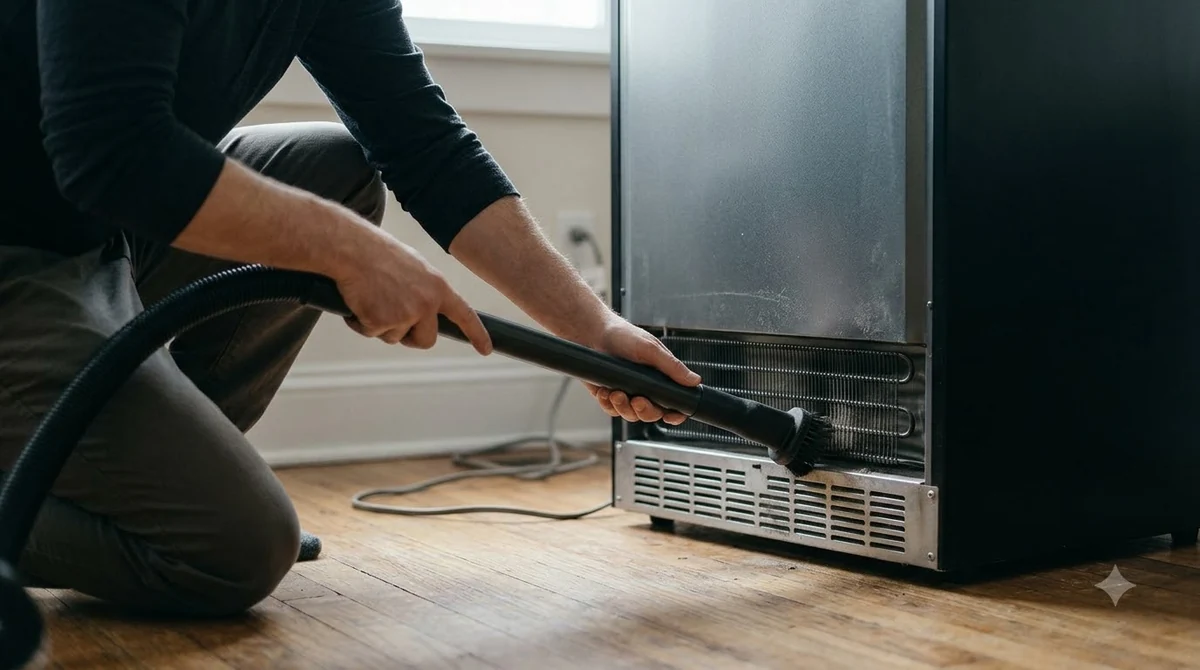
Monitor moisture as well as temperature. A blocked drain can leave water in the base, and a poorly closing door can admit humid room air. Wine Enthusiast’s cellar-care guidance recommends checking drip trays every few months where fitted, confirming drain tubes are clear, and cleaning exposed condenser coils about once a year when safe access is provided by the design. This general advice does not mean owners should dismantle a EuroCave or reach behind a fixed panel.
Humidity targets differ by cabinet and operating mode. EuroCave’s general FAQ gives 10–14°C and 60–80% relative humidity as broad storage conditions, while individual manuals may set different alert thresholds. If condensation or mold appears, check the drain, door closure, filter life, and room conditions. Add water only to a humidity cassette specifically fitted to that cabinet.
When a Technician Should Take Over
Stop owner troubleshooting if the cabinet reports a sensor defect, cannot cool after basic checks, repeatedly triggers a protection alarm, or shows signs of electrical or refrigeration damage. These faults require the correct equipment and model-specific diagnosis.
EuroCave’s Compact manual directs owners to a dealer for a temperature-sensor fault or a cabinet that will not switch on. If the temperature warning remains after the initial checks, it says to disconnect the cabinet and contact the dealer. Refrigeration-circuit work is not a do-it-yourself task: the manual identifies R600a isobutane as the refrigerant in the model it covers and warns owners not to damage the cold circuit or let sharp objects contact it. If the circuit is damaged, keep electrical appliances and flames away, open the windows to ventilate the room, and contact an approved repair service. Do not puncture tubing, use a heat gun, add refrigerant, or attempt to braze a line.
Electrical repairs also belong with a qualified professional. A technician can assess the supply, control board, wiring, sensor readings, fan, compressor, door switch, and refrigeration performance. Replacing parts without confirming the cause may leave the original fault unresolved. Ask the repairer to identify the failed component, verify stable temperatures, and explain the scope of the visit. When booking, provide the model reference, serial number, purchase or installation details if available, display code, and a concise symptom history. Explain whether the unit is built-in or freestanding, has one or multiple temperature zones, and has recently been moved or heavily reloaded. For comparison, our Allavino wine fridge repair and Zephyr wine fridge repair guides cover separate brands whose controls and parts are not interchangeable with EuroCave components.
Ask what the service visit includes. A useful assessment may cover door alignment and seals, ventilation, drain and filter condition, control-panel and sensor tests, operating temperatures, and compressor or fan performance. For sealed-system work, confirm that the technician is qualified to handle the refrigerant used by your cabinet and will perform a leak and performance check before returning it to service.
Protect the Wine During a Service Interruption
Wine is generally more resilient to a short, moderate interruption than owners fear, but prolonged heat and repeated temperature swings should be avoided. Choose a temporary location that is cool, dark, stable, and free from vibration.
Keep the door closed while deciding on service. Cabinet insulation and the thermal mass of the bottles slow temperature change, so repeated checking can warm the interior faster than leaving it shut. If the cabinet still cools and the issue appears minor, avoid unloading every bottle simply to inspect it; record the temperature and ask the technician whether a transfer is necessary. If the wine is warming and the unit cannot recover, move the collection to another functioning cabinet or consistently cool storage area. EuroCave gives about 12°C as an ideal target, and Decanter quotes a traditional cellar range of 10–15°C, away from light and vibration. A stable place is preferable to a bright kitchen that heats up each afternoon.
Remember that the air reading is not the same as the temperature inside every bottle. Decanter notes that insulation and the bottles’ thermal mass can moderate a short outage, with a larger, fuller cabinet offering more protection than a small one. Risk increases with exposure time and room temperature; a space reaching 30°C is unsuitable for extended storage. Consider the duration, room conditions, and bottle temperatures rather than reacting to one display reading.
After repair, let the cabinet return to its normal operating range before loading it heavily. Keep bottles away from the rear wall, leave ventilation openings clear, and limit door openings while the temperature settles. Monitor it over the next day or two, save the service report, and contact the repairer if the warning returns. Our Marvel wine fridge repair guide and broader Brand Troubleshooting collection cover other cabinet systems.
Frequently Asked Questions
These handling and installation details can matter during a service visit even after the fault is understood. Follow the instructions for the exact cabinet, especially after transport or when moving loaded shelves.
How long should I wait before plugging in a EuroCave Compact after setup?
The Compact manual’s start-up instructions specify a 48-hour wait before plugging the cabinet in. That instruction applies to the models covered by that manual, so confirm the timing for another range with its own documentation or dealer. Keep the cabinet upright and secure during handling.
Can I connect a EuroCave cabinet through an extension cord?
EuroCave’s Compact manual says an extension lead is not recommended. It also says the wall socket should remain accessible after installation. Have an electrician assess the outlet or circuit rather than adding a multi-socket adapter to work around an unsuitable supply.
Can I use a hair dryer or sharp tool to remove ice?
No. The Compact manual warns against using mechanical devices or other methods to speed defrosting unless the manufacturer recommends them. If heavy frost builds up or fails to clear through normal operation, ask a EuroCave dealer for the correct procedure instead of improvising.
Should I fill every shelf before using the wine cabinet?
EuroCave Swiss recommends loading a cabinet to about 75% of its capacity and distributing bottles evenly. Its guidance also says bottles should not touch the back wall, which helps maintain circulation and avoids contact with the cold surface. Capacity varies with bottle formats and shelf configuration.
Can I pull out several sliding shelves while looking for a fault?
The Compact manual says never to pull out more than one sliding shelf at a time. It also advises against stacking more than one layer of bottles on a sliding shelf. Follow those limits when rearranging bottles before a repair visit, and do not use a loaded shelf as a work surface.
A methodical diagnosis can resolve simple maintenance issues without unnecessary part replacement, while early professional service protects the cabinet when a fault is electrical or refrigeration-related. Keep the model and serial number, maintenance dates, and symptom history together so the next repair starts with useful information and your wine spends less time outside stable storage conditions.
More in Storage & Fridge Care
 How Long Can You Store Wine in a Wine Fridge? Protect Bottle QualityUpdated Nov 20, 2026
 Can You Store Beer in a Wine Fridge? Keep Both Drinks FreshUpdated Nov 20, 2026
 Is It Worth Repairing a Wine Fridge? Spot the Cheap Fixes Before You ReplaceUpdated Nov 20, 2026
 Wine Fridge Condensation: Identify Causes and Fix Moisture ProblemsUpdated Nov 20, 2026
 Wine Fridge Too Cold: Protect Your Wine and Fix the TemperatureUpdated Nov 20, 2026
 How to Reset Wine Fridge: Restore Cooling and SettingsUpdated Nov 20, 2026