

We may earn a commission when you buy through links on this page, at no extra cost to you. Learn more.
Danby wine fridge repair usually starts with checking the power supply, temperature setting, door seal, and ventilation before any parts are replaced. Many cooling complaints come from blocked airflow, a door that is not closing fully, or a control that needs correcting. More serious faults involving fans, sensors, wiring, the compressor, or refrigerant should be diagnosed against the exact model by a qualified technician.
A Danby wine cooler is designed to hold bottles at a steady temperature, so a cabinet that runs warm, cycles constantly, or displays an alarm deserves attention. Work through the simple checks in order, record what the appliance is doing, and avoid opening electrical or sealed refrigeration components. This approach can resolve basic operating problems while giving a repair technician useful information if service is necessary.
Start With the Exact Danby Model and Cooling System
The best repair path depends on the complete model number, not just the Danby name or the bottle capacity. Danby has produced wine coolers with rear-mounted thermostat dials, electronic controls, and independently adjusted upper and lower zones, so a procedure that fits one cabinet may not fit another.
Find the rating label and write down the model and serial numbers before ordering parts or following a repair video. On some older units the label is on the back; on other designs it may be inside the cabinet or near the door frame. Photograph the label, the control panel, and any warning code. The manual for the DWC113BLSDB, for example, identifies the model on its cover and directs owners to record the identifying information before seeking service.
Next, determine whether the cooler is freestanding or built-in, single-zone or dual-zone, and dial-controlled or digital. The DWC350BLP family uses a thermostat knob on the rear of the cabinet and is specified as freestanding, while the DWC283BLS has separate upper- and lower-compartment settings. That distinction affects ventilation, temperature adjustment, and the parts a technician will check. Use the owner’s manual associated with the complete model number, and consult the Brand Troubleshooting resource for a broader way to compare appliance symptoms.
Check Power, Controls, and Temperature Settings
When the display is dark and the compressor is silent, begin with the outlet, plug, and household breaker; when the display is lit but the wine remains warm, confirm the set point and give the cooler time to respond. Do not remove a grounded prong, splice a cord, or work on a live electrical connection.
For a cooler that will not turn on
Look for an unplugged or partially seated three-prong plug and check whether the circuit breaker has tripped. If the outlet is controlled by a wall switch, make sure it is on. A Danby manual lists a blown fuse, tripped breaker, power surge, and loose plug among possible no-power causes, and gives that model a brief unplug-and-reconnect reset. Follow your own manual’s sequence. Use a properly grounded outlet; never remove the ground prong or use a damaged cord. Stop if the plug is hot, you smell burning, or the breaker trips repeatedly, and have an electrician or service professional inspect it.
For a display that works but the cabinet is warm
Check that the selected temperature is appropriate for the zone and that the control is not set to a warmer position by accident. On a dial-operated DWC350BLP, Danby describes turning the knob toward the colder end for a short pull-down period of 3 to 4 hours, then returning it to the middle range. That instruction is specific to that dial and should not be applied to a digital model. Some electronic controls adjust in one-degree increments, while dual-zone models require each compartment to be set separately.
Use a separate appliance thermometer to compare the actual cabinet temperature with the setting after the door has stayed closed for several hours. Avoid repeated adjustments; if the temperature still drifts, record the set point, measured temperature, room conditions, and compressor behavior.
Restore Airflow Before Replacing Cooling Parts
Poor ventilation and dirty heat-exchange surfaces can make a Danby wine cooler run longer while cooling less effectively. Before suspecting a compressor or control board, check the installation clearance, the exhaust opening, dust around accessible coils, and whether bottles or shelves are obstructing interior circulation.
Danby’s general wine-cooler FAQ recommends about 2 to 3 inches of clearance at the sides and rear for many freestanding units, while front-venting built-in models have different requirements. The model manual takes priority: do not push a freestanding cabinet tightly into a recess or block a front grille. Danby also says its wine fridges are not designed for an outdoor kitchen or an uncontrolled garage environment; unsuitable placement can affect warranty coverage. Heat, direct sun, and poor air movement make it harder for the appliance to shed heat.
Disconnect power before cleaning accessible areas. Use a soft brush or vacuum attachment only where the manual permits, and avoid bending thin fins, wetting electrical parts, or reaching into a moving fan. Some compact wine coolers have a covered condenser or a layout that is not intended for owner access. If the coils cannot be reached without removing a service panel, leave that step to a technician. RepairClinic’s general refrigerator guidance explains that debris on condenser coils can reduce efficiency and contribute to overheating; its repair advice is useful for understanding the mechanism, but the Danby manual determines which cleaning steps are suitable for a particular wine cooler.
| Observation | Safe first check | Model-specific detail |
|---|---|---|
| Warm cabinet | Clear the intake and exhaust; check the door seal and setting. | Danby commonly recommends 2–3 inches at the sides and rear for freestanding models; follow the individual manual. |
| HI or LO display | Close the door firmly and pause before resetting. | Danby says the signal may clear after 5 minutes on some models. |
| Fan cycles briefly | Listen for scraping or vibration rather than assuming every stop is a fault. | Danby describes an 8–12 second fan cycle as normal for the models covered by that FAQ. |
| Slow pull-down after a setting change | Keep the door closed and monitor the cabinet thermometer. | The DWC350BLP manual describes a 3–4 hour maximum-cooling setting procedure for its rear dial. |
Keep bottles from pressing against vents or the interior fan cover, and leave room for air to move between shelves. Loading a large number of room-temperature bottles at once can temporarily raise the cabinet temperature. Danby’s DWC113BLSDB troubleshooting page recommends staggering the addition of warm bottles rather than loading them all at once. For a full cabinet, add a few bottles, allow the temperature to recover, and then continue.
Trace Warm Cabinets, Noise, and Condensation
A wine cooler that runs constantly, rattles, or collects moisture may have a simple installation or door issue, but the pattern matters. Compare when the symptom occurs: after a large bottle load, during a hot afternoon, only when the compressor starts, or even while the door has remained closed.
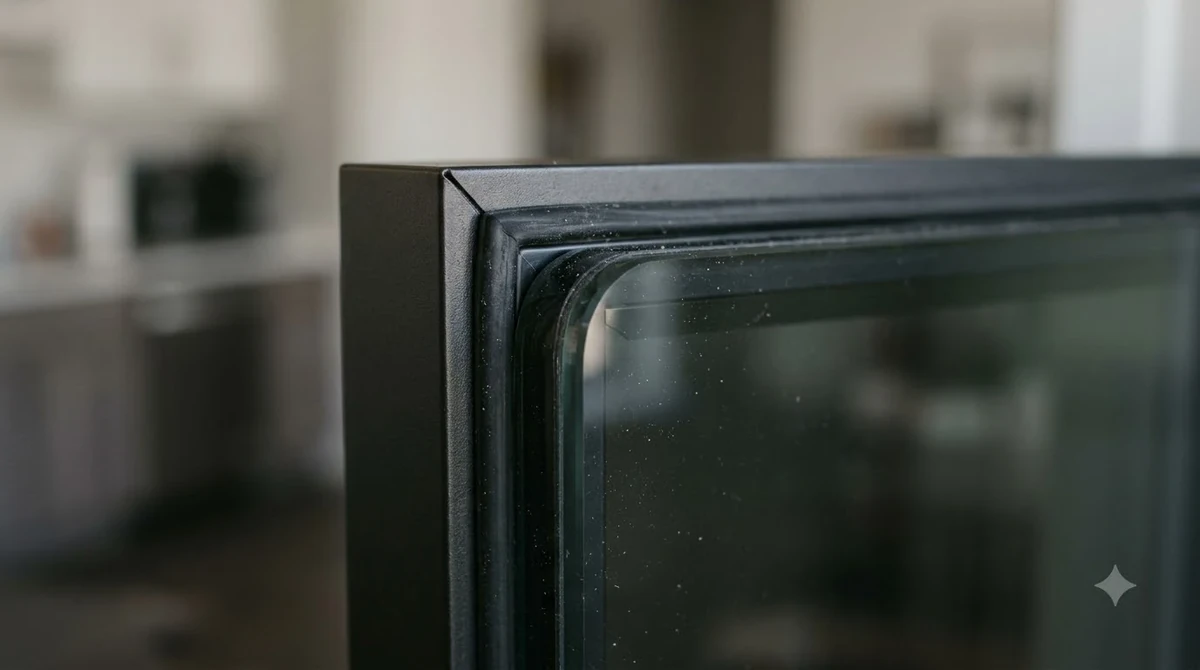
Inspect the gasket around the complete door perimeter for tears, twists, dirt, or sections that no longer sit flat against the cabinet. Wipe the seal and the mating surface with a soft damp cloth, dry both, and close the door without pushing bottles against it. Make sure shelves and bottle necks are not preventing the door from seating. Frequent openings and a door left ajar allow warm, humid air inside, which can increase run time and create condensation on the glass or cabinet.
For a rattle, check that the cabinet stands level and does not touch a nearby wall, cabinet panel, or countertop. Danby recommends leveling the cooler and checking for vibration against surrounding surfaces; it also notes that some models cycle a fan at intervals of 8 to 12 seconds as part of normal operation. A repeating fan sound alone is not proof of a failed motor. A new grinding sound, a fan blade striking an object, or a loud electrical hum deserves a closer inspection by service personnel.
Condensation can appear when indoor humidity is high or the door seal is leaking. First correct the door closure and reduce unnecessary openings. If moisture keeps appearing in the same place, water reaches the floor, frost builds up inside, or the temperature rises at the same time, record the location and frequency. Do not chip ice with a knife or use a heat gun; sharp tools and uncontrolled heat can damage the liner or refrigeration system.
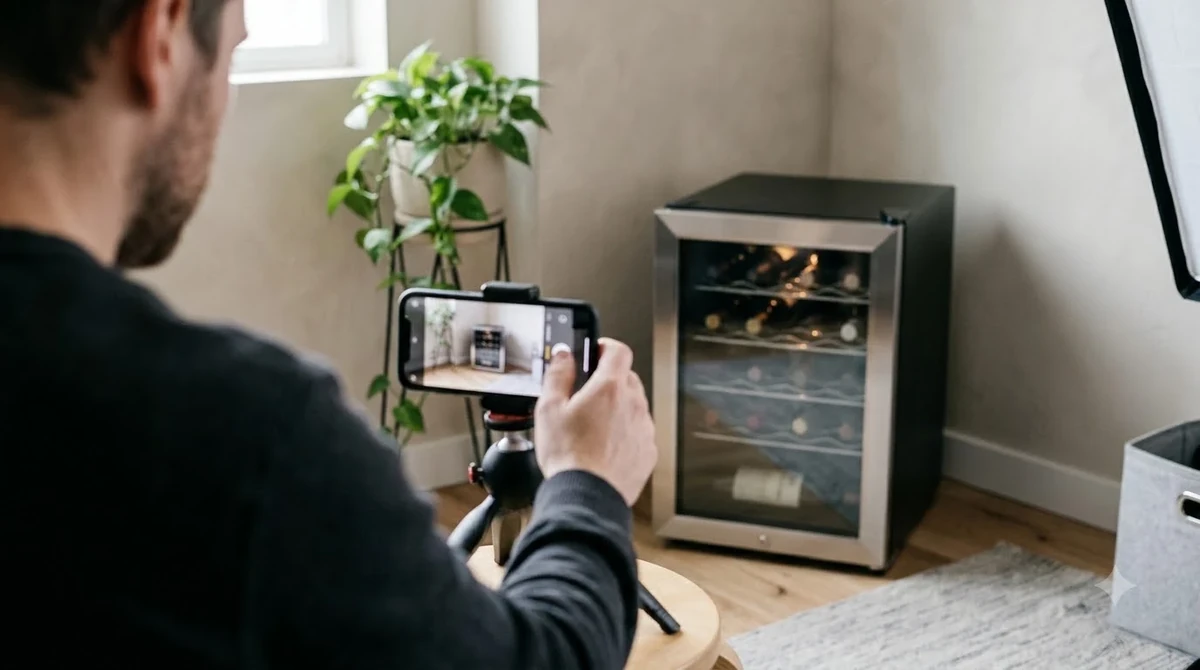
Tip: Before calling for service, take a short video of the display, fan or compressor sound, and any visible condensation. Pair it with the model number, the selected temperature, and a thermometer reading after the door has been closed for several hours. These details can help a technician separate a normal operating cycle from a developing fault.
Know Which Danby Repairs Belong to a Technician
Owner-level troubleshooting should stop once the next step involves exposed wiring, live voltage measurements, a control board, a compressor, or refrigerant tubing. Danby manuals state that the appliance should be serviced by qualified personnel, and certain newer model manuals carry specific flammable-refrigerant warnings that make puncturing or opening the sealed system especially unsafe.
Common service diagnoses include a failed condenser fan, evaporator fan, temperature sensor, thermostat, electronic control, start component, or compressor. These parts can produce overlapping symptoms: for example, a fan fault may reduce heat transfer or internal air circulation, while a sensor or control fault may cause the compressor to run at the wrong times. RepairClinic’s refrigerator guidance also lists dirty coils, fan motors, gaskets, power problems, thermostats, and control issues among possible causes of poor cooling. Those are diagnostic possibilities, not a parts list for every Danby wine cooler.
Do not order a fan, sensor, or control board based only on a generic symptom chart. Match the full model and serial information, electrical rating, connector, mounting points, and revision where applicable. Two cabinets with similar capacities can use different parts. A professional should test the suspected component and confirm compatibility before installing it. If a sealed-system leak, restriction, or compressor problem is suspected, use a technician equipped and authorized to handle the refrigerant specified for the model.
Before arranging a repair, check warranty status and ask whether an authorized depot is required. Keep the receipt and record the purchase date, codes, symptoms, and completed checks. Danby’s wine cooler troubleshooting and maintenance FAQs cover first checks; RepairClinic’s refrigerator repair FAQs explain common cooling diagnoses, but the Danby manual governs the actual procedure. For brand comparisons, see allavino wine fridge repair, zephyr wine fridge repair, and marvel wine fridge repair. Their basic refrigeration principles overlap, but parts, controls, and warranty rules are not interchangeable.
Protect Wine While the Cooler Is Out of Service
Move valuable bottles to a stable, temperature-controlled location if the Danby cabinet cannot hold its set point. A consistent environment is more useful than repeatedly moving bottles between a warm kitchen, a household refrigerator, and a cooler that is still failing.
For temporary storage, aim for a steady temperature near 55°F, keep bottles away from direct sun and heat-producing appliances, and limit vibration and unnecessary handling. If the wine fridge is only slightly warm, do not assume that lowering the setting to its coldest position will solve the problem; a failed fan or sealed-system fault will not be corrected by a more aggressive thermostat setting. Check the wine temperature and the cabinet temperature separately, especially if the cabinet holds mixed bottle types or has two independently controlled zones.
When moving bottles, keep them together in a location with stable conditions and note which compartment they came from if the cooler is dual-zone. Once the appliance is repaired, let it reach a stable temperature before returning the full collection. Reintroduce bottles in manageable groups rather than filling the cabinet with a large load that has been sitting at room temperature. Record the final setting and actual temperature so you can spot a repeat problem early.
Frequently Asked Questions
These model-specific details explain a few Danby behaviors that can be confusing during troubleshooting. The full manual for the appliance remains the authority for its display codes, controls, and replacement components.
What does a HI, LO, or CL code mean on a Danby wine cooler?
On the DWC040D2BSSDB manual, HI, LO, or CL that remains on the display for more than 5 minutes may call for a power reset. The manual says to unplug the appliance, wait 5 minutes, and reconnect it; a persistent code should be referred to consumer care or an authorized service agent. Codes can vary by model, so do not assume the same meaning for another Danby series.
Will a Danby dual-zone cooler keep its settings after a power interruption?
The DWC283BLS manual states that its upper zone returns to 12°C (54°F) and its lower zone to 6°C (43°F) after a power interruption. That default is specific to that model family, not a universal Danby reset value. Confirm both zones after power is restored.
Why does the temperature number flash and then become steady?
On the DWC044BLP control described in Danby’s manual, a flashing LED represents the selected cooling temperature, while a steady LED represents the current cabinet temperature. The display changes back after the adjustment period, so the two readings are not interchangeable. This distinction can prevent an owner from mistaking the actual cabinet temperature for the set point.
Can every Danby wine cooler be installed inside cabinetry?
No. The DWC350BLP and DWC350BLPA guide identifies those models as freestanding and says they are not intended to be built into an enclosure. Other Danby models may be designed for built-in installation, but their front ventilation and clearance instructions must be followed exactly.
Can I use any replacement bulb in a Danby wine cooler?
The DWC350BLPA manual specifies a standard replacement bulb of no more than 15 watts, while the DWC350BLP uses an LED strip. Danby directs owners of the LED version to consumer care for replacement information. Check the exact model before buying a light component.
A Danby wine cooler often needs only a careful check of power, settings, sealing, and airflow, but persistent cooling loss or electrical symptoms call for qualified service. Match every procedure and replacement part to the complete model number, and keep the wine in stable storage while the appliance is being diagnosed.
More in Storage & Fridge Care
 How Long Can You Store Wine in a Wine Fridge? Protect Bottle QualityUpdated Nov 20, 2026
 Can You Store Beer in a Wine Fridge? Keep Both Drinks FreshUpdated Nov 20, 2026
 Is It Worth Repairing a Wine Fridge? Spot the Cheap Fixes Before You ReplaceUpdated Nov 20, 2026
 Wine Fridge Condensation: Identify Causes and Fix Moisture ProblemsUpdated Nov 20, 2026
 Wine Fridge Too Cold: Protect Your Wine and Fix the TemperatureUpdated Nov 20, 2026
 How to Reset Wine Fridge: Restore Cooling and SettingsUpdated Nov 20, 2026