

We may earn a commission when you buy through links on this page, at no extra cost to you. Learn more.
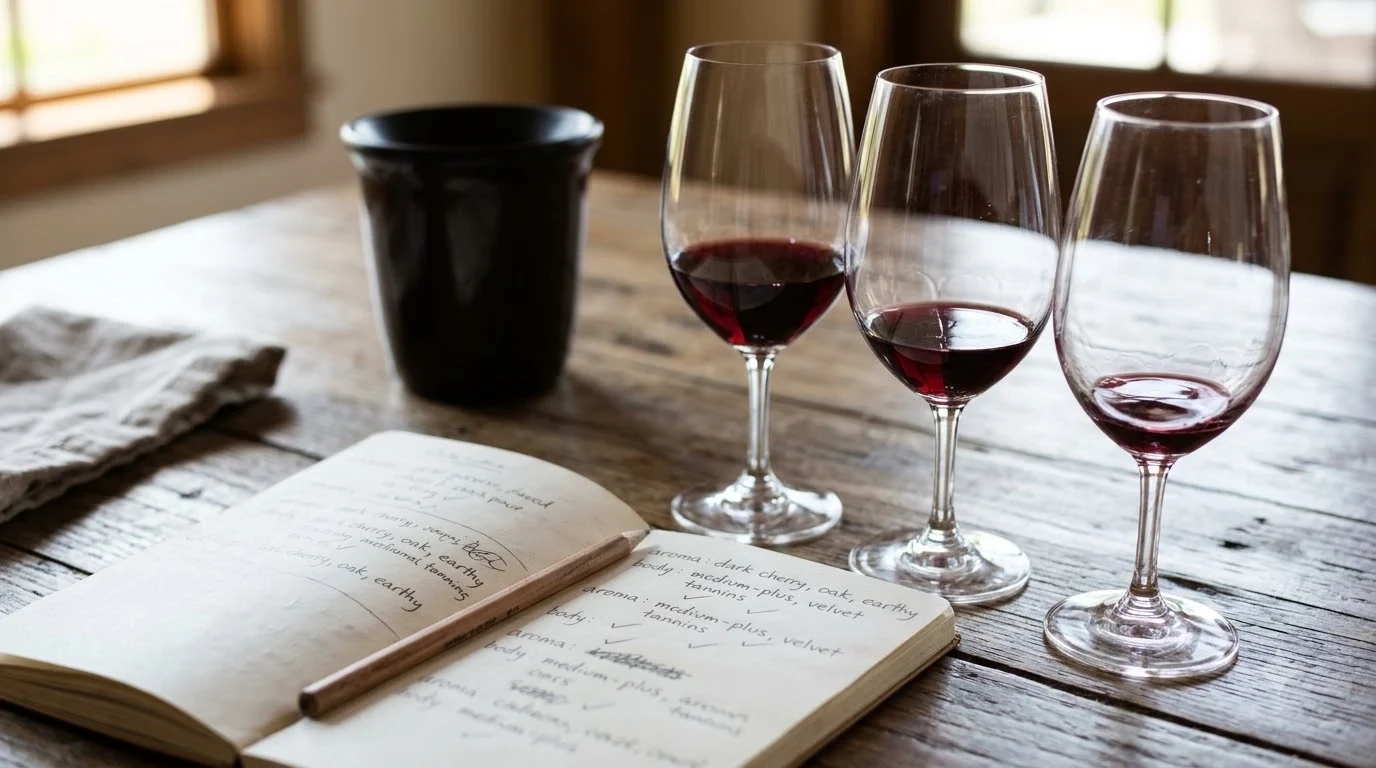
How to set up a wine tasting starts with choosing a clear theme, selecting four to six complementary wines, preparing clean glassware, and arranging a tasting order from lightest to fullest. Plan approximately 2-ounce pours, provide water and simple palate cleansers, and give guests time to compare aromas and flavors. A little preparation makes it possible to host an enjoyable wine tasting at home without professional equipment or extensive wine knowledge.
A wine tasting can be a relaxed evening with friends, a focused introduction to different grape varieties, or a structured comparison of wines from several regions. The most successful gatherings have a purpose without feeling like a classroom. Whether you are introducing beginners to wine or bringing together experienced enthusiasts, the important details are the bottle selection, serving conditions, and opportunities to compare each glass side by side.
1. Choose a Wine Tasting Theme and Build Your Lineup
A clear theme gives your wine tasting a direction and makes selecting bottles much easier. Rather than purchasing unrelated wines, choose four to six bottles that share a recognizable characteristic, such as grape variety, region, production method, or vintage.
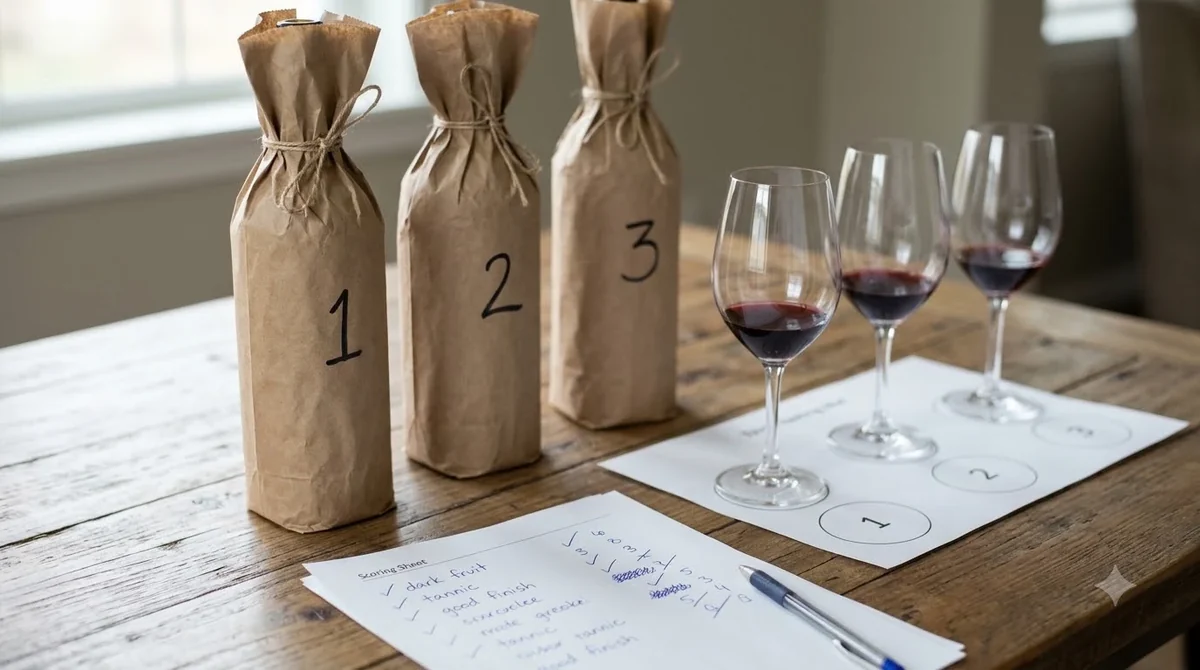
For a first gathering, five wines provide a useful balance between variety and simplicity. Wine Enthusiast recommends approximately five bottles for an at-home tasting, with one sparkling wine, two whites, and two reds offering a straightforward starting lineup. You can also choose a narrower theme if the purpose is to understand one grape or compare different winemaking approaches.
Five approachable tasting themes
Compare one grape across different regions. Choose Pinot Noir from Oregon, Burgundy in France, and Germany. The grape remains consistent, but differences in climate, growing conditions, and winemaking can produce distinct expressions. Another option is comparing Sauvignon Blanc from New Zealand with versions from California and the Loire Valley.
Explore one region. A tasting focused on Napa Valley could include Chardonnay, Cabernet Sauvignon, and Merlot from the same general area. For a Spanish theme, compare Albariño from Rías Baixas with Tempranillo from Rioja and Garnacha from another Spanish region. This format introduces guests to regional grape varieties and styles.
Compare different vintages. A vertical tasting features wines from the same producer across multiple harvest years. For example, three vintages of Cabernet Sauvignon from one winery can demonstrate how bottle age and growing conditions influence the finished wine. This format works especially well for guests interested in wine aging.
Compare different producers. A horizontal tasting can feature four examples of the same grape from different wineries, preferably from the same vintage or a similar period. Four California Chardonnays, for instance, can reveal differences in oak influence, acidity, fruit character, and texture.
Try a blind tasting. Cover four bottles with paper bags or wine sleeves and number them. Guests taste without seeing the labels, record their impressions, and guess the grape varieties or regions before the identities are revealed. This makes the evening interactive without requiring anyone to have advanced wine knowledge.
A practical five-wine selection
If you do not have a specific theme in mind, start with a mixture of familiar styles. The following lineup gives guests a useful introduction to different wine characteristics.
- Wine 1: Brut sparkling wine for a refreshing opening.
- Wine 2: Sauvignon Blanc for fresh acidity and citrus aromas.
- Wine 3: Chardonnay for a fuller-bodied white wine comparison.
- Wine 4: Pinot Noir for a lighter red with noticeable acidity.
- Wine 5: Cabernet Sauvignon for a fuller red with firmer tannins.
This selection moves from lighter, fresher styles toward more structured wines. It also introduces differences in acidity, body, tannin, and sparkling wine production without making the lineup unnecessarily complicated.
2. Calculate the Guest Count, Bottles, and Pour Sizes
Decide how many people will attend before purchasing wine. Six to ten guests is a manageable group for a home tasting because everyone can participate in the discussion, compare impressions, and ask questions without the host losing control of the schedule.
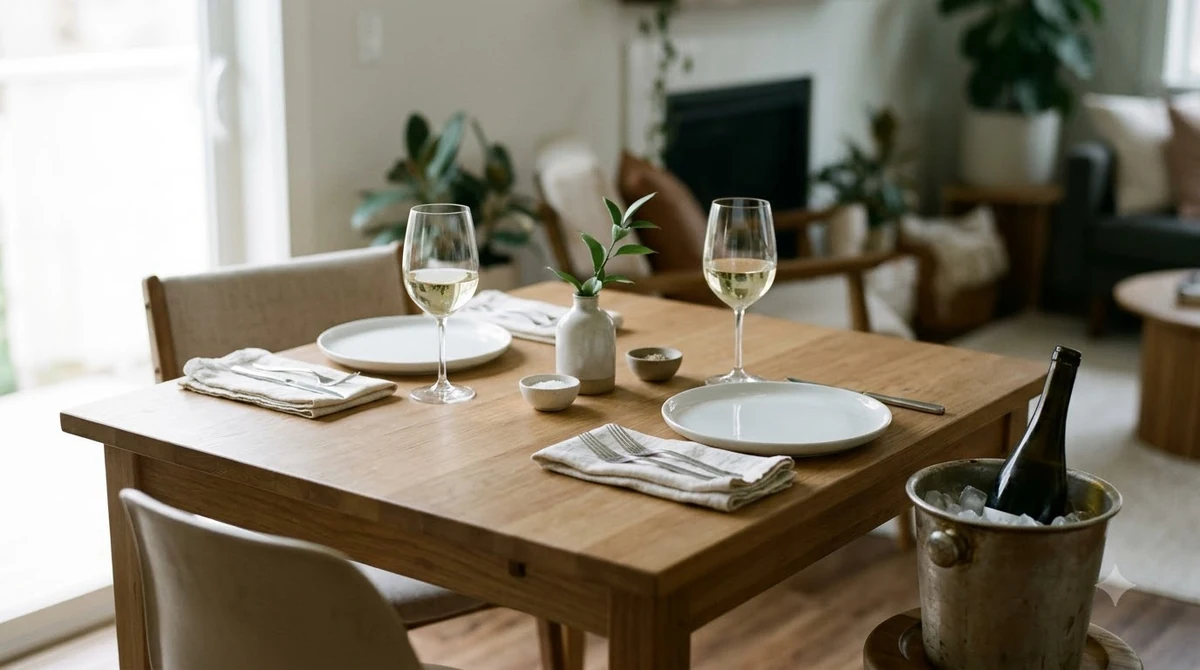
For a tasting with several wines, use smaller samples rather than standard restaurant pours. Approximately 2 ounces per wine gives guests enough liquid to observe the color, smell the aromas, and evaluate the flavor while keeping the total amount served manageable. Wine Folly identifies 2–3 ounces as a typical tasting pour.
How many bottles should you purchase?
A standard wine bottle contains 750 ml, equivalent to approximately 25.4 fluid ounces. At a 2-ounce tasting pour, one bottle provides approximately 12 samples. At a 3-ounce pour, it provides approximately eight samples. Allow a little extra for spills, uneven pouring, and guests who want to revisit a favorite.
| Guest count | Wines | Pour per wine | Bottles per wine | Total bottles |
|---|---|---|---|---|
| 4 guests | 5 | 2 oz | 1 | 5 |
| 6 guests | 5 | 2 oz | 1 | 5 |
| 8 guests | 5 | 2 oz | 2 | 10 |
| 10 guests | 5 | 2 oz | 2 | 10 |
| 12 guests | 5 | 2 oz | 2 | 10 |
These quantities are practical planning estimates, not mandatory serving rules. Six guests can share five bottles with room for occasional additional samples, while eight to ten guests benefit from two bottles of each selection if everyone is receiving a sample of every wine.
For a larger gathering, calculate the number of samples before buying. Twelve guests receiving five 2-ounce pours each require 120 ounces of wine in total. Five bottles provide approximately 127 ounces, so five bottles are sufficient for the initial tasting, although extra bottles are useful if guests will revisit wines or enjoy additional servings afterward.
Plan the tasting schedule
Allow approximately 10–15 minutes for each wine. A five-wine tasting therefore needs about 50–75 minutes for the actual comparison, with additional time for introductions, breaks, and conversation. A total event lasting 90 minutes to two hours is a comfortable arrangement for most informal gatherings.
Make it clear that guests do not need to finish every sample. A tasting is about evaluating differences, not emptying every glass. Provide spittoons and a larger discard container so participants can manage their samples comfortably.
3. Prepare Glassware, Equipment, and the Tasting Space
You do not need a professional tasting room to create a useful setup. A clean table, suitable lighting, identical wine glasses, and a few practical accessories provide everything needed for a successful home tasting.
Begin with the glassware. Ideally, provide one clean glass per wine for each participant. This arrangement allows guests to compare wines side by side without repeatedly rinsing their glasses or losing track of which sample they are evaluating. If space or glassware is limited, one glass per person is acceptable, provided it is rinsed and drained between wines.
Essential equipment checklist
- Wine glasses: Use clean, transparent glasses with enough room to swirl a small sample.
- Corkscrew: Keep a reliable opener available, along with a backup if several bottles have natural cork closures.
- Water: Provide a glass or bottle of water for every guest.
- Spittoons: Small individual containers give guests a convenient place to spit wine.
- Dump bucket: Use a larger container for unfinished wine and unwanted samples.
- Napkins: Keep them within easy reach for spills and drips.
- Paper and pens: Provide tasting sheets or simple notebooks for recording observations.
- Serving equipment: Prepare an ice bucket, wine chiller, or decanter when the selected wines require one.
- Palate cleansers: Set out plain crackers or bread for use between samples.
Identical glassware is particularly helpful when the objective is to compare wines. Different bowl shapes can influence how aromas reach the nose, which makes it harder to determine whether a difference comes from the wine itself or the glass. A simple all-purpose wine glass is suitable for most informal tastings.
Arrange the room for comfortable tasting
Choose a well-lit room with enough table space for bottles, glasses, water, and tasting sheets. A white tablecloth or plain white paper provides a neutral background for examining wine color. Natural daylight or neutral white lighting is useful because colored lighting can make visual comparisons less reliable.
Pay attention to surrounding smells. Scented candles, room sprays, heavily perfumed flowers, cooking odors, and strong perfumes can interfere with aroma evaluation. Ask guests to avoid strong fragrances, and keep strongly scented foods away from the main tasting area.
Arrange the bottles in serving order, with the first wine easy to reach. Keep chilled wines in an ice bucket containing a mixture of ice and water. Put the discard bucket in a location that guests can reach without interrupting other participants.
Tip: Prepare one small tasting station for every two or three guests if the table is crowded. Keep water, napkins, tasting sheets, and a discard container accessible at each station so participants do not need to reach across other people’s glasses.
4. Set the Serving Order and Wine Temperatures
Serve wines from lighter and more delicate styles toward fuller-bodied, more intense selections. This order helps preserve the ability to recognize subtle aromas and flavors before stronger tannins, sweetness, or alcohol become more prominent.
A conventional sequence begins with sparkling wine, continues through dry whites and rosé, then moves into lighter reds and fuller reds. Sweet wines generally come at the end because sweetness can make a subsequent dry wine seem less expressive.
Recommended tasting order
- Sparkling wine: Begin with Brut Champagne, Cava, or Prosecco.
- Light white wine: Follow with Sauvignon Blanc, Albariño, or Pinot Grigio.
- Fuller white wine: Serve Chardonnay or another richer white.
- Rosé: Introduce a dry rosé before moving into reds.
- Light red wine: Serve Pinot Noir or Gamay.
- Full-bodied red wine: Finish the dry wine sequence with Cabernet Sauvignon or Syrah.
- Sweet wine: Finish with Moscato, sweet Riesling, or another dessert wine.
You do not need to serve all seven categories. For a five-wine tasting, select the styles that fit your theme while preserving a logical progression. A lineup of Sauvignon Blanc, Chardonnay, Pinot Noir, Merlot, and Cabernet Sauvignon is another practical option when the event focuses exclusively on still wines.
Serving temperature reference
Temperature affects how wine expresses its aromas, acidity, sweetness, and tannins. Wines served too cold can seem muted, while overly warm wines can emphasize alcohol and feel heavier than intended.
| Wine style | Serving temperature |
|---|---|
| Sparkling wine | 40–50°F |
| Light whites and rosé | 45–50°F |
| Full-bodied whites | 50–55°F |
| Light reds | 55–60°F |
| Full-bodied reds | 60–65°F |
| Sweet whites | 43–50°F |
For example, serve Sauvignon Blanc around 45–50°F and Chardonnay around 50–55°F. Pinot Noir is more expressive around 55–60°F, while Cabernet Sauvignon generally benefits from a slightly warmer range of 60–65°F.
Chill sparkling wines and whites in advance. If a red wine is too warm, a short period in the refrigerator can bring it closer to the desired temperature. For more detailed advice on adjusting a red wine’s temperature, see this guide on how to warm up red wine.
Full-bodied young red wines, particularly Cabernet Sauvignon and Syrah, may benefit from 30–60 minutes of decanting before the tasting. This gives the wine some exposure to oxygen and can help its aromas become more expressive. Older, delicate wines may need gentler handling rather than prolonged aeration.
5. Choose Food That Supports the Wine
Food can make a wine tasting more welcoming, but the menu should support the bottles rather than compete with them. Plain bread, water crackers, mild cheeses, and simple charcuterie are useful starting points because they are easy to serve and do not overwhelm the palate.
Decide whether the event is primarily a wine comparison or a food-pairing exercise. For a traditional tasting, introduce the wines first and offer neutral snacks between samples. For a pairing-focused gathering, serve a small bite with each wine and encourage guests to notice how the food changes the experience.
Simple food options for different wines
Sparkling wine: Serve with plain potato chips, mild cheeses, or small pieces of toasted bread. The refreshing acidity and bubbles work well alongside salty appetizers.
Sauvignon Blanc: Offer goat cheese, cucumber, fresh herbs, or lightly seasoned seafood. Its high acidity is particularly useful with foods that have comparable freshness and acidity.
Chardonnay: Try Brie, roasted chicken, or mild creamy dishes. Fuller-bodied Chardonnay can handle richer textures than a particularly light white wine.
Pinot Noir: Pair with mushrooms, roasted poultry, or mild charcuterie. Its relatively low-to-medium tannin and high acidity make it adaptable to a range of foods.
Merlot: Serve with mild hard cheeses, roasted vegetables, or grilled chicken. Its medium tannin and softer profile make it an approachable red for a mixed group.
Cabernet Sauvignon: Offer aged cheddar, hard cheeses, or small portions of grilled beef. Salt and fat can soften the perception of tannin in this structured red wine.
Foods to keep away from the main tasting
Very spicy dishes, strongly vinegared foods, and intensely sweet snacks can make it harder to compare wines accurately. Chili heat can become more pronounced with alcoholic, tannic wines, while highly acidic foods can make a low-acid wine seem flat. Oily fish can also clash with strongly tannic reds.
Save substantial dishes for after the tasting if you want to serve a full meal. A Spanish-themed evening, for example, might begin with Albariño and Tempranillo samples accompanied by neutral crackers, followed by a separate tapas course with olives, mild cheeses, and cured meats.
For a more detailed explanation of the language used to describe these differences, introduce guests to what are tasting notes before the first pour. This helps everyone understand that observations about acidity, fruit, aroma, body, and finish are more useful than trying to identify every individual flavor.
6. Guide Guests Through Each Wine and Keep the Evening Organized
A good host provides enough direction to make the tasting interesting without turning every glass into a formal examination. Explain the basic process, give everyone time to observe each wine, and encourage guests to describe what they notice in their own words.
Begin by introducing the theme and explaining why the wines were selected. Share the grape variety, region, vintage, and producer information for each bottle. If the tasting is blind, keep those details hidden until everyone has recorded an initial impression.
Use a simple five-step tasting routine
1. Look at the wine. Hold the glass against a white background and observe its color and clarity. White wines may range from pale straw to deeper gold, while reds can range from translucent ruby to dark purple. These visual observations provide an initial description but do not establish wine quality by themselves.
2. Smell the wine. Bring the glass toward your nose and take a gentle sniff before swirling. Look for broad aroma families such as citrus, apple, pear, cherry, blackberry, flowers, herbs, spices, or oak. Guests do not need to identify every aroma to participate successfully.
3. Swirl and smell again. Gently rotate the glass to release more aromatic compounds. Notice whether the wine smells different after swirling and whether fruit, floral, herbal, or earthy characteristics become more noticeable.
4. Take a small sip. Consider the wine’s acidity, sweetness, tannin, body, and flavor. Ask whether it feels light or full, crisp or soft, dry or sweet. Notice whether the flavors remain after swallowing or spitting.
5. Consider the finish. The finish describes the sensations that remain after the wine leaves the mouth. Compare whether the flavors disappear quickly or persist for several seconds. Ask guests whether they would choose to drink another glass of the same wine.
Make tasting notes approachable
Provide a simple scorecard with space for the wine number, grape variety, region, color, aromas, flavor, acidity, body, and overall impression. A few descriptive words are enough. Someone might describe a Sauvignon Blanc as citrusy, crisp, and refreshing, while another participant might notice green herbs or tropical fruit.
Use open-ended questions to encourage conversation. Ask which wine smells the freshest, which red feels softer, or which bottle has the longest finish. Another useful question is whether guests prefer the first impression or the flavor that develops after swirling.
Wine Enthusiast recommends approachable sensory prompts rather than putting inexperienced guests under pressure to identify technical aromas. You might ask which wine would best accompany a summer afternoon or which bottle has the personality of a favorite song. These questions keep the experience accessible while encouraging people to think carefully about what they are drinking.
For further practical hosting suggestions, see Wine Enthusiast’s guide to hosting an at-home wine tasting. It offers additional ideas for selecting a theme, preparing the table, and making the experience enjoyable for guests with different levels of wine knowledge.
For additional learning resources, direct curious guests to the Wine Q&A section. It can provide a useful starting point for questions about grape varieties, wine regions, serving temperatures, and common tasting terminology.
Allow guests to participate at their own pace
Some participants will want to discuss every wine, while others may prefer to listen and make private notes. Neither approach needs to change the schedule. Keep the conversation open, but avoid requiring everyone to share an opinion after every sample.
Spitting is an accepted part of wine tasting, particularly when several bottles are being compared. Provide individual spittoons or small cups and make it clear that guests may discard unfinished wine at any time. Have nonalcoholic drinks available throughout the gathering and arrange transportation in advance for anyone who needs it.
At the end, reveal any blind-tasting bottles and invite guests to revisit their favorite wines if they wish. A short discussion about unexpected favorites often makes the experience more memorable than ranking every bottle from best to worst.
Frequently Asked Questions
How long should a home wine tasting last?
A five-wine tasting commonly takes 50–75 minutes when each wine receives approximately 10–15 minutes of attention. Allow additional time for introductions, food, and conversation. A relaxed gathering can comfortably occupy 90 minutes to two hours.
Should guests know which wines they are tasting?
For an educational introduction, revealing the wines makes it easier to discuss grapes, regions, and producers. A blind tasting creates a different experience by removing label recognition and brand expectations. You can also combine both formats by hiding the labels initially and revealing them after everyone has submitted their notes.
Can you organize a wine tasting without professional wine glasses?
Yes. Clean, transparent, stemmed all-purpose glasses are suitable for an informal tasting. Avoid glasses with strong detergent odors or decorative colors that make visual comparisons difficult. Consistent glassware is more useful for comparison than owning a different specialized glass for every grape variety.
How far in advance should you open wine bottles?
Most light white wines and sparkling wines can remain sealed until shortly before serving. Young, full-bodied reds such as Cabernet Sauvignon may benefit from 30–60 minutes of decanting. Delicate older reds should be assessed individually because prolonged exposure to air can reduce their remaining aromatic character.
How should leftover wine be stored after a tasting?
Reseal unfinished still wine and refrigerate it, including red wine, to slow oxidation. Opened still wines generally retain acceptable quality for approximately three to five days, while sparkling wines commonly last one to three days with an appropriate sparkling-wine stopper. Fortified wines can last several weeks after opening, depending on their style and storage conditions.
Learning how to set up a wine tasting is mainly about making thoughtful choices and creating a comfortable environment for comparison. Start with five well-selected wines, organize the serving order, prepare the glassware, and give guests simple ways to describe what they discover. With a little planning, even a first-time host can create an informative and enjoyable wine tasting that encourages everyone to explore new bottles with confidence.
More in Wine Basics
 Which Rose Is Best for Your Taste, Budget, and Food PairingsUpdated Nov 21, 2026
 Is Cheap Wine Bad? How to Find Bottles Worth DrinkingUpdated Nov 21, 2026
 What To Write On A Wine Gift Tag: Thoughtful Messages For Every OccasionUpdated Nov 21, 2026
 Which Wine Is Best For Weight Loss? Compare Lower-Calorie ChoicesUpdated Nov 21, 2026
 What Is The Best Wine For Mimosas? Choose Bubbly That Balances Orange JuiceUpdated Nov 20, 2026
 Which Prosecco Is Best for Your Taste and OccasionUpdated Nov 20, 2026