

We may earn a commission when you buy through links on this page, at no extra cost to you. Learn more.
Knowing how to install a built in wine fridge comes down to five steps: check the venting and clearance, measure the finished opening, plug into a dedicated outlet, level the unit, and let it rest before you load bottles. Most installation problems trace back to skipping one of those steps, and ventilation is the one that causes the most damage when it is ignored. The physical work is straightforward, but the order matters, and the rest period before first power-up is the step that is easiest to skip. Use the clearance figures printed in your own manual, because they differ between brands and between built-in and freestanding models.
A built in wine fridge can look like a simple slide-in appliance on a showroom floor, but a blocked grille or a cutout a few millimeters too tight can turn a kitchen upgrade into a return. Most trouble comes from four predictable places: not enough clearance for the vent, the wrong vent direction for the space, a shared or extension-cord power supply, and a unit that was moved or plugged in before it was ready. Each one is avoidable if you handle the steps in order. The sections below cover that order and use the figures manufacturers print for their own models, so you can check every number against the unit you actually bought.
Check Ventilation and Clearance Before Anything Else
Ventilation decides whether a given unit can sit in your opening at all, so settle it before you buy, measure or cut.
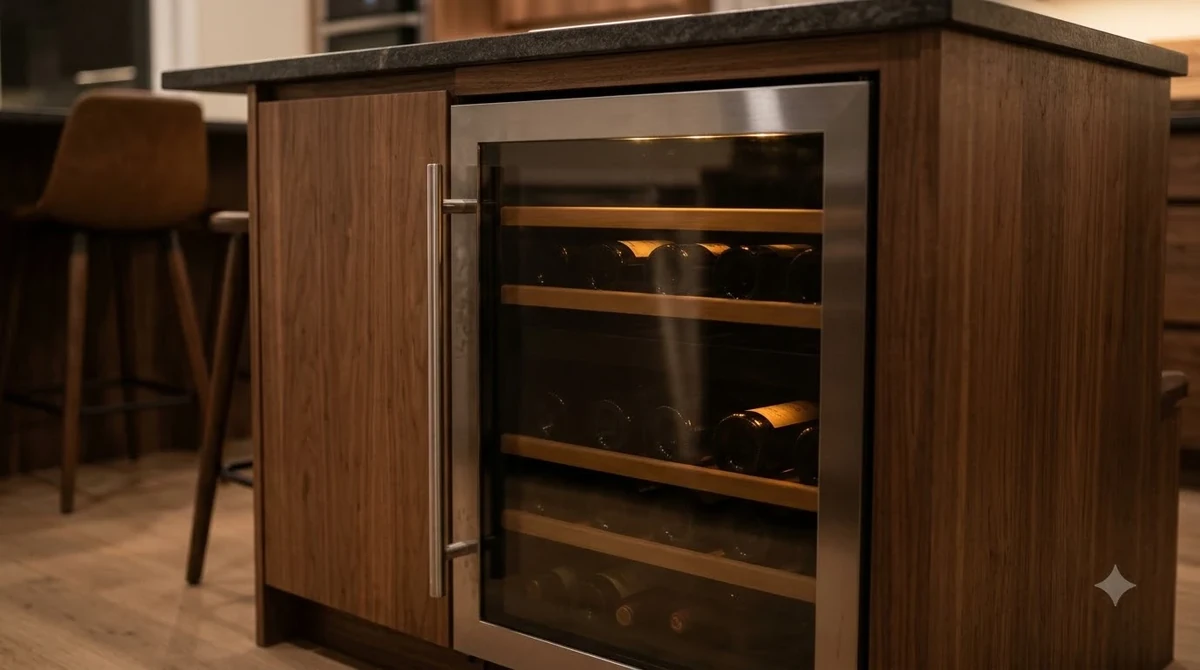
Every compressor cooler has to release heat, and the installation depends on where that heat goes. Front-venting units push warm air out through a grille near the bottom of the front, which lets them sit flush inside cabinetry. Units that vent from the back or sides need open air on those sides, and a freestanding model should only go into a cutout when the maker approves it for built-in use. A rear-venting unit forced into a closed opening will run hot, because the cabinet gives it no room to shed the heat it produces.
Clearance figures vary more than most shoppers expect. The owner’s manual for Summit’s two-zone built-in model SWC532LBIST asks for at least 3/16 inch at both sides, 1/16 inch at the top and 2 inches at the rear when the unit is built in, and it says airflow under the appliance must not be blocked. The same manual calls for 4 inches of clearance on every side, the top and the back when the unit is freestanding. A compact Vinotemp model, the EL-WCU113-03, is covered in an installation guide from The Everything Depot, which lists 1/4 inch on each side and at the top when built in, but 6 inches behind and 10 to 12 inches on each side when freestanding. Borrowing a number from a different brand is the fastest way to end up with a cooler that runs hot. If the unit you already own is freestanding, read can a freestanding wine fridge be built in before you measure anything.
| Model | Built-in clearance | Freestanding clearance |
|---|---|---|
| Summit SWC532LBIST (two-zone) | 3/16 in each side, 1/16 in top, 2 in rear | 4 in on sides, top and back |
| Vinotemp EL-WCU113-03 (compact) | 1/4 in each side and top | 6 in behind, 10 to 12 in each side |
Location matters too. The Summit manual asks for an ambient temperature between 61 and 95 degrees Fahrenheit, and it says the front of the unit must be completely unobstructed. Keep the cooler away from ovens, grills and other heat sources, and out of direct sunlight, because nearby heat increases the work the compressor has to do. Dunavox’s installation guide calls ventilation the most critical factor in wine cooler installation, and notes that blocked airflow leads to compressor overheating, higher energy use, more noise and premature wear.
Measure the Finished Opening, Not the Cabinet Plan
Measure the opening after every finish is in place, then compare it with the listed dimensions for your exact model.
Measure after the flooring and countertop are installed, since a new floor can take away height you planned to have. According to The Everything Depot’s guide, Marvel’s 24 inch MRWC224 measures about 23 1/2 inches wide and at least 33 5/8 inches tall, and the recommended opening is 24 inches wide, 34 to 35 inches high and 24 inches deep. Those figures show how little margin there is: the unit is only about half an inch narrower than its opening, and a fraction of an inch decides whether the door clears the frame.
If you plan a custom panel, the math changes. The same guide says a 3/4 inch custom panel on Marvel panel-ready units requires adding 5/8 inch to the width, and it allows extra hinge clearance. Empava’s drawings list each opening as greater than the number shown, and a 23.4 inch wide WC03S in a 23.8 inch opening leaves only about 0.2 inch on each side, which is tight enough that you should measure twice. Dunavox also lists using incorrect niche dimensions and assuming all models share identical sizes among its common installation mistakes.
Tip: Measure the opening at the top, middle and bottom, and write down the smallest width and height. Cabinet walls are rarely perfectly square, and the smallest reading is the one that decides whether the unit slides in without binding.
Plug Into a Dedicated Grounded Outlet
Manufacturers consistently ask for a dedicated, grounded outlet with no extension cord, power strip or adapter, so plan the outlet before the cabinet is closed in.
The Summit manual recommends a separate circuit that serves only the wine cooler, with receptacles that cannot be switched off by a wall switch or pull chain. It specifies a 115 volt AC supply on a 15 amp fuse or breaker, and it warns against cutting or removing the third ground prong. Questions about power and grounding should go to a qualified electrician, since the wiring has to follow state and local codes and the National Electrical Code.
Marvel’s rule for its 24 inch units is similar: a grounded 115 volt, 15 amp dedicated circuit with no extension cord or adapter. Depth can be a surprise, because a plug and its cord can use up room in a 24 inch deep opening. The Everything Depot’s guide suggests putting the outlet in the adjacent cabinet or recessing a box into the back wall, since many recessed boxes are too narrow for the job.
Leave the outlet reachable after installation. Dunavox points out that the socket must remain accessible for future servicing, which is easy to forget once the cabinet doors are hung. Work on the circuit itself is best left to a licensed electrician, while plugging in the finished unit is simple enough for most homeowners.
Tip: Label the breaker that feeds the wine fridge outlet. If the unit stops running, check the breaker first, because a tripped breaker or blown fuse is among the causes Summit’s troubleshooting table lists when the unit does not operate.
Level the Unit and Move It Without Damage
Level the unit before you connect power, because a tilted cabinet causes vibration and can throw the door out of alignment.
Set the unit on a solid, level floor that can carry it fully loaded, then turn the leveling legs at the bottom until it sits flat. The Summit manual notes that you may need several adjustments, and Marvel’s legs adjust up to about 1 inch, which helps when a cabinet floor is out of true. Check level from side to side and from front to back, because a unit that looks level in one direction can still sit out of square in the other.
Moving a loaded cooler is the riskiest part of the job. Summit recommends two or more people for moving and installing the unit, which protects both the appliance and your back. Empava’s guidance is to screw the feet up before moving the cooler and never to lift it by the door. Vinotemp advises against sliding the unit into place, so lift it or set it down carefully.
Marvel’s method is a sound sequence to follow. Protect the floor, have a helper tilt the unit back to reach the front legs, then tilt it forward to reach the rear legs, and check level again after each adjustment. Keep the front grille clear throughout, because a unit can be perfectly level and still overheat if its vent is covered.
Set the Door Swing Before the Unit Goes In
Pick the hinge side before the cooler goes into the cabinet, since reversing a loaded glass door is awkward and calls for a helper.
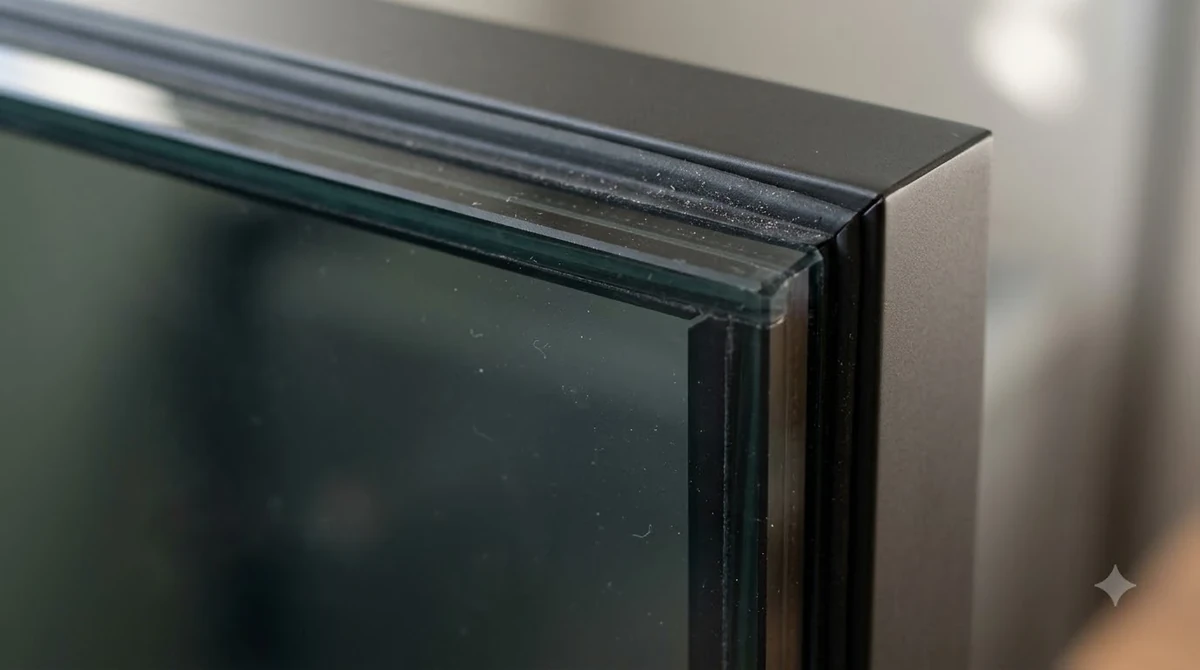
Many built-in units can be switched to open from the other side. The Summit manual says its unit is delivered opening from the left and gives a step-by-step reversal: pry off the decorative caps, move the upper and lower hinges, relocate the handle and the lower door support, and keep every removed part. Empava includes spare hinges on several of its models for switching sides, which saves tracking down replacement parts.
Marvel’s stainless models use zero-clearance pin hinges, so the door can open beside a wall. Its dual zone units ship right-hand hinged and can be reversed in the field using left-hand hinges from the literature packet, so check which side you need before the unit is fitted.
Once the door is on the new side, adjust it so it lines up with the cabinet, level the cabinet and then tighten all the lock screws, as Summit’s instructions say. Empava warns that reversing the glass door on its own is dangerous, so get a helper and support the glass while you work.
Rest the Cooler, Power It Up and Load It
Give the unit time to settle before you plug it in, then let it reach operating temperature before you load a single bottle.
Settling times differ by brand, so plan for the longest one. Marvel asks for at least 24 hours upright before plugging in if the unit was shipped or stored other than upright, so that oil returns to the compressor. Empava’s guidance is 4 to 6 hours before power and about 24 hours to stabilize before loading, while Vinotemp asks for 24 hours unplugged. Summit asks for about 2 hours upright before connecting power, to reduce the chance of a cooling-system malfunction caused by handling during transport.
| Brand and model | Rest before power | Rest before loading bottles |
|---|---|---|
| Summit SWC532LBIST | About 2 hours upright | Not specified |
| Marvel MRWC224 | 24 hours upright if not kept upright in transit | Not specified |
| Empava (WC series) | 4 to 6 hours | About 24 hours |
| Vinotemp EL-WCU113-03 | 24 hours unplugged | Not specified |
After power-up, expect a short delay. The Summit unit has a protective delay, so the compressor starts about 3 to 5 minutes after the power is on. If you unplug the unit or lose power, wait the same 3 to 5 minutes before restarting, because an early restart will not start the compressor. Once the unit has run for a few hours, the displayed temperature should settle to the setting, and Dunavox recommends letting the cooler reach operating temperature before loading bottles. For the routine that follows setup, our Installation & Care section covers the rest.
Set the temperature to suit what you store. Summit’s chart lists 58 to 65 degrees Fahrenheit for red wines and 40 to 47 degrees for sparkling wine. Keep the interior light off except when you are looking at bottles, since the light switches itself off after 10 minutes and the manual recommends keeping it off for best storage. For bottles you plan to keep for a while, lay them on their side near 55 degrees Fahrenheit so the corks stay moist.
Frequently Asked Questions
The questions below cover the situations that come up once the unit is in place, from garages and noise levels to what to check when the door will not seal.
Can a built in wine fridge go in a garage?
Empava’s manual limits its wine coolers to indoor use and lists poorly ventilated rooms such as a garage as places to avoid. Marvel’s MRWC224 is rated for indoor and outdoor use with a recommended room range of 55 to 100 degrees Fahrenheit, and Marvel does not cover damage at 40 degrees or below.
Is a GFCI outlet safe for a wine fridge?
Marvel warns that GFCI outlets are prone to nuisance tripping, which can shut the cooler off, and says they are generally not used for equipment that runs unattended unless local code requires them. Many kitchens and garages do require GFCI protection, so ask an electrician rather than swapping a required device for a standard one.
How loud should a built in wine fridge be?
Dunavox says a correctly installed built-in cooler typically operates at about 35 to 40 decibels, which it describes as very quiet for a residential kitchen. If yours is louder, the usual causes are poor levelling, contact with surrounding furniture and restricted ventilation.
What should I do if I need to leave the cooler unused for a while?
Summit’s manual says to leave the cooler running for vacations of less than three weeks. For longer absences, turn it off and leave the door slightly ajar so odor does not build up inside.
What should I check if the door will not close properly?
Summit’s troubleshooting table lists an unlevel cooler, a door that was reversed without being installed properly, a dirty gasket and shelves out of position as causes. Its warranty also excludes service calls to correct the installation, so check the setup yourself before you call anyone.
A careful installation depends on a few habits: measure the finished opening, confirm the vent path, give the unit its own outlet, and let it rest before loading. If something still goes wrong after setup, our guide to allavino wine fridge repair is the next place to look.
More in Storage & Fridge Care
 How Long Can You Store Wine in a Wine Fridge? Protect Bottle QualityUpdated Nov 20, 2026
 Can You Store Beer in a Wine Fridge? Keep Both Drinks FreshUpdated Nov 20, 2026
 Is It Worth Repairing a Wine Fridge? Spot the Cheap Fixes Before You ReplaceUpdated Nov 20, 2026
 Wine Fridge Condensation: Identify Causes and Fix Moisture ProblemsUpdated Nov 20, 2026
 Wine Fridge Too Cold: Protect Your Wine and Fix the TemperatureUpdated Nov 20, 2026
 How to Reset Wine Fridge: Restore Cooling and SettingsUpdated Nov 20, 2026