


We may earn a commission when you buy through links on this page, at no extra cost to you. Learn more.
How to defrost a wine fridge: Unplug the appliance, remove all wine bottles and shelves, leave the door open, and allow accumulated ice to melt naturally before drying and restarting the cooler. Most wine refrigerators have automatic defrost systems, so manual defrosting is usually necessary only when excessive frost develops. Allow several hours for the process, protect the surrounding floor from water, and never use knives, sharp tools, or heating appliances to speed up melting.
Ice on the back wall, a blocked drain, or a refrigerator that runs continuously can indicate that your wine cooler needs attention. Defrosting is straightforward, but the correct procedure depends partly on the appliance’s design. Understanding whether your refrigerator uses automatic or manual defrosting helps you avoid unnecessary shutdowns, protect stored bottles, and prevent damage to the cooling system. The following steps explain how to handle the process safely and identify the conditions that cause frost to return.
Understanding When a Wine Fridge Needs Defrosting
A wine refrigerator does not necessarily need manual defrosting every time a small amount of frost appears. Some models use automatic defrosting during normal operating cycles, while others require manual attention. Manual defrosting becomes appropriate when ice accumulates faster than the system can remove it, interferes with airflow, or prevents the door from closing properly.
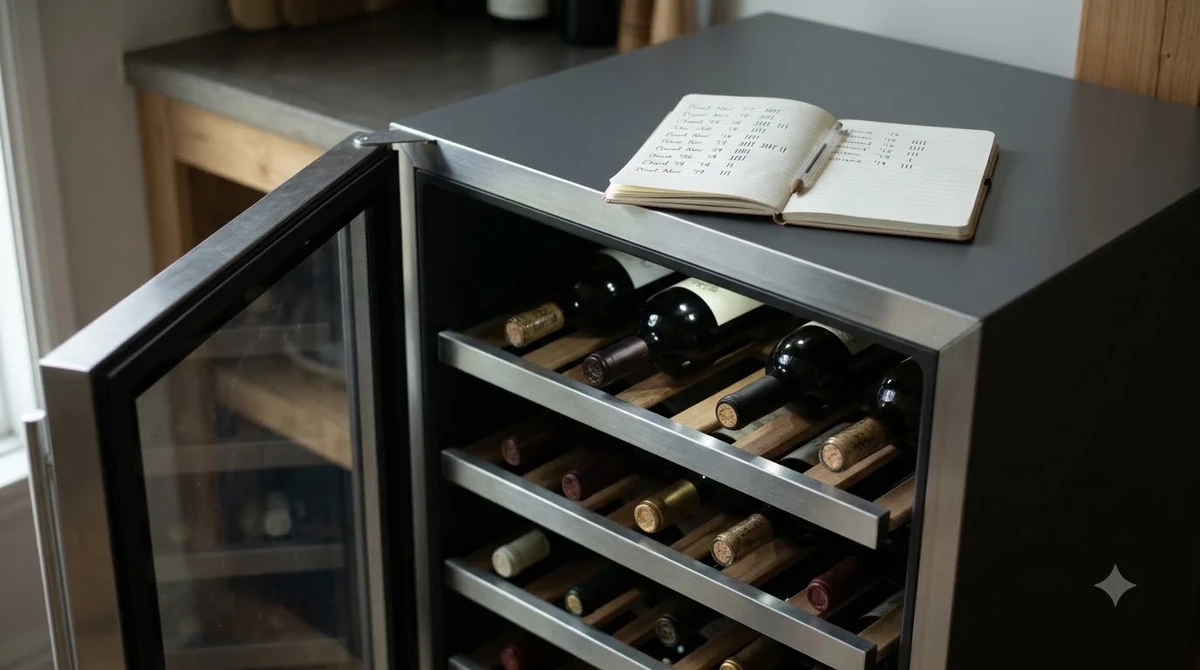
Automatic defrost systems generally work by allowing the evaporator to warm during compressor off-cycles. The resulting condensation travels through a drainage opening into a collection tray, where it can evaporate. The Temptech wine cooler instruction manual describes this process and recommends periodically cleaning the evaporation tray and drainage opening. It also warns that bottles touching the rear wall can interfere with automatic defrosting and redirect water into the cabinet base.
Look for these signs before deciding to switch off the appliance:
- Thick ice on the rear wall: A growing layer of frost is more concerning than a thin coating that disappears during normal operating cycles.
- Restricted airflow: Ice around internal vents or fans can interfere with circulation and create uneven temperatures between shelves.
- Continuous compressor operation: A refrigerator that runs for unusually long periods may be struggling to maintain its selected temperature.
- Water accumulation: Puddles inside the cabinet can indicate a blocked drainage opening or an overflowing collection tray.
- Door closure problems: Ice around the frame or interior walls can prevent the door from sealing correctly.
There is no single frost-thickness threshold for every wine refrigerator. For example, the Dunavox DX-48.130K manual recommends manual defrosting when frost reaches approximately 5 mm (1/5 inch). Other models use different thresholds or provide no specific measurement.
Tip: A thin layer of frost on the rear wall can be normal in some wine refrigerators. If it disappears during regular operating cycles and the cabinet maintains its temperature, a complete manual defrost may not be necessary.
Before proceeding, identify your appliance’s make and model. Some manufacturers recommend raising the temperature setting to stop the compressor and allowing frost to melt through the normal drainage system. Others require the refrigerator to be disconnected from power. Follow the procedure specified for your particular model rather than assuming every wine cooler operates identically.
Preparing Wine Bottles and the Refrigerator
Proper preparation makes defrosting easier and reduces the risk of temperature changes affecting your wine collection. Remove the bottles before beginning, arrange temporary storage in a cool location, and prepare the surrounding area for melting water.
1. Find temporary storage for your wine. Move the bottles to another temperature-controlled wine refrigerator or a cool, dark storage location. Avoid leaving wine in direct sunlight, beside an oven, or in a hot garage. The goal is to limit exposure to heat and rapid temperature fluctuations while the main cabinet is switched off.
2. Organize the bottles. If your collection includes both red and white wines, group the bottles so you can return them to their appropriate shelves later. Keep sparkling wines separate if you want to restore a particular storage arrangement. Avoid unnecessary handling, especially with older bottles containing sediment.
3. Disconnect the refrigerator safely. Turn the appliance off using its designated control and unplug it from the wall outlet if the manufacturer’s instructions call for manual defrosting. Always use dry hands and grasp the plug rather than pulling the electrical cord. Do not attempt to remove ice while the appliance is operating unless its manufacturer specifically describes a temperature-control defrost procedure.
4. Remove shelves and accessories. Take out removable shelves, bottle supports, and other accessories according to the manufacturer’s instructions. Wooden shelves may require separate cleaning and complete drying. Handle glass shelves carefully because sudden temperature changes or accidental impacts can cause breakage.
5. Protect the floor. Place absorbent towels around the base of the refrigerator. A shallow waterproof tray can help collect water from smaller freestanding models, but do not assume that the appliance’s internal drain pan can handle all the water produced during manual defrosting.
This last point is particularly important for built-in wine refrigerators. Some drain pans are designed to handle normal condensation rather than the larger volume of water produced by a complete manual defrost. Check the manufacturer’s instructions and protect nearby flooring, especially when the refrigerator is installed in cabinetry.
Check the surrounding area before opening the door. Keep electrical outlets, extension cords, and other electrical equipment away from potential water spills. If the appliance is heavy or installed in cabinetry, arrange suitable assistance rather than attempting to pull it out alone.
How to Defrost a Wine Fridge Step by Step
The safest general approach is to disconnect the appliance when required, remove its contents, open the door, and let the ice melt naturally. The process usually takes several hours, although thick ice and humid conditions can extend the time required.
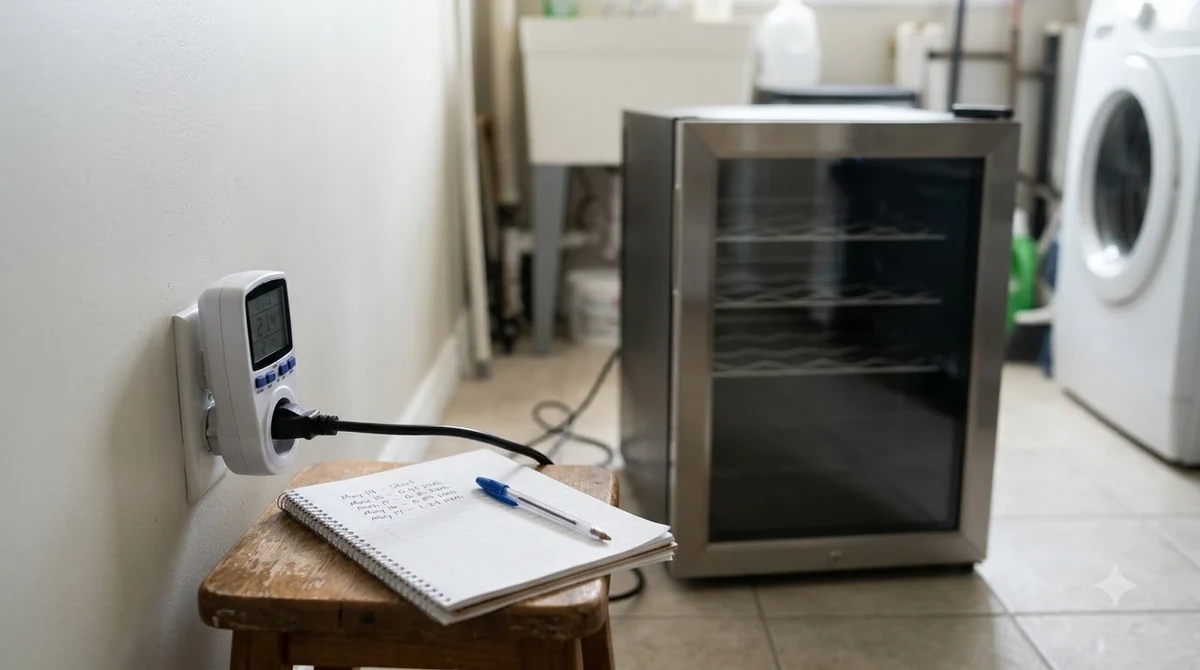
Step 1: Switch off and unplug the appliance
After removing the wine and accessories, disconnect the refrigerator from its electrical supply when required by the manual. This prevents the cooling system from operating while you are cleaning the interior. Make sure the plug and your hands remain dry throughout the procedure.
Step 2: Leave the door open
Open the door fully so warmer room air can enter the cabinet and encourage the frost to melt. Keep the door supported in a stable position. Some manufacturers specify a particular minimum opening, but a fully open door is generally more practical when the refrigerator is accessible and the surrounding area is protected.
Do not attempt to pull large pieces of ice away from the walls. Even ice that appears loose can be attached to an evaporator plate, drainage component, or interior lining.
Step 3: Let the frost melt naturally
Allow the ice to melt at room temperature. Check the refrigerator periodically and replace saturated towels as necessary. A few hours is a reasonable starting expectation, but thick accumulations may require considerably longer.
The Dunavox DX-48.130K instruction manual describes defrosting as a process that usually takes a few hours when frost reaches approximately 5 mm (1/5 inch). Larger accumulations should be given additional time rather than forced to melt quickly.
Step 4: Monitor the drainage system
As the frost melts, watch for water collecting near the rear drainage opening or at the bottom of the cabinet. If your model uses an internal drain, make sure it is not obstructed by debris or displaced accessories. Do not insert sharp objects into the drainage passage.
Some wine refrigerators direct condensation into a tray above the compressor, while other designs use a different collection arrangement. If the manufacturer’s instructions identify an accessible drain, follow its specific cleaning procedure. Do not dismantle panels or cooling components to reach an inaccessible blockage.
Step 5: Wait until all visible ice has disappeared
Inspect the rear wall, corners, shelf supports, and areas around the door. Small patches of ice can remain hidden behind shelf brackets or around internal openings. Give these areas additional time to melt rather than scraping them away.
The following table provides practical planning estimates and examples of manufacturer guidance. The melting times are approximate planning allowances, not guaranteed operating specifications.
| Condition or task | Measurement or time | What to do |
|---|---|---|
| Light frost | Under 5 mm | Check whether automatic defrosting clears it. |
| Moderate frost | About 5 mm | Allow several hours for natural melting if manual defrosting is required. |
| Heavier frost | About 6 mm | Follow the model’s manual defrost procedure. |
| Door opening during defrost | Fully open where practical | Maintain adequate airflow into the cabinet. |
| Natural melting | Several hours | Monitor water and replace saturated towels. |
| Final inspection | Before reconnecting power | Confirm that the interior is completely dry. |
The figures in this table are practical guidance rather than universal requirements. For example, the Dunavox manual specifies approximately 5 mm as its defrosting threshold, while other models may have different requirements. Always use the instructions supplied for the refrigerator being serviced.
Cleaning and Drying the Interior After Defrosting
Once all ice has melted, clean the cabinet and remove remaining moisture before restarting the refrigerator. This step helps prevent standing water, unpleasant odors, and avoidable problems around the drainage system.
Start by collecting the melted water with absorbent towels or a soft cloth. Wipe the rear wall, floor, corners, door frame, and shelf supports. Pay particular attention to areas where water can collect, such as the lower edges of the interior liner.
Use a mild cleaning solution for ordinary dirt and residue. A mixture of warm water and a small amount of mild dish detergent is suitable for many refrigerator interiors, provided the manufacturer permits it. Avoid abrasive powders, strong solvents, bleach, and aggressive chemical cleaners that could damage plastic surfaces, seals, or protective coatings.
Baking soda and water are another option. The Dunavox manual describes a cleaning mixture containing approximately 2 tablespoons of baking soda per quart of water. Apply the solution with a soft sponge or cloth, then remove any residue with a clean damp cloth.
Clean the shelves separately
Wash removable shelves according to their material. Glass shelves can generally be cleaned with mild detergent and warm water. Wooden shelves need more careful treatment because excessive moisture can cause swelling, discoloration, or warping. Wipe wooden components with a lightly damp cloth rather than soaking them, then allow them to dry thoroughly.
Inspect the door gasket while cleaning. This flexible seal is essential for maintaining a consistent interior temperature. Remove dirt and sticky residue with a soft cloth and mild soapy water. Check for cracks, hardened sections, loose areas, or visible deformation that might prevent the door from closing securely.
Dry the refrigerator completely
Use a clean, dry towel to remove visible moisture from the cabinet. Leave the door open for additional air circulation until the interior is completely dry. Do not reconnect power while standing water remains around electrical components or other areas that should remain dry.
Also inspect the drainage area for debris. A clear drainage opening helps melted frost and normal condensation leave the cabinet as intended. If water continues to pool despite cleaning an accessible drain, the appliance may require professional inspection.
Clean the exterior door and handle as well, especially around the gasket where fingerprints and dust can accumulate. Avoid spraying cleaning liquid directly onto the control panel, display, vents, or electrical connections. Apply it to a cloth instead.
Restarting the Wine Fridge and Restoring Storage Conditions
After defrosting and cleaning, allow the cabinet to dry completely before restoring power. Set the refrigerator to its intended storage temperature and give it time to stabilize before returning the bottles.
Reconnect the appliance using the manufacturer’s instructions. Check that the power cord is undamaged and that the electrical connection is dry. Make sure the refrigerator is level, its ventilation openings are unobstructed, and any removable shelves have been reinstalled correctly.
Choose the appropriate temperature for your collection. A dual-zone refrigerator may have separate settings for red and white wines, so restore both zones individually. Do not assume that a single temperature setting is suitable for every wine type.
For a general reference, the following ranges are useful for wine storage and serving preparation:
- Red wine: A storage environment around 55°F is a common reference point.
- White wine: Many collections use a cooler storage zone, often around 45–50°F for short-term storage and chilling.
- Sparkling wine: A cooler environment helps maintain its freshness and carbonation.
These are practical reference points rather than instructions for every wine collection. Follow the recommended storage settings for your particular wines and the temperature range supported by your appliance.
Allow the cabinet to cool before loading it. Some manufacturers recommend waiting several hours after restarting, while others specify a shorter period. Check the display and, if possible, verify the actual interior temperature with a suitable thermometer.
When the interior has reached the desired temperature, return the bottles in an organized arrangement. Leave space around ventilation openings and avoid pushing bottles against the rear wall. A fully packed cabinet can restrict circulation in models that rely on internal fans.
For large collections, return bottles in manageable groups rather than leaving the door open for an extended period. Close the door securely after loading and check the displayed temperature again later. If the refrigerator has a temperature alarm, monitor it until normal operation resumes.
Preventing Frost From Returning
Repeated frost accumulation usually has an identifiable cause. High humidity, frequent door openings, poor gasket contact, restricted airflow, and excessively cold settings can all contribute to the problem.
The easiest preventive measure is to reduce the amount of warm, humid air entering the cabinet. Open the door only when necessary and close it immediately after selecting a bottle. If several people regularly access the refrigerator, organize bottles so commonly used selections are easy to reach.
Check the door seal
A damaged or dirty door gasket can allow humid room air to enter continuously. Inspect the complete perimeter of the seal, including the lower corners where dirt and residue sometimes collect. Clean the gasket regularly and arrange a replacement if it is torn, loose, or no longer makes consistent contact.
Also check that shelves and bottles do not interfere with door closure. An incorrectly installed shelf can project into the door’s path and create a small opening. Even a narrow gap can introduce enough moisture to increase frost formation over time.
Maintain suitable room conditions
Keep the wine refrigerator away from direct sunlight, ovens, radiators, and other heat-producing appliances. High room temperatures can increase the cooling system’s workload, while excessive humidity can encourage condensation and frost.
Operating limits differ between manufacturers and models. Check the installation instructions for the permitted ambient temperature and avoid placing the refrigerator in a location that regularly exceeds those limits.
Maintain ventilation and internal airflow
Keep the refrigerator’s ventilation openings clear of furniture, dust, and other obstructions. Built-in units require the specified installation clearances, while freestanding models need adequate space around their heat-dissipation areas.
Inside the cabinet, avoid blocking internal fans or placing bottles directly against ventilation openings. Follow the manufacturer’s loading recommendations and do not force extra bottles into spaces intended for airflow.
Use an appropriate temperature setting
Setting the refrigerator colder than necessary can encourage frost accumulation in some models, particularly when the cabinet is not fully stocked. If frost develops repeatedly, review the temperature setting and compare it with the manufacturer’s recommended operating range.
Do not repeatedly change the thermostat to compensate for a cooling problem without investigating its cause. A blocked fan, faulty door seal, drainage problem, or malfunctioning temperature sensor may require attention beyond a simple adjustment.
Tip: If frost repeatedly appears in the same location, photograph the buildup before defrosting. Comparing its location and thickness over time can help a technician identify whether the problem involves the door seal, evaporator, fan, or drainage system.
When Defrosting Does Not Solve the Problem
A successful manual defrost should remove accumulated ice, but it cannot repair a faulty cooling system or damaged door seal. If the refrigerator continues to struggle after cleaning and restarting, investigate the underlying cause rather than repeating the same procedure indefinitely.
Begin with simple checks. Confirm that the temperature setting is appropriate, the door closes fully, and the interior fan can circulate air. Look for bottles blocking vents and verify that the refrigerator has adequate ventilation around its exterior.
Next, check whether the displayed temperature changes as expected. If the cabinet remains warmer than its selected setting, the problem may involve the compressor, evaporator fan, thermostat, or temperature sensor. A unit that runs continuously without achieving the desired temperature should not automatically be assumed to have another frost problem.
Check for drainage problems
If water repeatedly collects at the bottom of the cabinet, inspect the accessible drainage opening. A clogged passage can prevent normal condensation from draining away. Clean it only according to the manufacturer’s instructions, without forcing wires, metal objects, or other tools into the passage.
If the drain is inaccessible or the water continues to accumulate, request professional assistance. A technician can inspect the drainage components without damaging the interior liner or refrigeration system.
Recognize cooling and electrical faults
Some problems resemble frost-related failures but have different causes. A refrigerator that stops cooling after defrosting may have an electrical or mechanical issue. A unit that repeatedly switches on and off could have restricted ventilation, an unsuitable room temperature, or a component fault.
If your Allavino refrigerator is not maintaining its temperature, see our troubleshooting information about an Allavino wine fridge not cooling. For persistent mechanical or electrical issues, our guide to Allavino wine fridge repair explains when further service may be needed.
Magic Chef owners can also consult our guide to a Magic Chef wine fridge not cooling for troubleshooting specific cooling symptoms.
Stop using the appliance if you notice damaged wiring, a burning smell, unusual electrical behavior, or signs of refrigerant leakage. Do not remove sealed panels or attempt to repair the compressor or refrigerant circuit yourself. Contact the manufacturer or a qualified appliance technician.
For additional installation and maintenance information, visit our Installation & Care resource. Correct installation, ventilation, and routine cleaning are often more effective at preventing recurring frost than repeated manual defrosting.
Frequently Asked Questions
Can I defrost a wine fridge without removing every bottle?
For a complete manual defrost, removing all bottles is the preferred approach because it provides access to the interior walls and reduces the risk of water reaching stored wine. Some automatic-defrost systems allow normal operation without removing contents, but that is different from a full manual defrost. Always follow the instructions for your model.
Can I defrost a wine fridge overnight?
Yes, an overnight defrost is often practical when the appliance has substantial ice accumulation. Make sure the door remains safely open, the surrounding floor is protected, and melting water is monitored. Before leaving the appliance unattended, consider the manufacturer’s instructions and the risk of water overflow.
Should I remove the refrigerator door during defrosting?
No, ordinary manual defrosting does not require removing the door. Keeping it open provides sufficient airflow for natural melting in most accessible models. Removing the door introduces unnecessary risks involving hinges, wiring, alignment, and the door gasket.
Can a wine fridge develop frost even if its door is closed?
Yes. A refrigerator can develop frost because of high ambient humidity, a poorly sealing gasket, restricted ventilation, or a malfunctioning automatic-defrost system. A drainage problem can also make normal condensation appear to be an excessive frost issue. Repeated buildup in the same location deserves further inspection.
Does unplugging a wine fridge erase its temperature settings?
That depends on the control system. Some refrigerators retain their last selected settings after a power interruption, while others return to default settings or require manual adjustment. Record the temperature settings for each zone before disconnecting the appliance so you can restore the intended configuration afterward.
Defrosting a wine refrigerator is generally a simple maintenance task when performed carefully. Remove the bottles, disconnect power when required, allow the ice to melt naturally, clean and dry the cabinet, and restore the correct temperature before reloading your collection. If frost returns quickly or the refrigerator continues to struggle with cooling, investigate the underlying fault instead of relying on repeated defrosting.
More in Storage & Fridge Care
 How Long Can You Store Wine in a Wine Fridge? Protect Bottle QualityUpdated Nov 20, 2026
 Can You Store Beer in a Wine Fridge? Keep Both Drinks FreshUpdated Nov 20, 2026
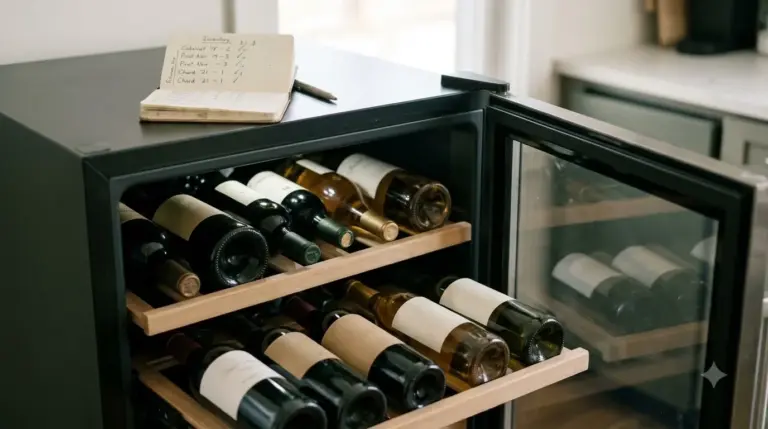 Is It Worth Repairing a Wine Fridge? Spot the Cheap Fixes Before You ReplaceUpdated Nov 20, 2026
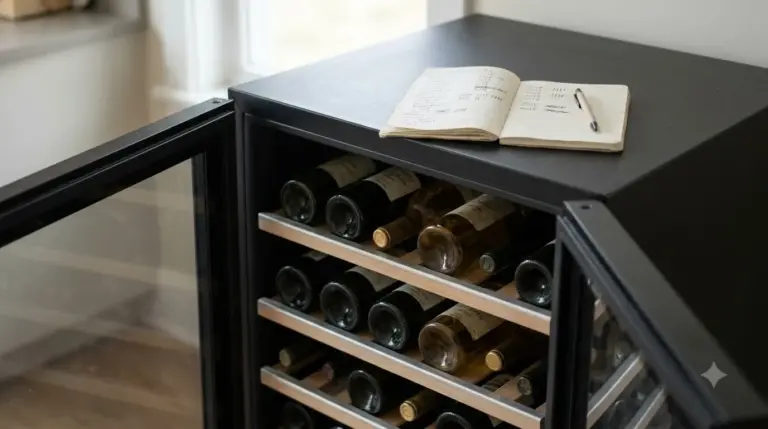 Wine Fridge Condensation: Identify Causes and Fix Moisture ProblemsUpdated Nov 20, 2026
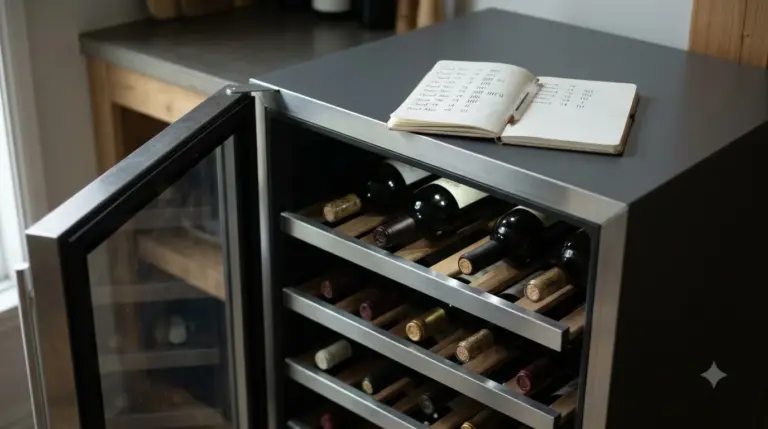 Wine Fridge Too Cold: Protect Your Wine and Fix the TemperatureUpdated Nov 20, 2026
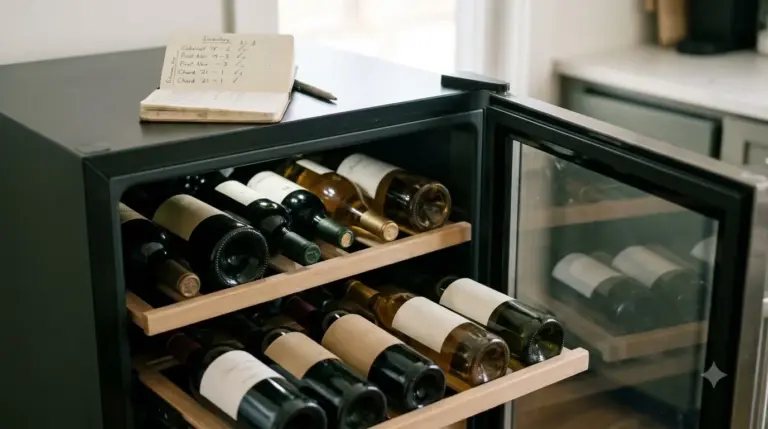 How to Reset Wine Fridge: Restore Cooling and SettingsUpdated Nov 20, 2026